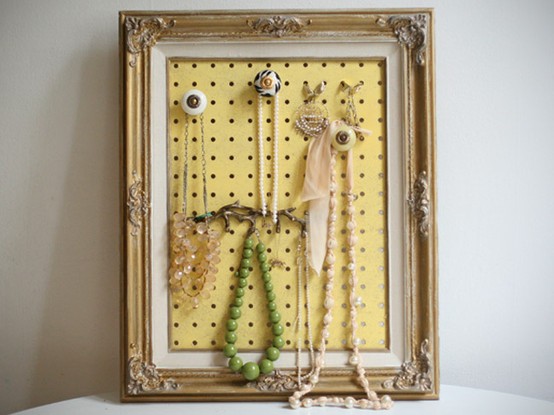
Pay No Attention to the Hole in the Wall

Wouldn't it be nice if I'd finished a project to show you?  I wouldn't get your hopes up.  Projects always seem to take longer than I expect.  I think its a conspiracy.  Some sort of time vortex that only happens when I'm trying to get things done.  That sounds plausible, and I'm going with it.  Blame the vortex. I did get the bulk of the work done on the midcentury pieces that I'm refinishing for my future nephews nursery.  I haven't reattached the legs or knobs on the dresser yet, but aside from that, all it needs is a coat or 2 of poly so it'll stand up in a child's room.

The cabinet is a little further behind- I need to finish painting the doors and paint the interior.  Next weekend is my last free weekend for the foreseeable future, so you can bet your britches that I'll get them done or die trying.

So... for that hole in the wall...

After a year in the house, we still don't have curtains in the bedroom.  I kept wavering about what style I wanted, so I just avoided them altogether.  Well, last week, I finally bit the bullet and ordered 2 sets from West Elm.  These and these.  The gray linen ones came in, but the others were on backorder, so I'm impatiently waiting.  With one set of curtains to try, I decided to hang the curtain rods I bought....8 months or so ago.

I've hung a few curtains in my day. Plaster walls, however are not my friend.  I got one window hung with no problems,

but it couldn't all go smoothly, could it.

Wall anchors are a necessity in these walls, but if the anchor won't grip and the plaster crumbles around it, it just kind of makes a big hole...  I can hear Handy Dad cringing as he reads this.  Luckily, I can hide it behind the bracket and curtain.  Pay no attention to the hole behind the curtain.

The main reason that anchors are required with curtains in this house:

The bear (AKA Charlie cat) likes to wrap all 15 lbs of himself in curtains.  It's ridiculously adorable.  But it also means that the curtains and rods need to durable and chubby-kitten-proof.

When the other set of curtains come in, I'll put them side-by-side and get your 2 cents.  Then maybe, just MAYBE, I'll have a completed project to show you.  I just need to figure out how to beat this time vortex.

Jewelry Frames: the good, the bad, and the ugly

A few months ago, I got started on some earring/bracelet organization via a few small frames.  In addition to the small ones, I was planning to make some larger frames for necklaces and then post about them all.  I didn't want to share until it was all done, but I have a few lessons learned from this which will help me with the larger frames. So, here goes...

Aren't these thrift store frames beautiful?  $1.99 a piece.  Flower filled tubs and cross-stitched flowers are totally my style. (I hope you can see the dripping sarcasm)

I brought out my handy-dandy spray paint and unified the frames with a few coats of flat black.

I'd seen various jewelry frames on Pinterest that I wanted to try and replicate:

&

I decided to try out both of these methods: radiator mesh for earrings and peg board with knobs to hold bracelets.

Here's what I came up with:

Please excuse the quality wall behind.  The master bedroom is the ONLY room in the house with the original plaster (and the accompanying cracks and flaws).

The earrings frames with radiator mesh work like a charm.  The other one, however has some issues.  Well, not so much 'issues' as 'things that could work better.'  The first problem is asymmetry.  I didn't think ahead when I was cutting the peg board.  The holes are off center and thus the knobs I used are off centered.  Kinda makes me twitch, but I'll get over it.  Also, using peg board really didn't end up necessary for this.  I would be better off just using plywood.

The bigger issue, though, is that its not very practical.  When I screwed the knobs on, I made them tight to the peg board (like how you would install them on a cabinet).  That makes it look nice, but in practice- you really can't fit more than one bracelet comfortably on a knob- 2 if you're lucky.  For my next attempt, I will leave space between the knob and backer so I can actually use it as intended.

I hate it when things don't work out the way I plan, but that's how you learn, right?

Nursery Furniture Progress

I've been making quite a mess in the basement lately.  I've been working on refinishing my midcentury craigslist finds for my future nephew's nursery. It's amazing what some high grit sandpaper can do. The dresser on the left is all sanded and ready for its new finishes.  The cabinet on the right is untouched (the dresser was just as bad as that to start with, too).

Steel wool also does wonders on the brass accents.

I'm hoping to have the prep work all done by the weekend.  If all goes as planned (I hope), I'll have an awesome transformation to show you next week!

p.s. Pop over to Roadkill Rescue where my recent deco desk lamp redo is featured!