Veggie Garden- Phase 1

What's a better use to a beautiful long weekend than planting (or starting) a veggie garden?! This has been a long time coming, starting with pulling some bushes out in the beginning of April when we still needed gloves outside.   The previous owners of the house had a small vegetable garden in the side yard, but we had bigger ideas.  With the magnitude (time and cost) of our plans, we're working on it in phases.

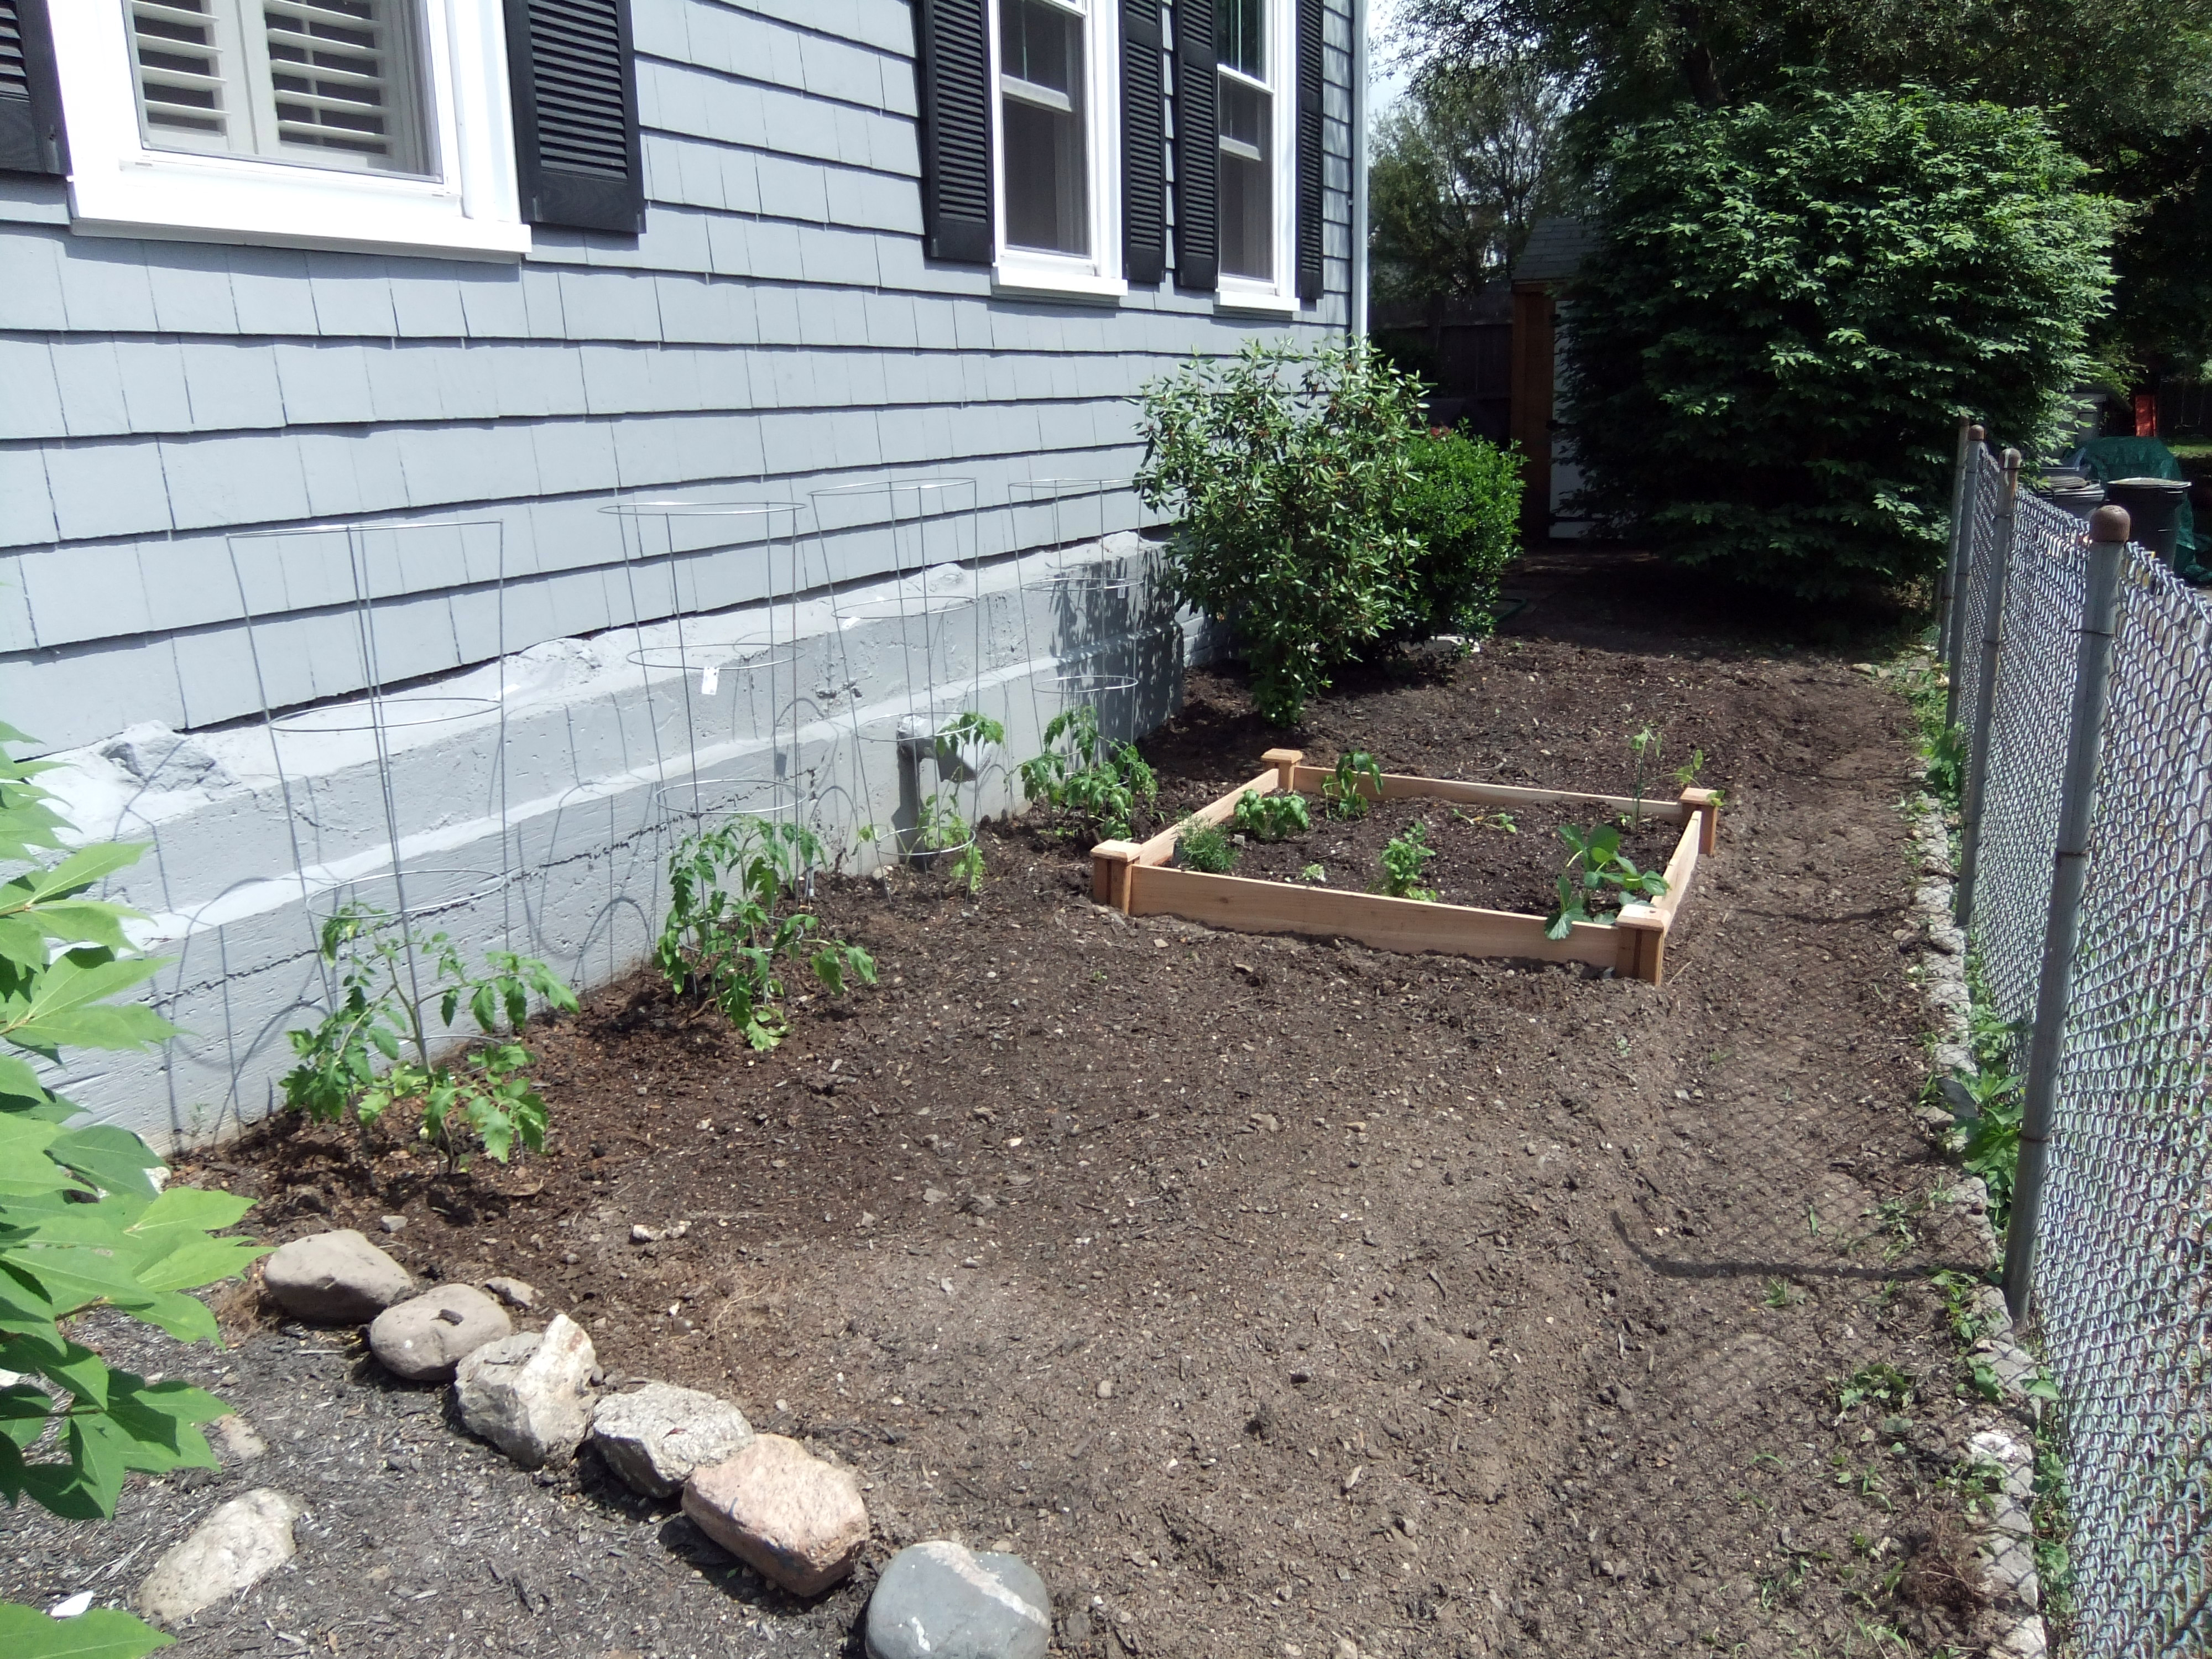
Phase 1 is finally complete and included pulling up a few sad bushes, digging up and leveling the area a bit, adding 1 raised planting bed and planting tomatoes and a few other plants we had received as gifts.

Phase 2 will probably be in a few weeks and include another planting bed, more plants, and maybe a compost bin.

Phase 3 will be bigger (and probably not this summer) and will include pulling out the remaining bushes and adding 1-2 more planting beds, giving us a total of 3 or 4 planting beds along the entire span of the house.

______________________________________

So, back to Phase 1.

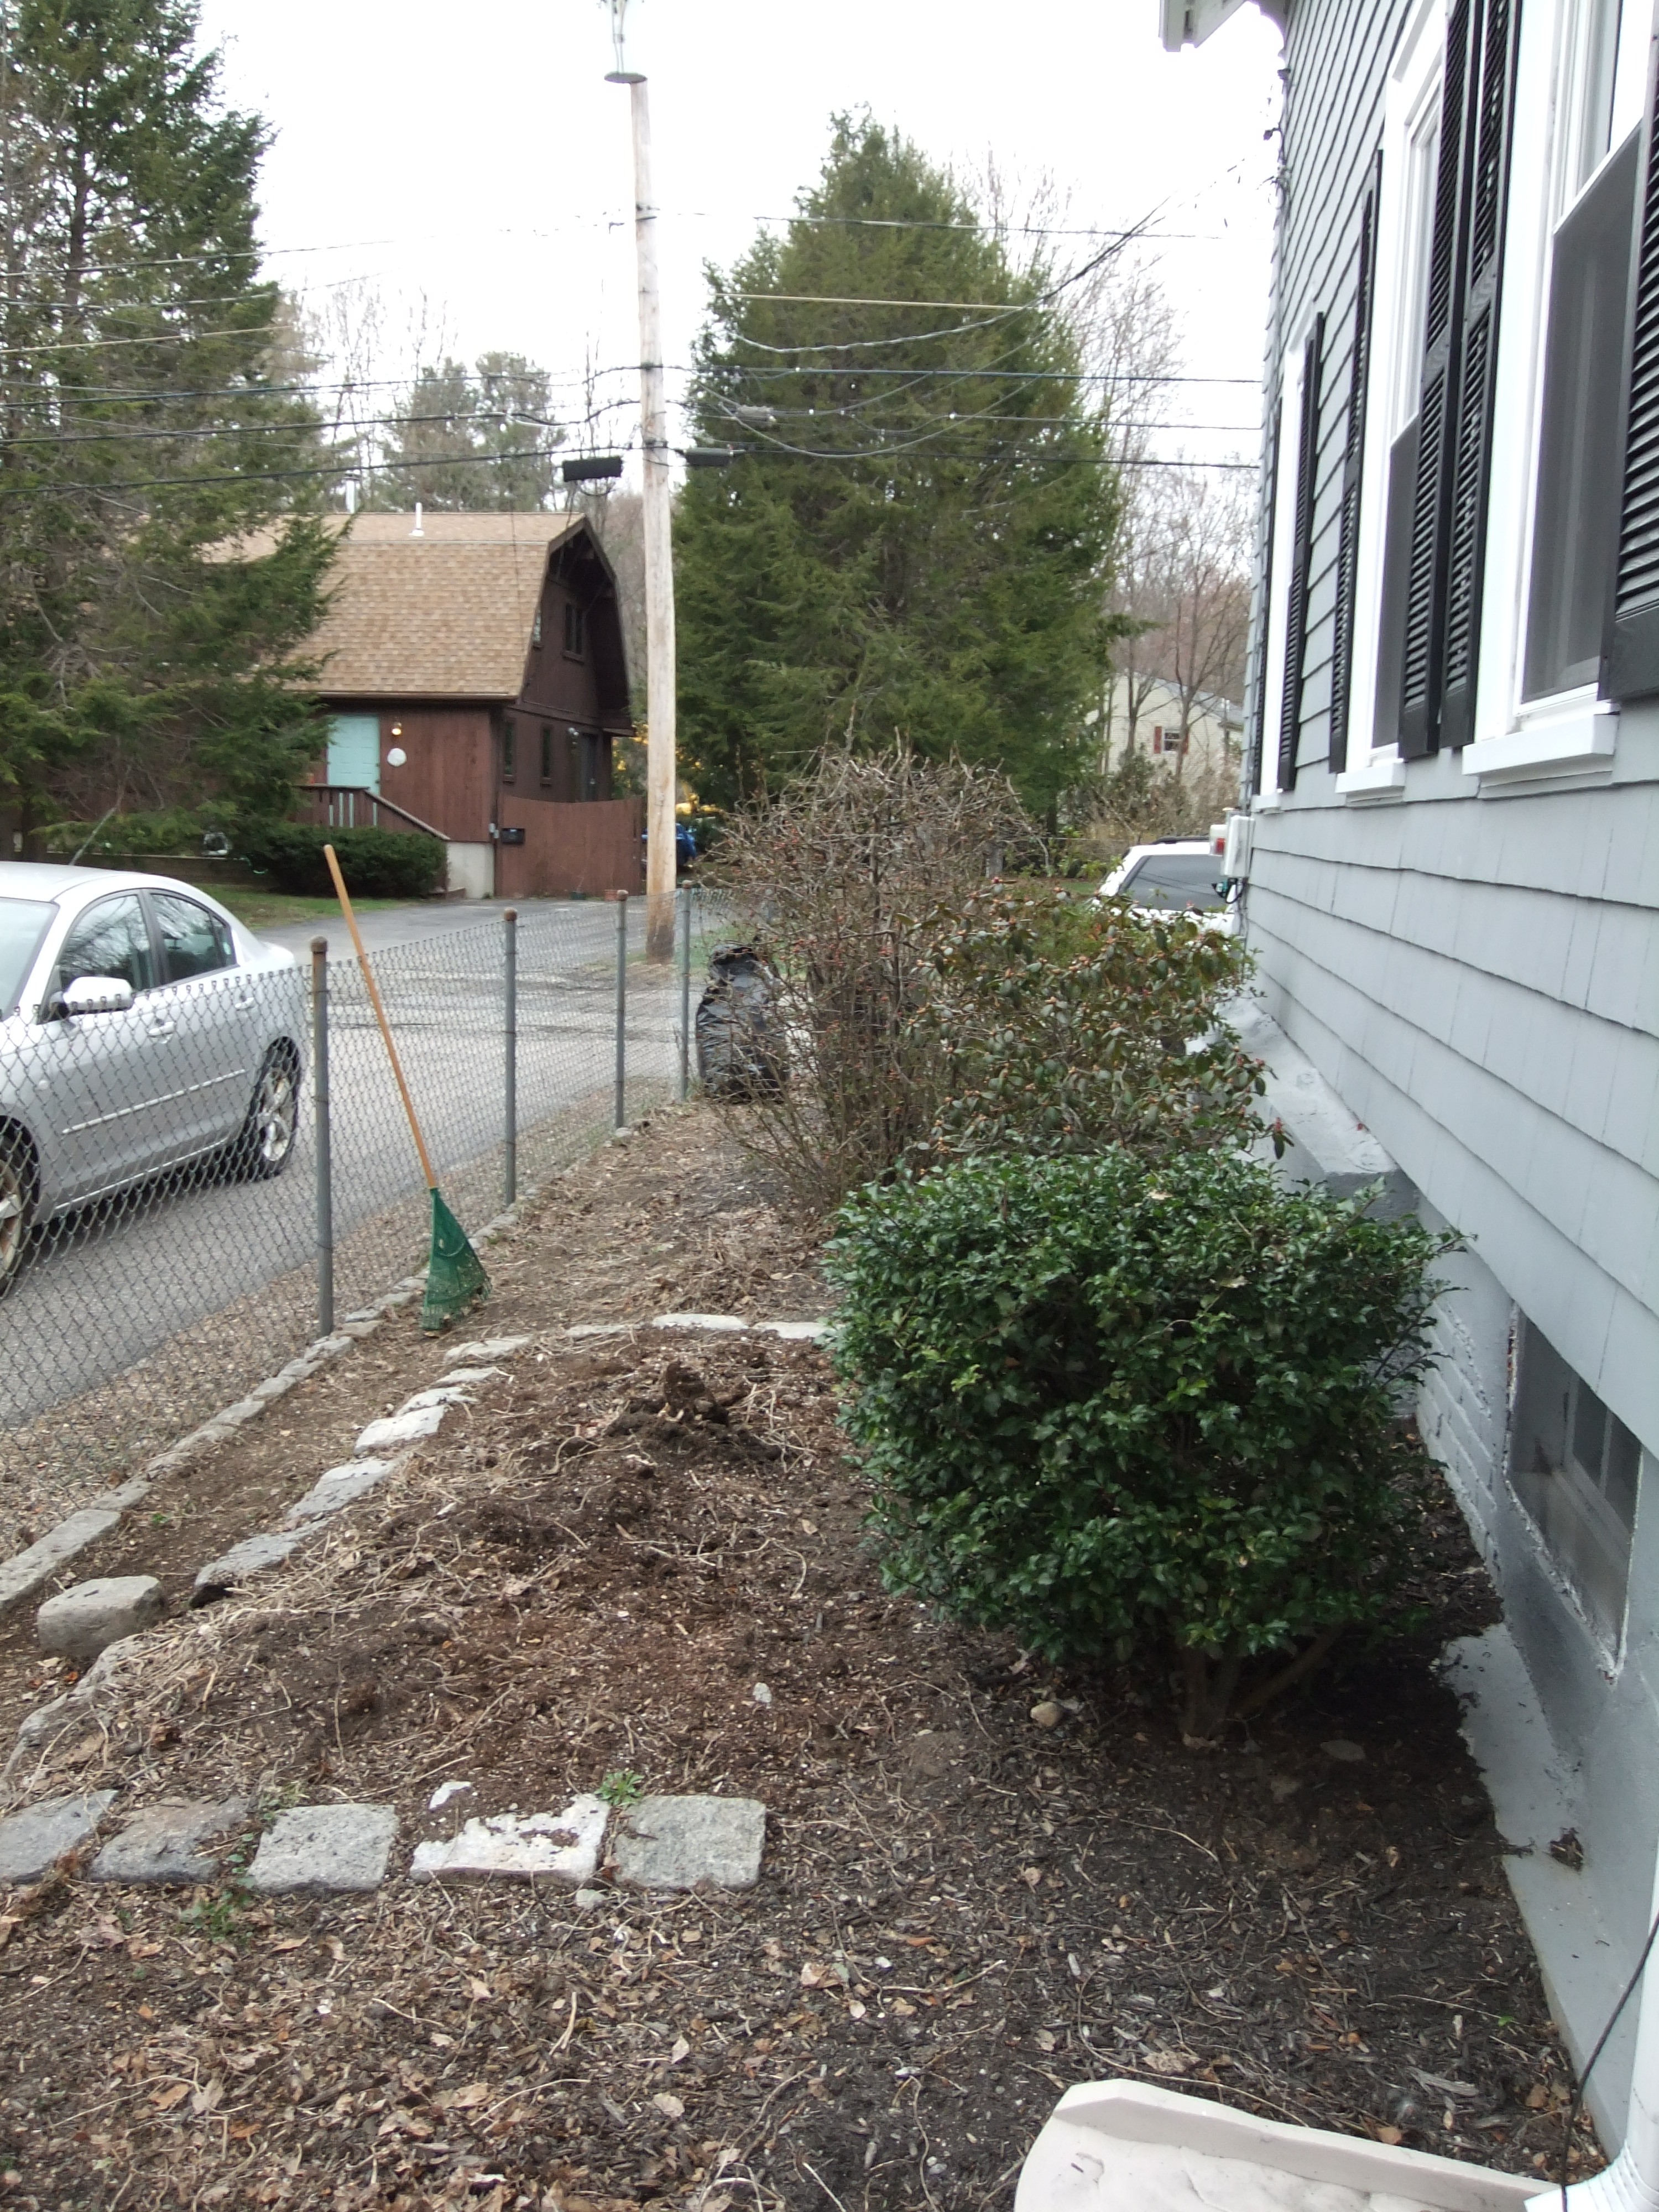
I neglected to take a "Before" picture before we tore last year's dead morning glories off the fence.  Mom was a little eager to get her hands on those eyesores.  Here's the "Before" sans dead vines.

Cheery, right?  No? oh.

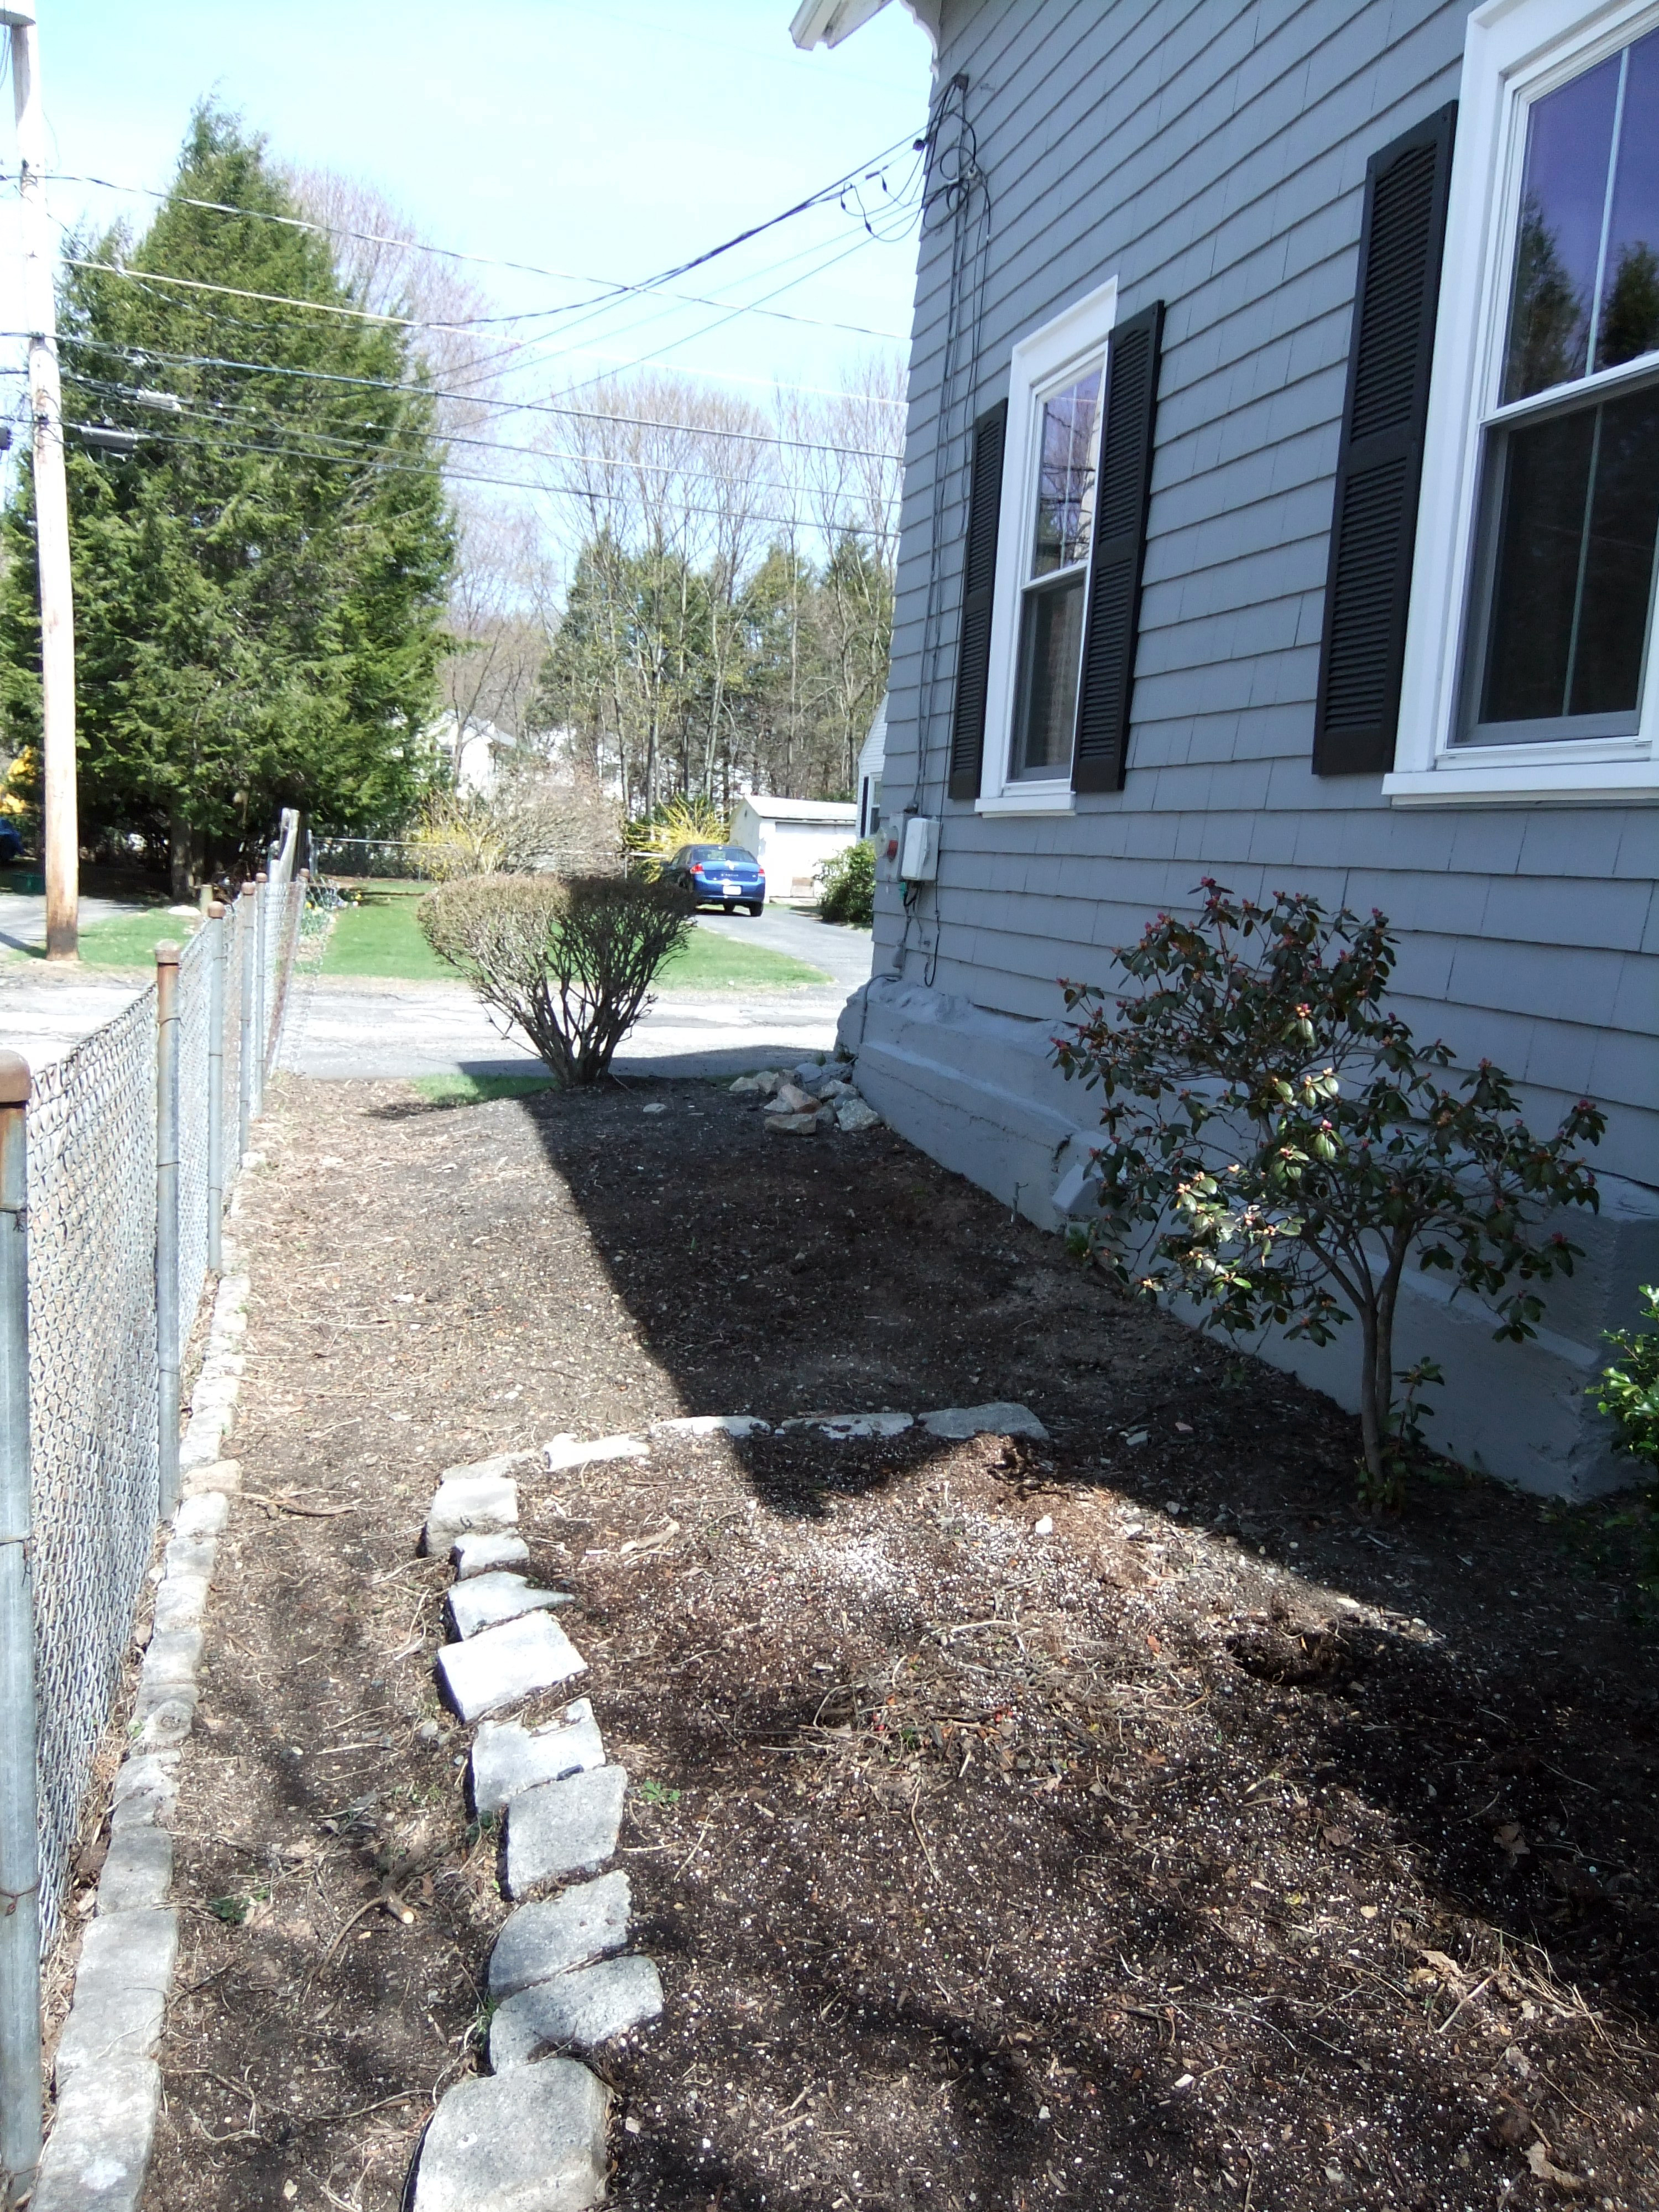
After we attacked the offending bushes and raked up winter's aftermath, it looked a little better.  Instead of looking dead and depressing, it looked sparse and a little less depressing:

Now that its warm (although being in New England, I'm still not convinced that next week won't be freezing), we decided it was time to move to the next part of our plan.  Veggies!

You like Hubby's cheesy digging pose?

Drum roll please.....................

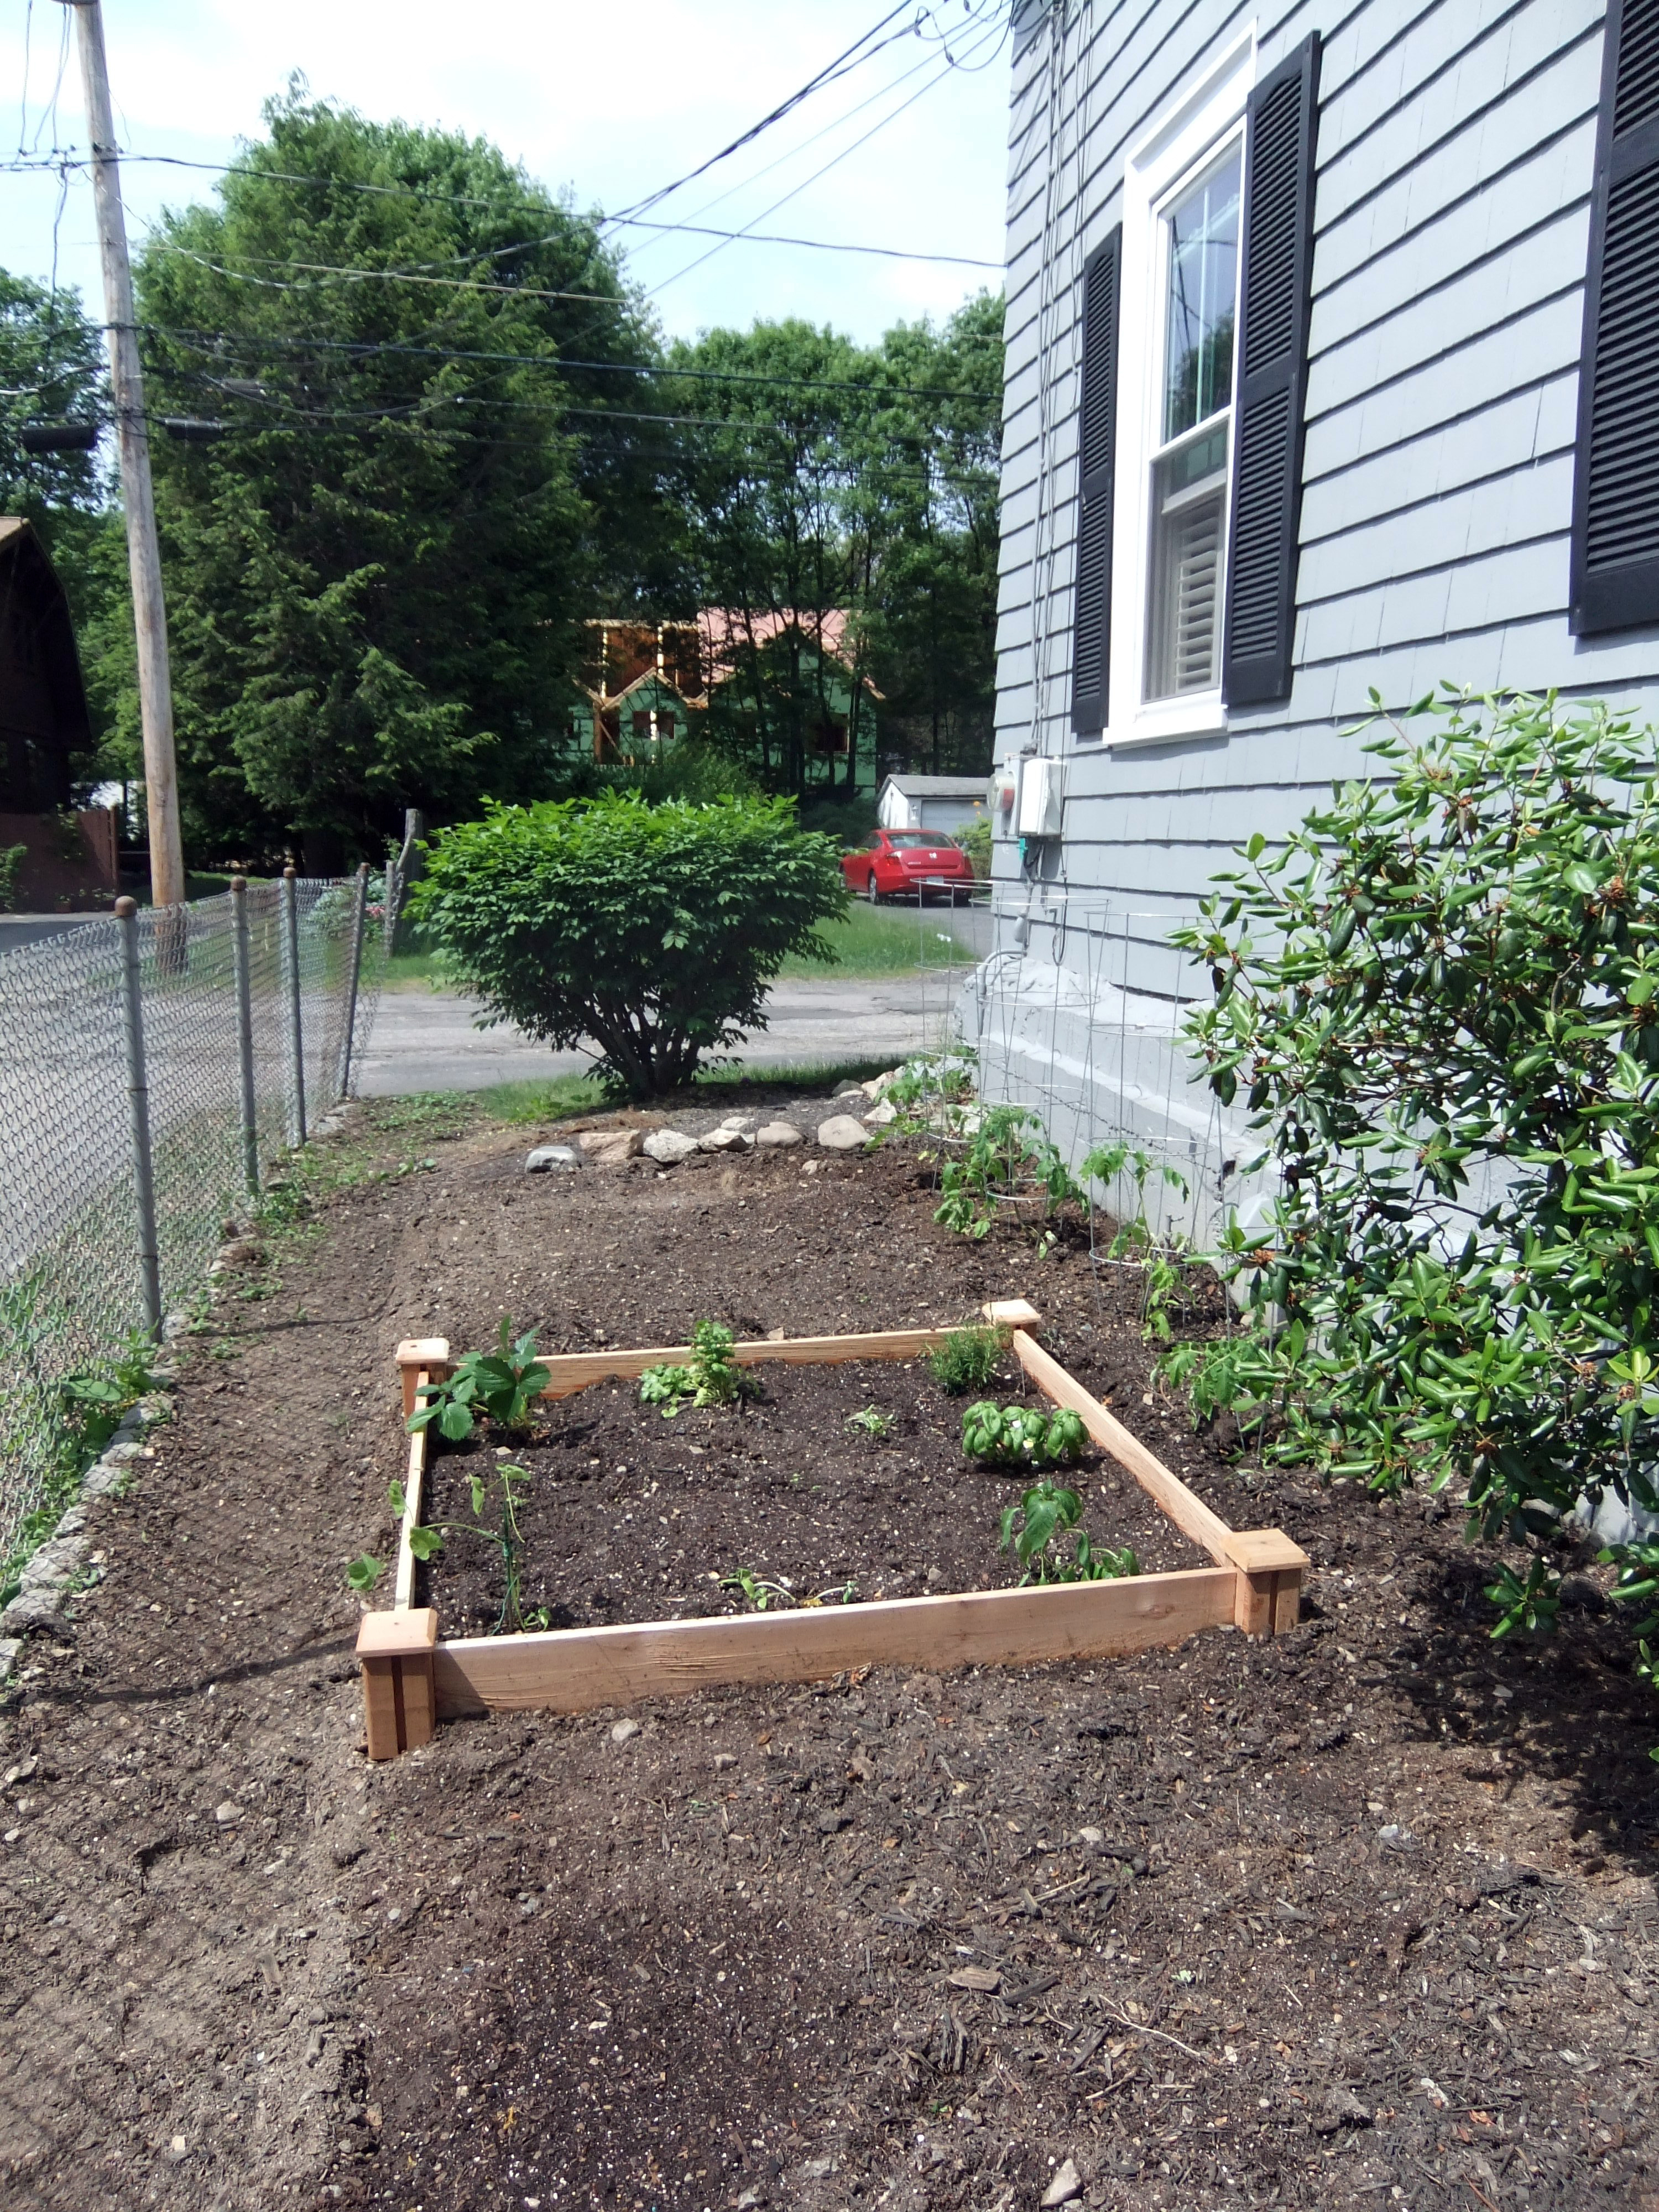
Here's the after:

I know, one small 4x4 planter is a little small for the space, but baby steps here!  It won't be lonely for long.  The ultimate plan will also include a stone path around the 3 or 4 planters and mulching the remaining side yard.

Before you yell at me for not taking care of all the weeds by the fence, most are the beginning of this year's morning glories (I hope), so I'm seeing what happens there.

I also found a few non-biodegradable vintage 'treasures.'

I think I'm going to put them in a box with my gorgeous old electrical box.  I can't bring myself to get rid of this stuff even if it is junk.  It somehow ties to the history of our house and I'm crazy fascinated.

Reflections and New Mirrors

After the whirlwind cleaning and house prep for the housewarming last Sunday, its been a week of mental recovery.  I was pleased with the way the house looked for the housewarming, but its still not where I want it to be.  I suppose its pretty darn good for only having lived there for only 4+ months, but it still doesn't look designed.  Call me crazy (and I'm sure you will), but I feel like as a designer, my house should be held to a different standard.  ...But as I've ranted before, too much corporate design has atrophied my residential design chops.  I'm planning a trip to the library (or maybe an order to Amazon) to get some inspirational books that keep repeatedly popping up on my radar: Details: A Stylist's Secrets to Creating Inspired Interiors, Undecorate: The No-Rules Approach to Interior Design, and Decorate: 1,000 Design Ideas for Every Room in Your Home to start with. Before the housewarming I didn't realize how busy I was making myself and how much I just needed to stop for a minute and relax.  So I've been making up for that this week ;-).  Between needing a break from house projects and a painfully quiet week at the 9to5, its been tough to find inspiration in the past few days.  Forcing myself out of this funk, I still have a pre-housewarming project to share with you!

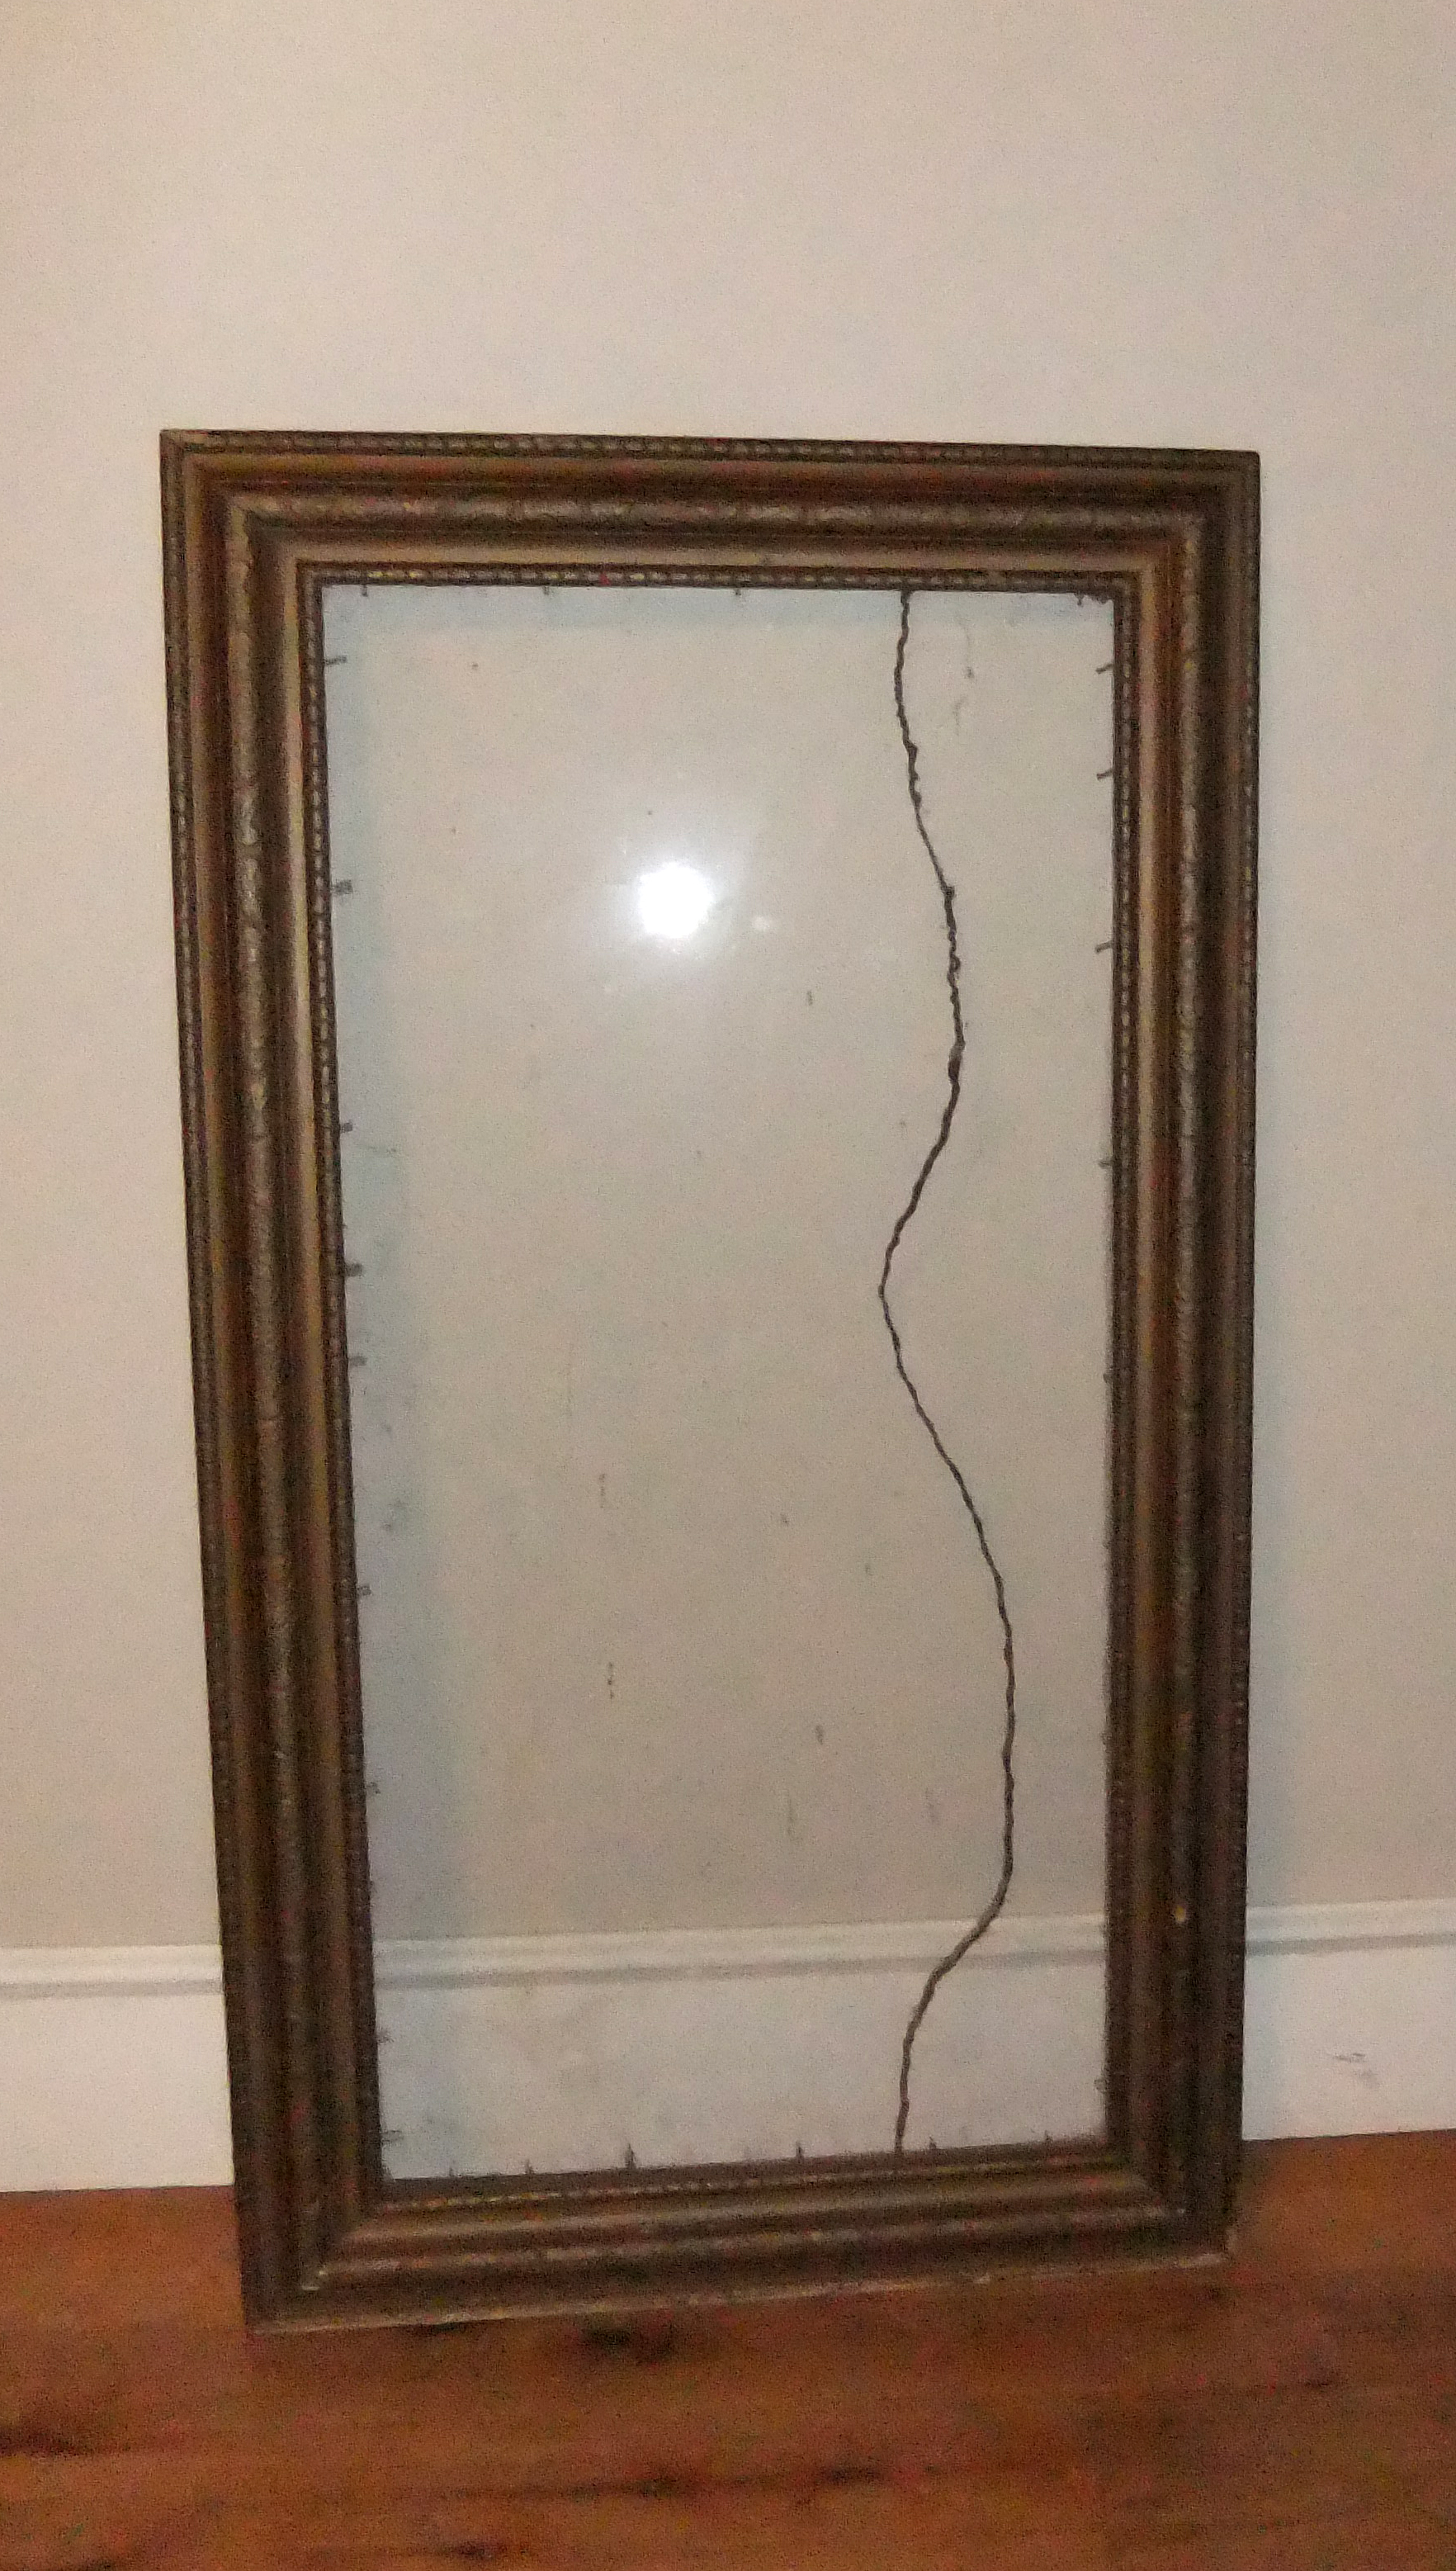
Remember the $4 rummage sale frame I got?

Well, it doesn't look like that anymore.  It's now a mirror!

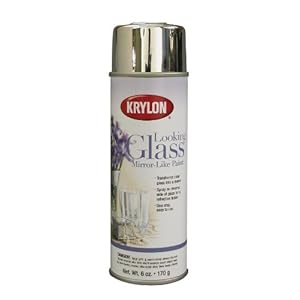
After seeing it featured on the Nate Berkus show, I decided to hunt down Looking Glass Spray: a spray paint that gives a mirror finish to glass.  I made a few calls to the local craft stores (and looked in the home improvement stores),  and realized my only way was to order it on Amazon.

Here's where I've failed you- this project was part of the whirlwind before the housewarming, so I neglected to take progress pictures.  Will you forgive me?

The frame itself got a fresh coat of hammered gold spray paint before I secured the glass to it with epoxy.  Once the glass and frame were secured, I took 2" painters tape and (on the back side) taped around the edges of the glass.  Following the directions on the spray, the back side got 5 thin coats (and one minor drip- oops).  Pull off the tape and voila!

Overall, I'm very pleased with the outcome!  Its more reflective than the picture shows, but not as much as a traditional mirror.  It kind of has an antiquey feel to it.  I think next time I would actually put 1 or 2 LESS coats to make it look a little inconsistent and a bit more like a weathered vintage mirror.  I'm itching to use this spray on some glassware to make it look like mercury glass.

I have a few other projects in the pipeline including bedroom curtains and planting some new flowers (from friends and family from the housewarming), but I'm boycotting house projects at least until the weekend.