Dori the Flip House: week 5

I hope you enjoy these weekly updates as I learn to navigate through the business of flipping houses.  My latest flip house, Dori sports the 3 L’s in real estate, but will need more than a bit of creativity to make the house sellable. You can find more about this house and about my 4 previous flip houses here. While I'm not quite to the stage of the 'pretty progress' which, let's face it, is the most fun stage to look at, lots o stuff got done this week!!!

This is my favorite view because you can pretty much see everything in the house and how open and bright it now feels!

dori-w5-open-concept

The smaller, really only notable to me items that make the space feel so much more open were getting rid of the rest of the kitchen wing-wall, and opening up the hallway.  There used to be a doorway there with no door and while seemingly insignificant, it visually cut off the house.

The biggest happy dance by far this week is caused by this view.

Previously:

Dori-Kitchen-Before-1

Now:

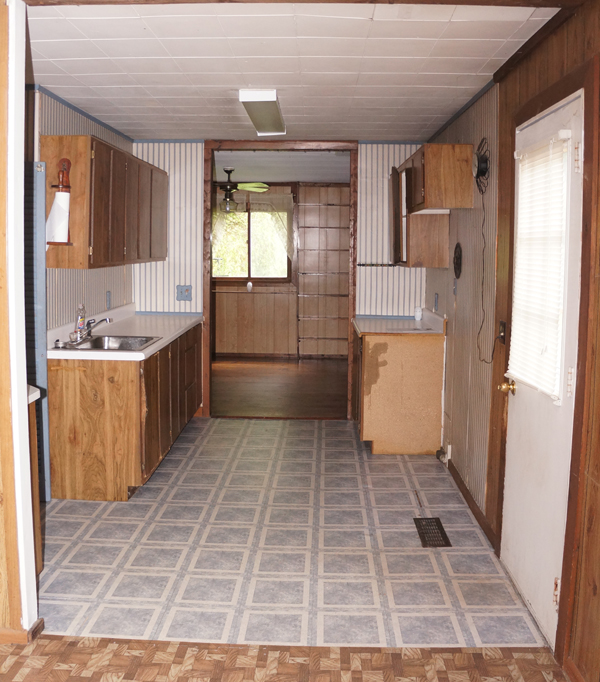
dori-w5-kitchen

No more wing wall (where the future breakfast bar will be), a door that actually closes AND lets light in, and oh, what's that in the back?

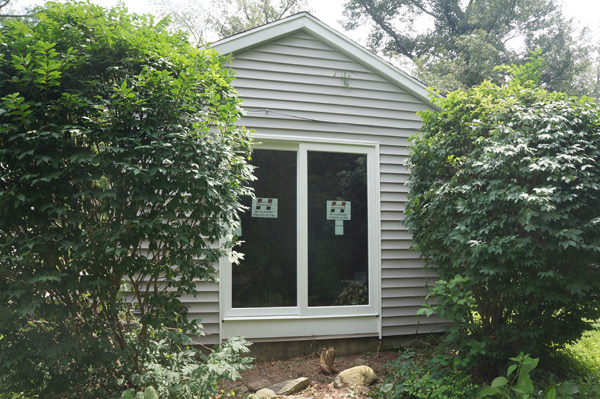
dori-w5-slider

Oh hai slider.  It'll let even more light in once the landscapers evict these 2 monstrous bushes, but even as is, it helps to open the space up like crazy.  The house honestly feels double the size already.

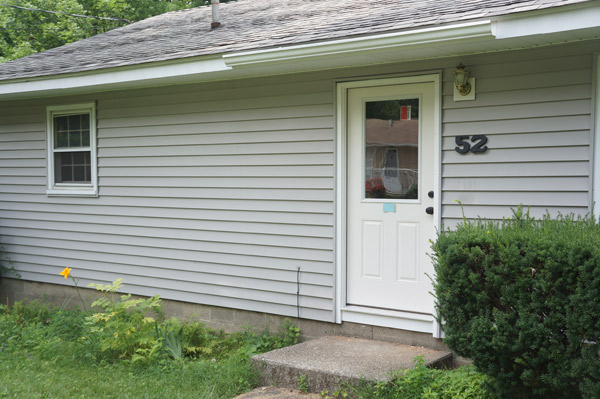
In addition to the slider and new side door, the front door also got replaced with one with a window (cuz this house needs all the light it can get!!)

dori-w5-front-door

I'm on the hunt for the perfect wreath that won't cost an arm and a leg to put on the door for staging/curb appeal.  I fell in love with this faux succulent one from Target, but it's way to0 small for the new door.  sadface.

dori-w5-wreath

Cheap, quick fixes are always fun when it comes to flips.  In the yard for example, there is a rope swing.  It's been there so long the tree has grown around it so there's no taking it down, but it kind of looked like a noose.....

dori-w5-rope

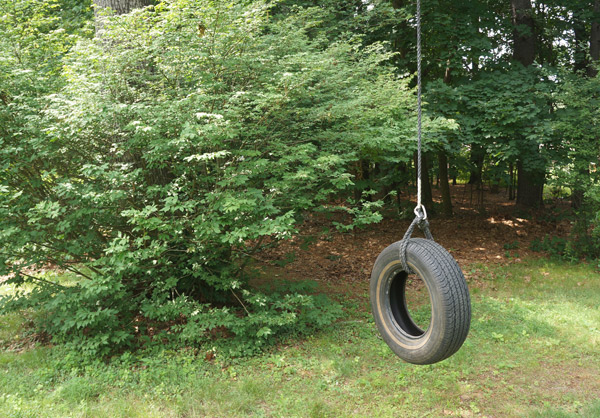
So I resumed my side of the road trash picking and found a free tire which, when combined with the noosey rope and a climbing carabiner became a charming tire swing.  Much less noose-like.

dori-w5-tire-swing

In preparation for the new windows (most of which are going in today!!), I got started on one of my DIY projects: wood shutters for the front of the house.  Nothing's screwed together yet, but all the pieces are cut.  These are so simple, yet their curb appeal impact is going to be pretty immense!  Tutorial coming soon.

dori-w5-shutters

Next week's progress will slow marginally while I wait for the drywallers to get started at the end of the week, but I still have plenty up my sleeve.  Once the drywall is in, however it'll be no holds barred with the progress.  Paint, plumbing fixtures, tiling, trim....I can't wait!!

Have a fantastic weekend!!

Dori the Flip House: week 4

I hope you enjoy these weekly updates as I learn to navigate through the business of flipping houses.  My latest flip house, Dori sports the 3 L’s in real estate, but will need more than a bit of creativity to make the house sellable. You can find more about this house and about my 4 previous flip houses here. This is bound to be the most boring flip update yet- you've been warned.  Only 3 things happened this week:

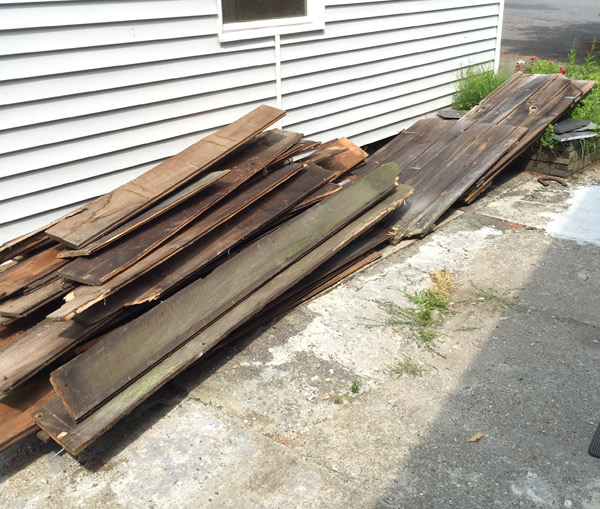
#1- I sold the old barnwood from the sheds on craigslist

salvaged-barn-wood

#2- The plumbers installed a new tub and readjusted the plumbing in the bathroom and kitchen to accommodate my planned layouts

w4-new-tub

#3- we finally have a building permit!  It's nice that it came through almost a week earlier than planned, but unfortunately my contractor isn't available to hit the ground running until next week.  But you best believe that next week, BIG THINGS will be happening!!

Well, I guess one more thing happened: I ordered a LOT more things.  Light fixtures, bathroom vanity, faucets, tile, etc.  I plan to have absolutely every item needed ready and waiting when it's time to install.

Luckily, I think I have all my design plans worked out in my head- curb appeal, kitchen, bathroom and what each room is going to feel like....  Now I'm just going to be keeping my fingers crossed that construction and the schedule go according to plan.

Have a wonderful weekend!


Concrete Tile Art

Now that the new railing is installed and the 12' entry and stairwell are painted (phew!), the upstairs hall was screaming for something special.  While I enjoyed the previous acoustic tile 'art' that had been chilling there for 3 years, it's time for an upgrade. When I purchased my antique newel posts, I also made an impulse purchase- 4 salvaged concrete tiles.  Seriously impulse- they had a single concrete tile sitting at the checkout, so when I went to buy the posts it was love at first sight.  They pointed me to the pile of 20 and I shoveled through the broken or hopelessly chipped and rescued the best 4.

trunk-tiles

Once home, then I started trying to devise a plan of how to hang concrete on a wall.  My mind went through tons of complicated contraptions and finally settled on the simplest solution.  Gorilla Glue, wood, & 3m picture hangers.                   *side note* No sponsors, just trusty products that I keep finding new uses for

The back of the tiles were jagged- let's call it rustic.

concrete-tile-backs

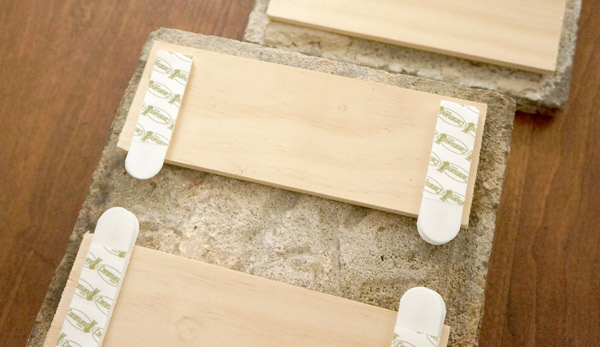
The picture hangers wouldn't stand a chance sticking on the concrete, so I needed to provide them a flat surface to adhere to: wood.  And what better way to get wood and concrete to marry than some serious glue.

concrete-tile-glue

After spending several hours stacked with a lead weight on top, the romance between wood and concrete became enduring.

concrete-tile-weight

Next came picture hangers rated for 12lbs.  Each concrete tile isn't even close to 12lbs, but I'd rather be safe than sorry.  I think I'd cry if these things came crashing down on my gorgeous, but soft refinished pine floors.

concrete-tile-hangers

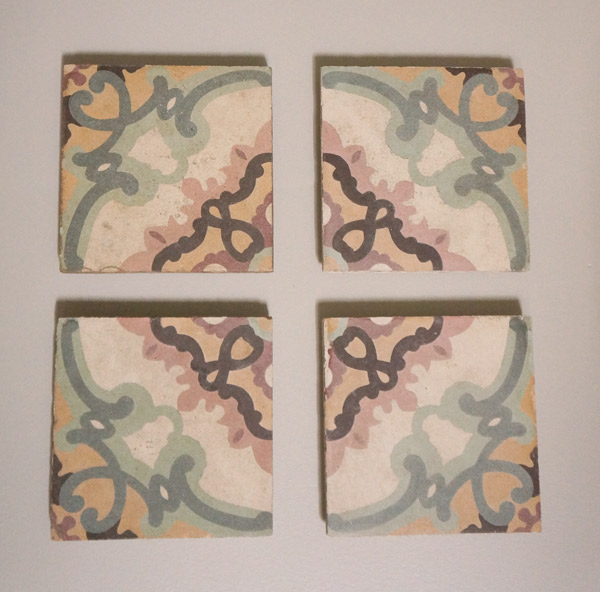
I'm so happy to see this new art hanging at the top of the stairs!

Concrete tile art

Concrete tile art

What's even more exciting is: if I get sick of the pattern as it currently stands, I just need to flip the tiles (requiring no modifications or reconfiguring to hang differently thanks to the picture strips) and a new pattern emerges.

Concrete tile art- alt pattern

How cool is that?

I can't help but wonder about their origin.  Were they in grand foyer perhaps?  Or maybe a posh powder room?  I wish I could have seen them in all their original glory!