I hope you enjoy these weekly updates as I learn to navigate through the business of flipping houses. Check out other posts about Frankie the Fliphouse HERE. It's crunch time here at Frankie! Windows are getting installed in less than a week, and the goal is to do some touch-ups after, then LIST! I'm not sure if the basement will be 100% complete at that point, but the main floor of the house is looking mighty pretty. Especially the kitchen.
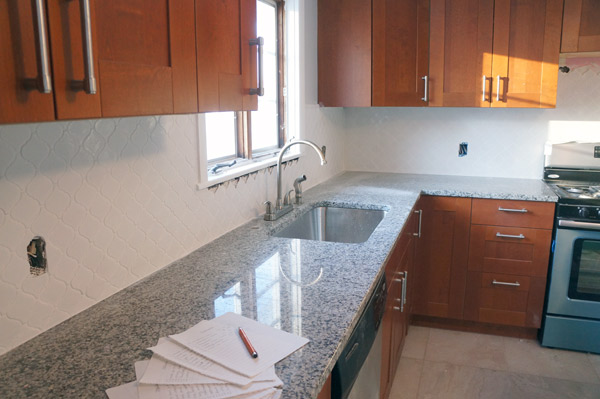
The kitchen now has countertops AND a pretty backsplash!! And working plumbing!!
I'm loving the Moroccan shaped tiles- just the right amount of texture and interest. My muscles don't appreciate the time bent over the counter and running up and down the stairs to make cuts (with the tile saw in the basement), but the result is worth it!
I still have to wipe them down again to get rid of the haze and make them super shiny...But I also have some fixing to do. Probably later once EVERTHING else is done.... but I hate making mistakes. It's no fun. It's kind of embarrassing to admit that it took me a full day to realize why the grout looked kind of terrible once it dried. I first tried to blame it on cheap grout, but eventually the reality set it that I just used the wrong product. I used unsanded grout when I should have used sanded. Rookie mistake!
I'm hoping that another coat of unsanded grout on top of the already dried grout will have the necessary structure not to sink in the gaps and look silly. Fingers crossed!!! I feel kind of foolish that I did this- I just didn't think it through and I really hope I don't have to scrape all the grout out and start over. That would kinda suck (majorly).
But on a more positive note, I've started polishing up the hardwood floors and they're looking quite spiffy! Even just a good clean made a huge difference.
I used Rejuvinate Floor Restorer in High Gloss (after remembering that Young House Love had a good experience with it) and it didn't disappoint.
Hello Shiny!
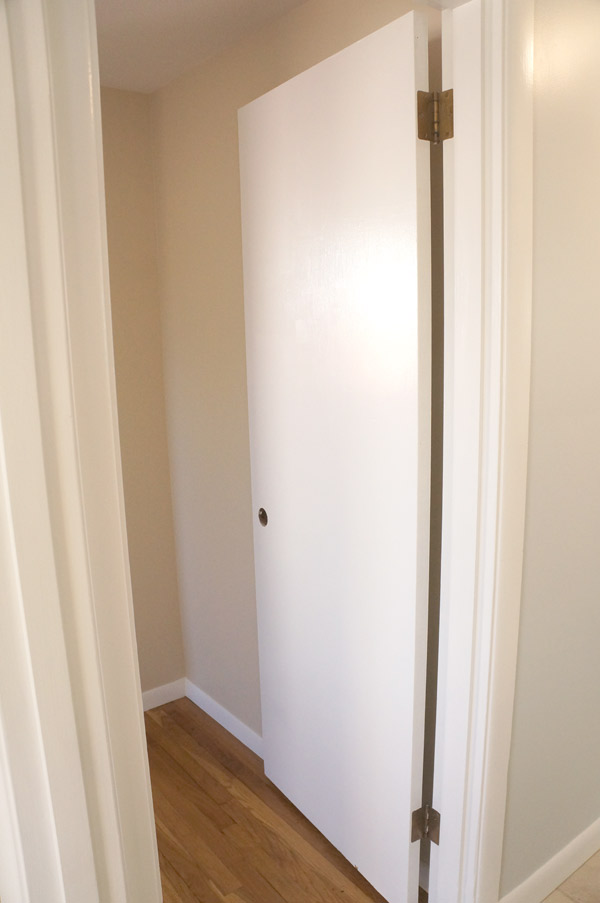
As I finish up with the floors, I'm also rehanging doors at long last!! Those buggers aren't the easiest to get realigned when you've completely taken them down. Maybe today the bathroom'll actually get a door. Apparently a door is a very important element to a bathroom. Who knew?
Back down the hall in the kitchen, I was also finally able to cut down the butcherblock for the dresser/island. I had to wait until I had a second pair of hands at the house to lift it- a 2"+ thick solid wood slab weighs a few pounds. It's not attached to the island just yet, but I'm already finding it handy to have this additional surface. I can only imagine how nice it would be to cook in this kitchen! Ya know.... if I actually cooked....
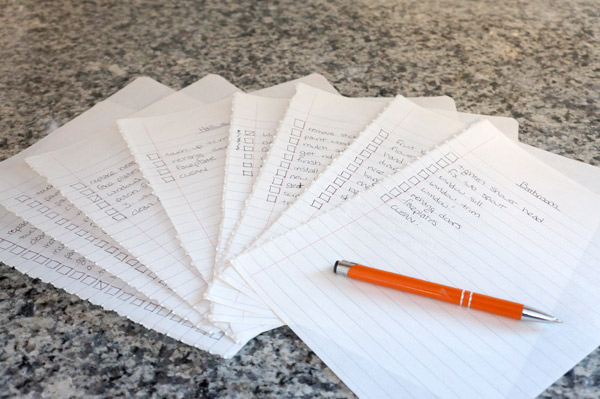
I took a bit of time yesterday to really look at what's left and make a bajillion and a half lists. Shopping lists, staging lists, to do lists.... I have a love/hate relationship with my to do lists. There are few greater joys in life than crossing off item after item on a to do list, but in their beginning stage, they're just intimidating:
None of the items on the lists are huge tasks anymore, so I'm really hoping that I can make quick work of these lists! Chop, chop, Karen, this house won't sell itself! Anyone in the market for a nearly move-in-ready home in good ol' Worcester, MA? The kitchen's going to be kind of amazing!


