Blog — Copper Dot Interiors

Project Flashback: DIY Wine Rack

wine-rack-angle.jpg

Have you entered Monday's giveaway yet?  Time is running out! With no flip still (trust, me, we're TRYING but this spring market is just too hot!  I wish I was selling a house now!), I'm itching to break out the power tools.  For some reason though other projects like planting and mulching the yard and cleaning out the basement for a well over due tag sale are taking precedent.  Instead of a new project to add to my to do list, I thought today we could reminisce about an old one.

Still one of my favorite projects- and still in use- is my kitchen wall-mounted wine rack.  Here's original post from back in 2013:

It's time for some wine!

DIY wine rack close-up

We've had a severe lack of wine in this house lately, because we haven't had space for a wine rack.  Hubby's been challenging me to make a custom wall-mounted one for months, so with the kitchen reno (hopefully) nearing an end, I realized this was the perfect time.  (and who am I to say no when Hubby request a DIY)

It all started with a quick sketch when I was watching tv one night last week.

DIY wine rack sketch

The dimensions got modified a bit as the project progressed, but this was a great place to start.  I enlisted Handy Dad's help for another set of hands (and maybe for his tools as well... maybe).

The materials:

  • 8' length of 1x6 poplar
  • Kreg jig screws
  • Wood glue
  • Toggle screws (for mounting to the wall)

The tools we used:

  • Chop saw
  • Drill press (a regular drill could work too, but it would be a bit more work)
  • 3 1/4" hole saw drill bit
  • Clamps
  • Kreg jig

The first step was to cut the boards to the desired length and mark out where my holes will go (this is where the dimensions got modified a bit).

DIY wine rack marks

Actually cutting the holes was the most difficult part.  We clamped the 2 side boards together so that the holes would line up perfectly.  To prevent as much splintering as possible, we drilled most of the way through one side, then completed the hole by drilling from the other side.  Slow and steady...

DIY wine rack drill press

This was my attempt to take a photo of all the pieces on a white background.  #whitebalancefail

DIY wine rack pieces

As you can see on the back pieces, I used my Kreg jig to drill pocket holes.  My friend Kreg is awesome- it's a very simple drill guide and special bit that makes it super easy to strongly join 2 pieces of wood.  I first read about it on Young House Love, and I quickly jumped on the Kreg bandwagon.

Next came assembly.  Every joint got wood glued and clamped, and the back supports were screwed together with Kreg screws for extra support.

DIY wine rack assembly

After assembly, I sanded the bejesus out of it, painted it with 2 coats of paint, and mounted it to my kitchen wall with toggle bolts (when all filled, the rack can weigh almost 30 pounds!)

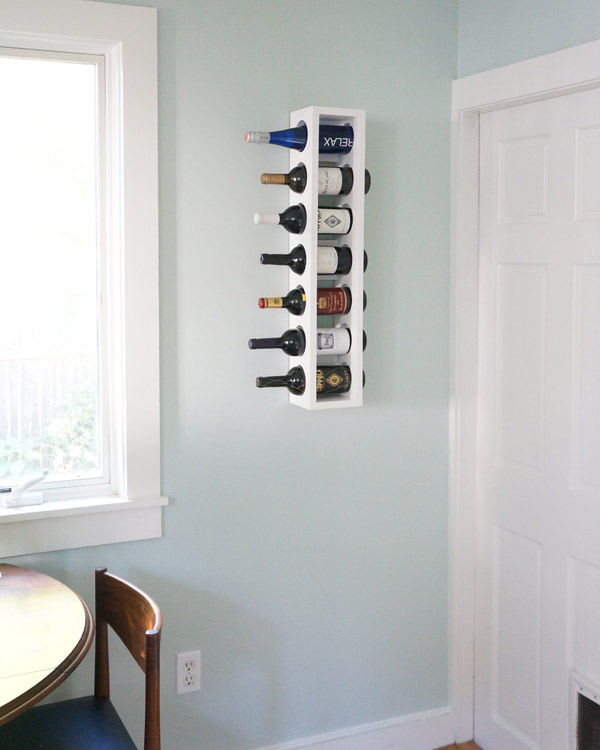
DIY kitchen wine rack

So, what do you think?  I think it fits perfectly in it's new home!

I originally had staggered the direction of the bottles, but Hubby and I both liked it a bit better this way.

DIY wine rack

I can't wait to reveal the whole kitchen to you- it's really becoming my favorite designed room in the house!

DIY wine rack closeup

Back to 2016 now- this project has held up perfectly!  Aside from a few scuffs from a rotating array of wine bottles being slid in and out, it still looks as good as the day it was built.  Some other projects don't even last 3 months in this house let alone almost 3 years!

Have an awesome weekend!

Affordable Pillow Sources

affordable-pillow-sources.jpg

Affordable pillow sources Did you guys ever see the Space Bags pillow commercial?  It's hilarious and probably hits a wee bit to close to home for many of us.  Look, there's a reason why pillows are addicting.  They're small, can be relatively inexpensive, easy to switch out, and are one of the best ways to soften and add interest to a room.  I drool over the pricey designer pillows naturally, but you really don't have to spend a ton to make it look chic and stylish!  Here are some of my favorite affordable pillow sources:

Society 6

You could get lost in a rabbit hole for hours on this site.  Society 6 partners with hundreds of thousands of artists who upload their original work and you can get those works as art prints, on cell phone cases, t-shirts, clocks, mugs, and pretty much anything.... including pillows!

Society6 pillows

Society6 pillows 1/2/3

West Elm

Who doesn't love West Elm these days?  With mid century modern all the rage, West Elm has you covered.  Pillow-wise, they're great for both bold batterns and textural neutrals.

West Elm pillows

West Elm pillows 1/2/3

H&M Home

Honestly, I always forget that H&M has a home section.  My local H&M doesn't stock home items (sadface) but I stopped in one while on vacation a little over a month ago and it seriously took all my willpower not to buy all the things.

H&M Home pillows

H&M Home pillow 1/2/3

Target

Target has a pretty extensive pillow collection both in stores and online.  They've definitely been upping their decor game by leaps and bounds in the past few years and the pillows are no different.  There's certainly some duds to sift through, but when they're good, they're REALLY good.

Target pillows

Target pillows 1/2/3

World Market

While their seasonal patterns aren't making me jump for joy currently, World market has some great go to colors and textures ideal for layering.

World Market pillows

World Market pillows 1/2/3

TJ Maxx/Homegoods

I'm lumping these together since they're the same company although only TX Maxx has an online store.  This may be my #1.  Sift through the generic beachy prints and geometric patterns and you're likely to find something that feels really special.

TJ Maxx pillows

TJ Maxx pillows 1/2/3

Don't you just want them all?  If you have any store you'd like to add to the list, please share in the comments!  Share your pillow source secrets!

Brass Tray Chalk Sign + Giveaway!!

brass-tray-chalkboard-1.jpg

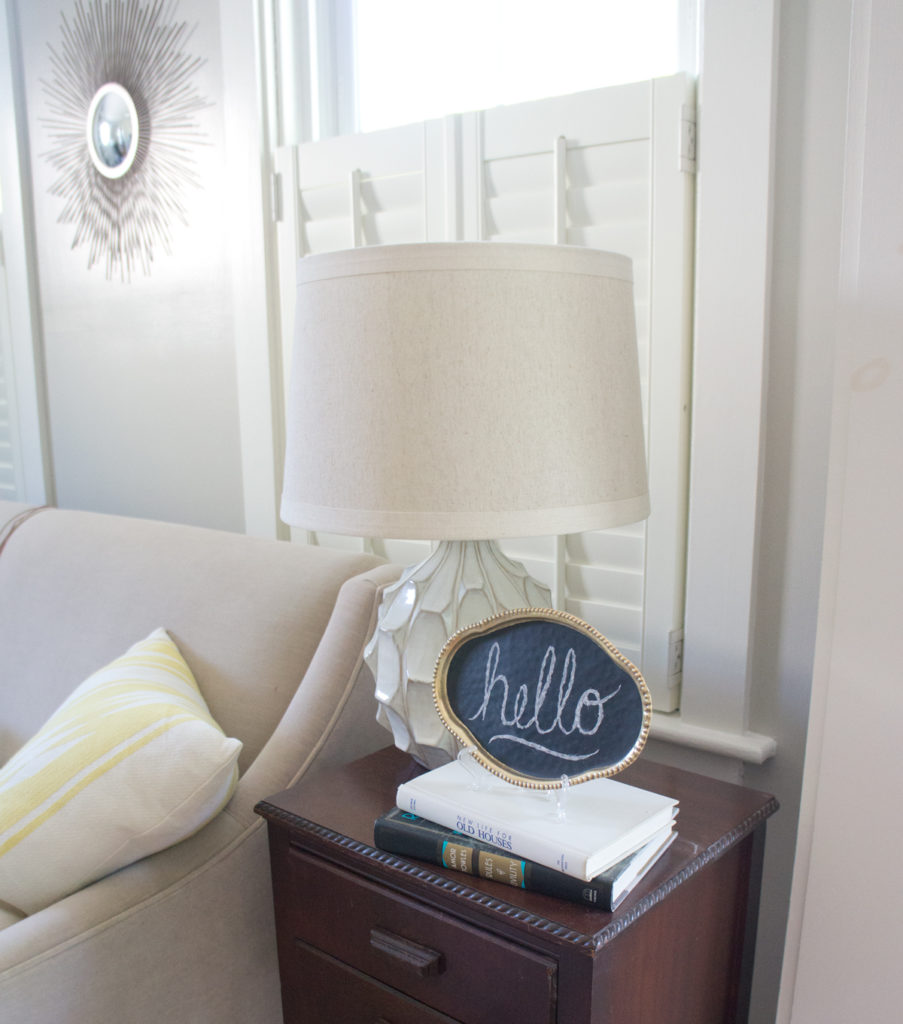
Spring into Creativity DIY and giveaway WIth my sister-in-law's wedding less than a week away and yours truly in charge of some decor items, I've got a DIY fire under my butt.  I don't know about you, but with me, one idea always snowballs into 7 or 8 ideas and now I need to see what I can get set in time!  One super duper easy DIY for the wedding was a brass tray chalkboard.
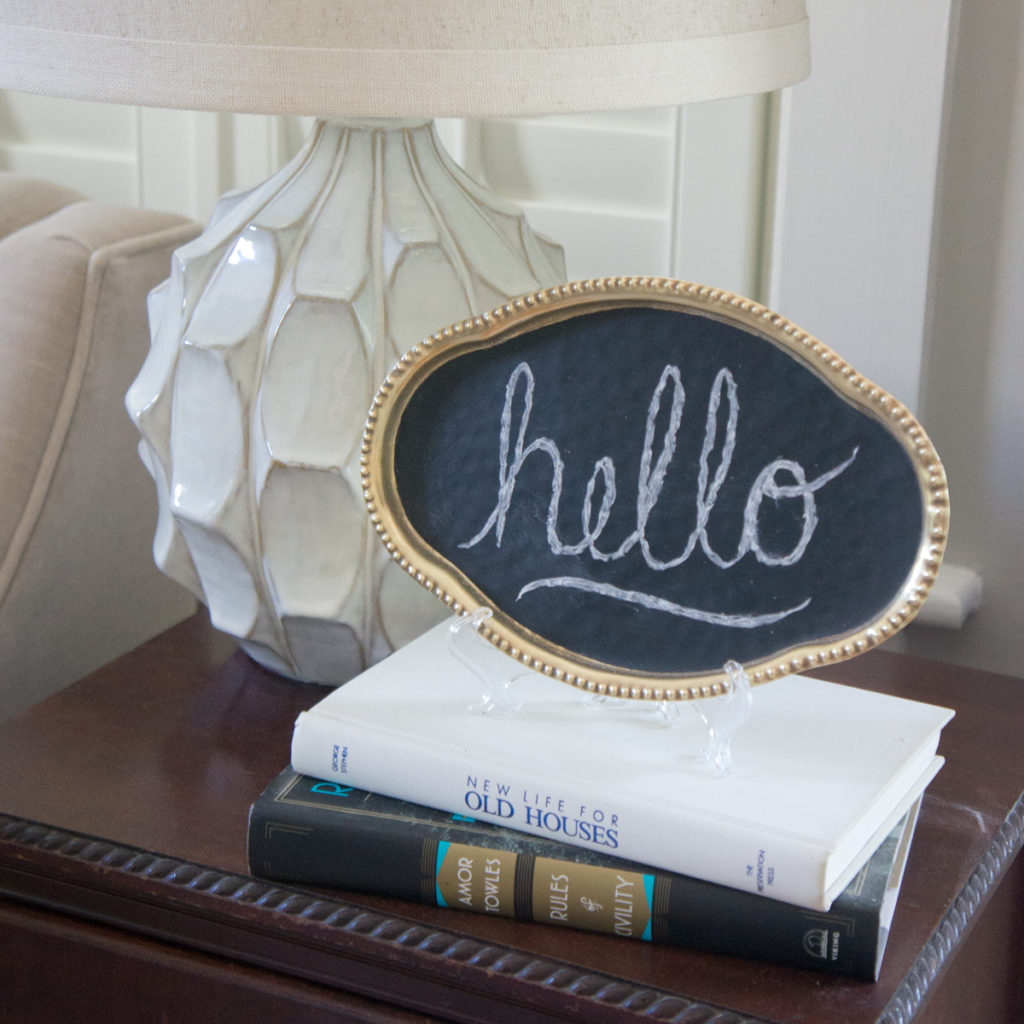
Brass chalkboard tray sign

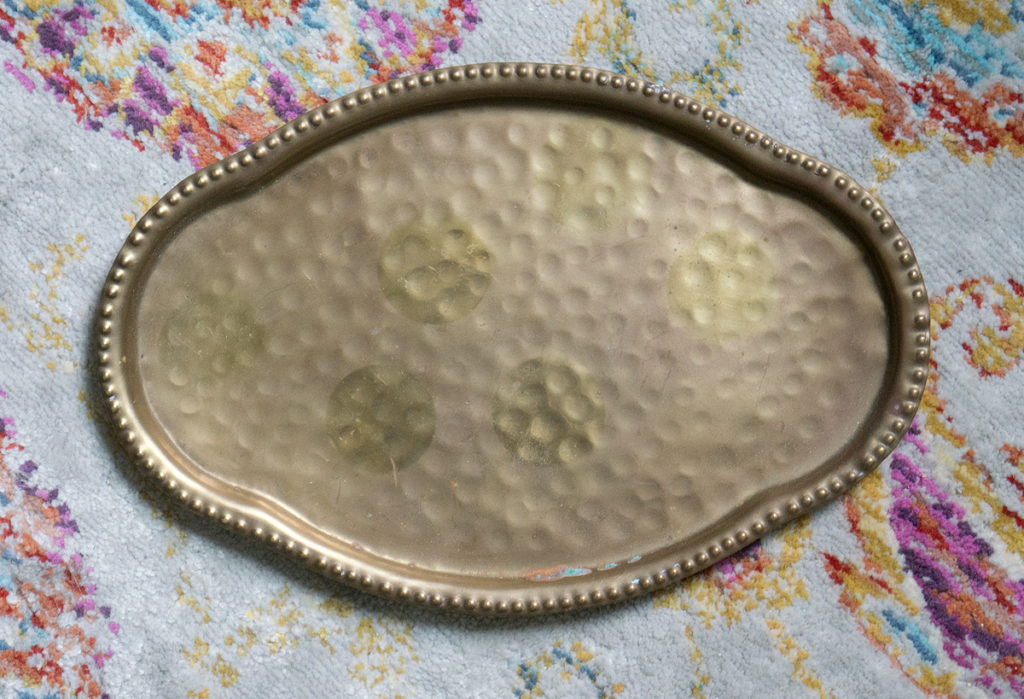
I saw this little brass tray at the thrift store several months ago and it instantly screamed chalkboard sign.  Because things scream at me at the thrift store.  It happens.  Don't judge.

Thrifted brass tray to DIY

Aside from the under $2 tray, I had all the remaining supplies already.

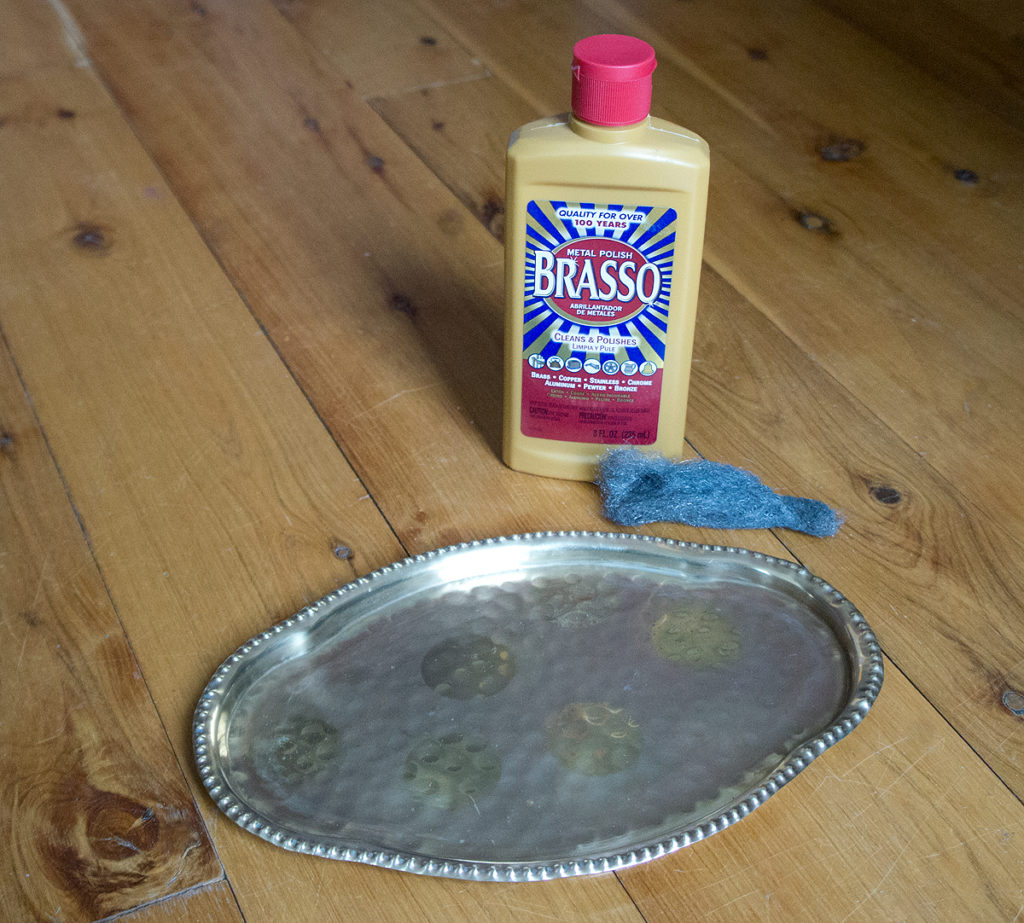
First was polishing up the edges with steel wool and Brasso.  Since the middle was going to be covered with chalkboard paint, I didn't bother polishing there.

Thrifted brass tray polishing

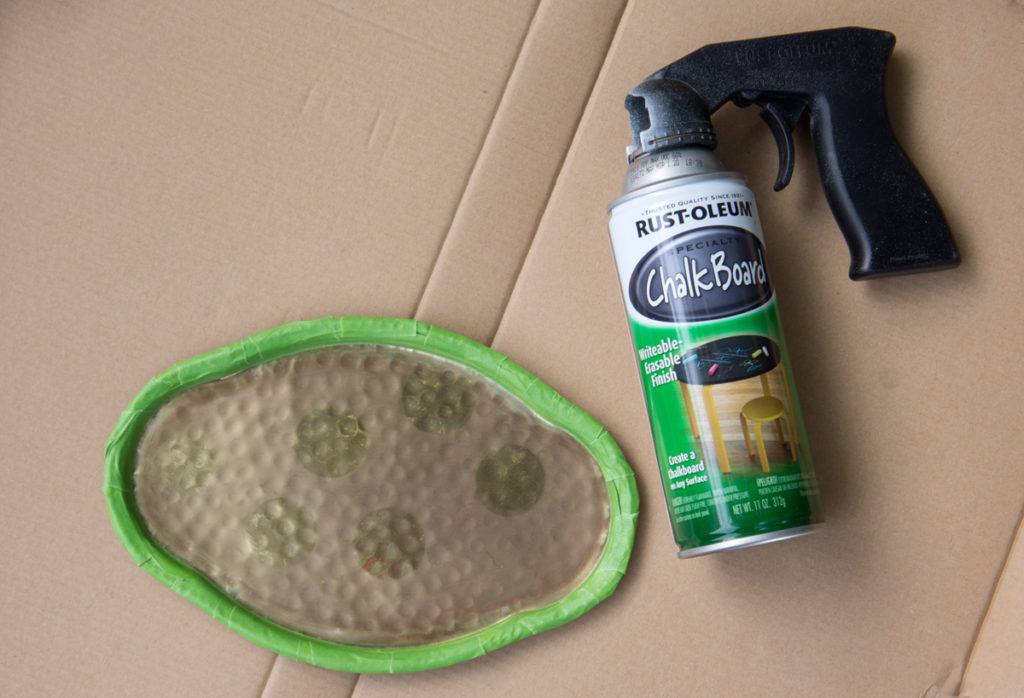
Next, I taped off the newly polished lip with Frog Tape and brought out the chalkboard spray paint.  I made sure to seal down the edges with my finger repeatedly before spraying to prevent paint bleed.

Brass tray taped off for paint

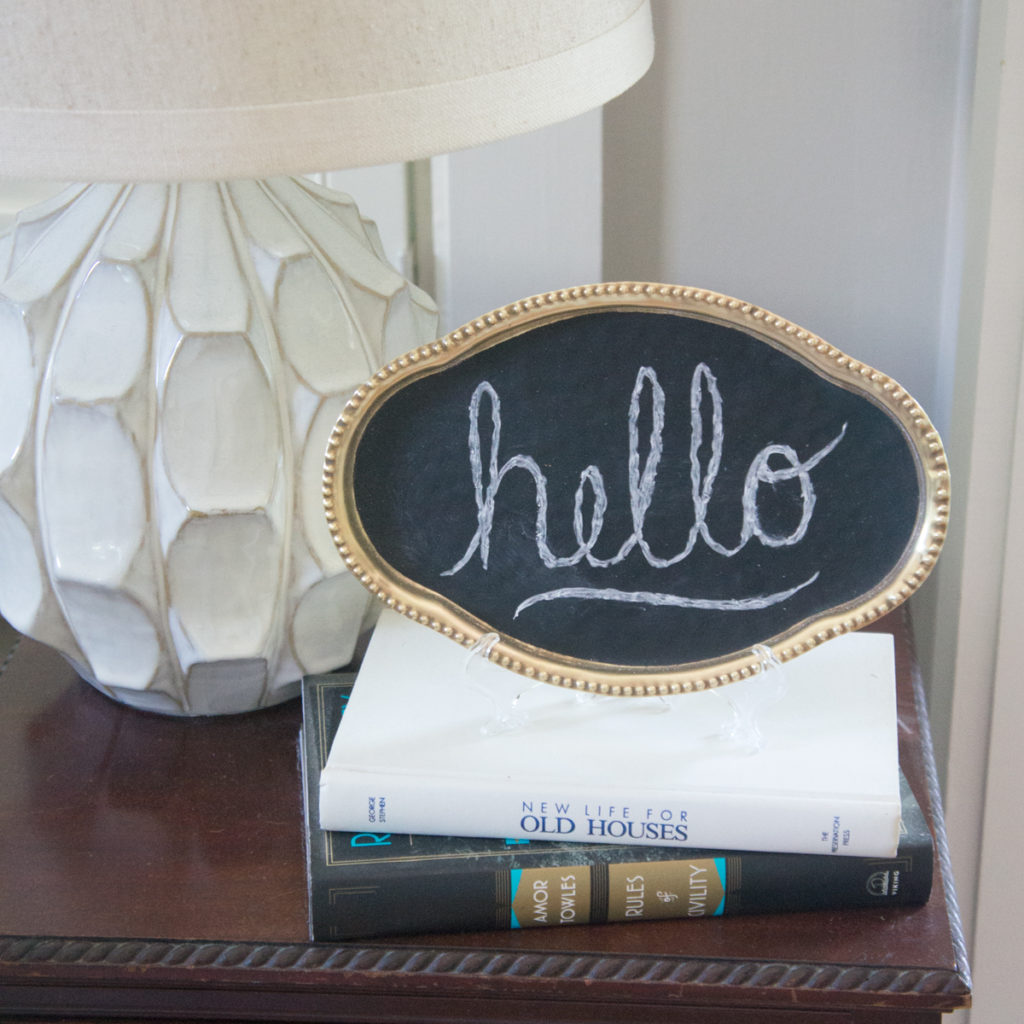
After waiting a few hours for the paint to really cure, out came the chalk!  The texture was a little challenging to get a straight line- I think I need to practice a bit more before the wedding, but how cute it this?

Brass chalkboard tray sign

Brass chalkboard tray sign

At the wedding, I'm thinking this little sign will be a great place for a wedding hashtag.  #aintnopartylikeagoodmanweddingparty (ok, maybe something a bit shorter)

With my spring DIY mojo finally back, I'm partnering up with four other bloggers today to share the DIY love, inspiration, and maybe give you a jumpstart on your own projects!  One lucky reader is going to win a 100 Michaels gift card AND a year subscription to Do It Yourself Magazine!  Pop over to the other awesome ladies blogs to check out their DIY goodness!