Roommie

Charlie's already embraced his new roommate and has spent most of the day in his new favorite spot, under Mom's bed.

Daisy's still on the fence.

I hadn't realized until now, but I never took pictures of what the guestroom looked like before we started prepping for Mom.  It's been the extra room that houses our 2nd tv, elliptical, and a super comfy chair and a half that took up the whole room.  Aside from the tv, we have really bought nothing for this room.  The chair and a half found a new home with a friend so we could make room for a guest... in the guest room.

If you missed my previous post about our house guest, my parents' are in the process of relocating to MA from CT to be closer to the cutest nephew ever (oh, and maybe their daughters, but really it's my nephew's fault).  Mom's new job as a school librarian starts today as the new school year gets ready to start.  Since they haven't found the right house yet, we have a house guest for a bit.

Even though Mom keeps saying not to worry about design since this is only temporary.  I have a feeling some of my 'extra' curtains and wall decor will find it's way in here.

The next few months will be a very interesting social experiment.  This house was not made for 3 adults (and 2 cats), especially since Mom and I haven't lived under the same roof since I graduated college.  758r^ (That was Daisy's contribution to today's post- she likes to prance over the computer as I blog)

It takes a lot of guts to uproot your life after almost 30 years in the same house, decades in the same jobs, and a lifetime in the same town.


Trim by Numbers

picture-rail-trim1.jpg

A year and a half living in this house, I'm finally starting to feel 'settled in.'  I guess all it took was addressing the dining room- why didn't I do it sooner?? Warning- this is going to be a long one.  Lots of steps.

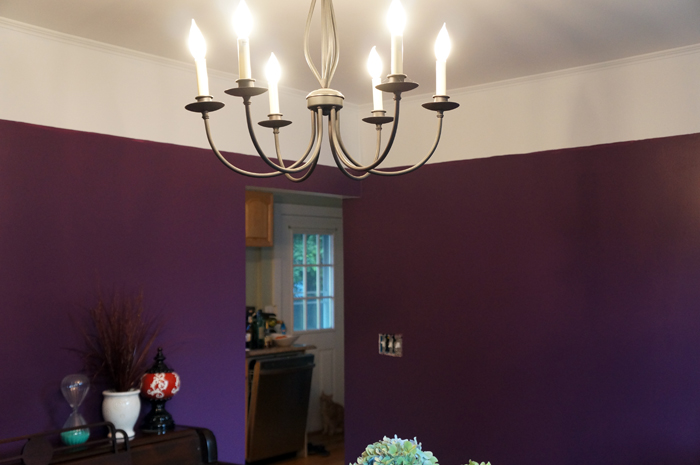
Before I get to the "HOW," lets take a look again at the results

Ok, so how did someone with zero moulding/trim experience add detail to my dining room that looks like it's been there 100 years?

Well, the first step was paint.  I measured down from the ceiling, then used a laser level to connect the dots.  Since the trim was going over the line, I didn't have to be precise.

I ordered actual picture rail online from here since the local big box stores don't carry such specialized trim.

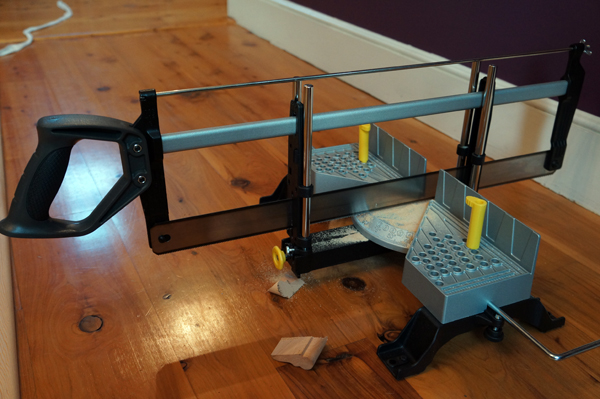
When it comes to cutting the trim, this guy certainly helped.  Meet my new adjustable miter saw.  45 degrees? no prob!  60 degrees? piece of cake!  70? no sweat.  Ok, so it couldn't really do anything in between increments of 5, but that's where caulk and wood filler come in.

The room has some wonky corners, so it was like putting a puzzle together.

So why not treat it as a puzzle?  I picked a starting point and numbered the wall where each piece of trim needed to be.

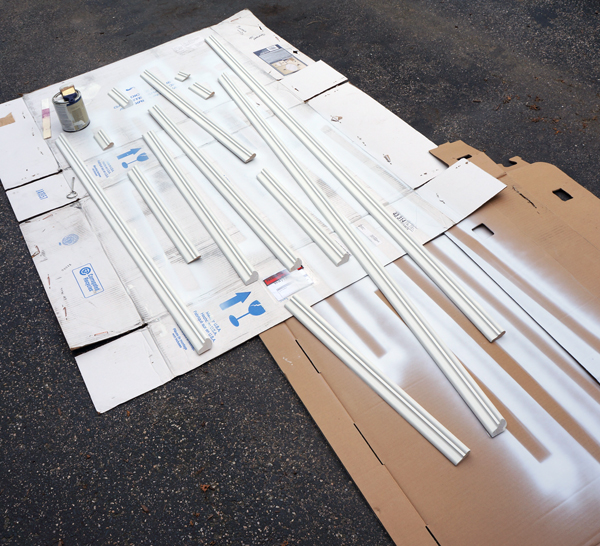
As I cut each piece, I numbered it accordingly to avoid the inevitable confusion later.

Even with all my planning, I still managed to forget to cut one piece and had to go back and cut it once all the rest were painted and installed.  That's how it goes.

I primed and painted the pieces before installing.  That way I would only have to do touch-ups once all the trim was up.

I'm just noticing now that I think I got a little overeager.  I did get pictures of the rest of the process, but they're so rushed!  Sorry!  I got a little too excited about the end result.

But how can you not be excited when a corner like this

ends up like this

I swear that's the same corner!

I borrowed Handy Dad's nail gun and attached the trim to the wall at the studs with finish nails.  I neglected to get pictures before I started with the fillers, though.  Wood filler covered the nail holes and caulk filled the gaps at edges, corners, and the bottom edge of the trim (since my walls were shockingly not totally straight).  The caulk/lack of gaps is really what makes the trim look like it's always been there.

After sanding the wood filler and touching up lots of paint, I got to do my happy dance.  Although my happy dance looked deceptively like melting into the couch exhausted.  In my head I was doing cartwheels, though, I assure you.

Without any heavy construction, somehow the room feels 2 times the size.  Mission accomplished!

Dining Done

Ok, I get it.  You guys like seeing projects get done, not hearing me talk about them progressing and simply showing you pretty pictures from the internet.  Message received loud and clear.  Results get more views.  Views are like crack to a blogger.  We just want more!  So I need to start delivering.  But, I digress. Dining room accomplished!! How's that for results?

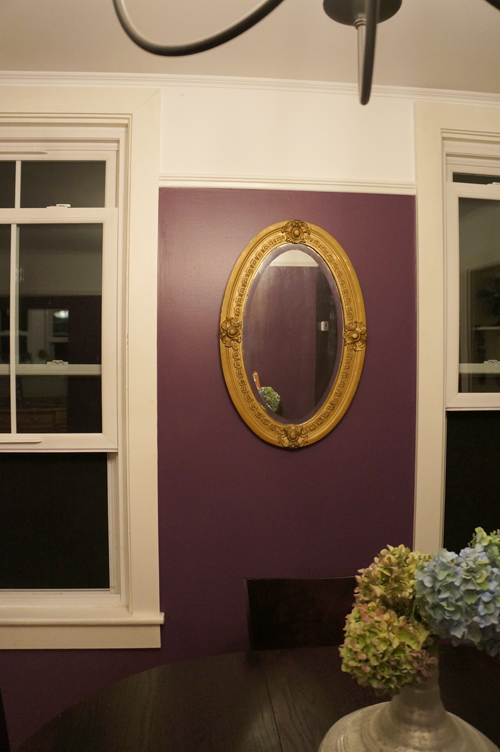
Or at least the walls and trim are.  (apologies for the night photos- I was touching up paint until after dinner)

Remember what the dining room looked like about 2 weeks ago?  Nothing offensive, but kind of dreary.

Even the plastic faux wood doorbell cover got a makeover

There were some crazy angles that I had to try and get trim to fit.  The one below is a nice and easy 126 degrees.  Even my new adjustable miter saw balked at it.  With some paintable caulk and white wood-filler, though, I was able to conquer the corners!

The trim fits in with the character of the house.  It looks like it could have been there since the house was built 112 years ago, and naturally, that makes me happy.  so does purple.

Now I can't wait to raise the rest of the room up to the level of the walls.

Still left to do:

  • Replace chandelier
  • Swag chandelier over table
  • Paint antique 'liquor cabinet'
  • Refinish collected chairs
  • Paint piano
  • Create built-in 'china' cabinet (eventually)

Phew!