Hand Made 2013

I really love the idea of DIYing new fun ornaments each year.  Not only does it keep your tree looking a little different each year, but it also gives you a keepsake from each Christmas. I was really hoping to be able to fill my tree with these beauties,

diy-paper-ornament

but after these 2 took me almost an hour, I put them temporarily aside and decided to try something different for today.

2013-ornament-parts

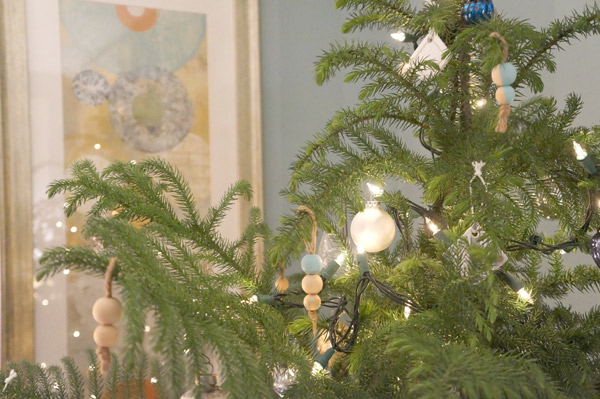
These ornaments were super easy and only required 2 different sizes of wooden beads, twine, and paint (optional).  We often used wood bead garland on our tree growing up, so I decided to play around with that idea a bit and make ornaments.

2013-diy-ornaments

I didn't take pictures of each step since it was so easy.  Try and follow if you can:

First you make a loop out of twine and knot the end.  Then you thread beads on it.  Are you still with me?  The last step if you chose to do it- paint your new ornaments whatever pattern/color your little heart desires.

I know, expert difficulty, right?

2013-ornament-1

Rather chic for something so simple and rustic, I think. Can't you just see a tree covered head to toe in these (because trees have heads and toes....)?  They'd also be pretty cute if they were painted in an ombré effect down the tree. Spell Check is questioning "ombré"... he's clearly not up on his design lingo.

2013-ornament-2

On my second year of doing this myself, I'm totally looking forward to starting this yearly ornament-making tradition with future children.  Maybe next year I'll get Cutest-Nephew-Ever-Eli to start the tradition with me.

Flying High

#5 on my 30 Before 30 list is: "Swing on a flying trapeze" Check!

A few months ago, a living social deal popped into my inbox that I couldn't refuse- a 2 hour flying trapeze class at TSNY Beantown.  I'd never done anything like this before, it sounded exciting AND I could check an item off my list!

Yesterday, in the first 'major' snow of the season, my sister and I ventured out in the ice and pseudo-plowed roads to risk our lives in another way (of course when I say risk our lives, I mean that we were completely harnessed in and safe, but the real danger was our hearts beating out our chests or an adrenaline overdose...)

I'm surprised I was able to jump off the platform that first time.

trapeze-1

With your toes at the edge, you're supposed to lean forward (eek!) and jump on their command.... but oh it is fun once you do!

trapeze-2

They taught us some pretty cool tricks like hanging from your knees, a backflip dismount (sounds impressive, no?), and how to do a catch!  One of the fantastic teachers, Keira was the rock star catcher- that takes some skill!

trapeze-4

We had a blast, got an adrenaline high, and now have sore knees from the bar, but it was totally worth it!  If you have something like this in your vicinity, I'd highly recommend it.  Pun intended.

trapeze-3

Plus I can now say that I've done a flip off of a flying trapeze.  No big.

Did you do anything exciting this weekend?

Frankie: Week 6

I hope you enjoy these weekly updates as I learn to navigate through the business of flipping houses.  Check out other posts about Frankie the Fliphouse HERE. I'm not really sure where the time has gone on this flip!  Week 6 already??

Anyway...  The beginning of the week I spent doing more paint prep, scraping and sanding the bathroom ceiling and more of the exciting stuff, all to prepare for the contractors to finally get started!  I have handed over the complete bathroom installation and the kitchen/hall floor installation over to the pros and so far I'm very glad that I did!

After starting on Wednesday, they've made strides in both the kitchen and bath.  In the kitchen/hall, they already 100% desqueaked the creaky floors, installed backer board and cut back the door jams (so the tile can go underneath).  The room already looks so much bigger with the uniform, non-peel-and-stick floor, I can't wait to see the tile down!

week 6 kitchen

Speaking of tile, I picked up 1/3 of my tile order from Lowe's (apparently tile is ridiculously heavy and unless I want my Jeep to tip over, I shouldn't take it all at once... who knew??).  It's 18x18 and it's pretty.  22 more boxes left to pick up!

week 6 tile

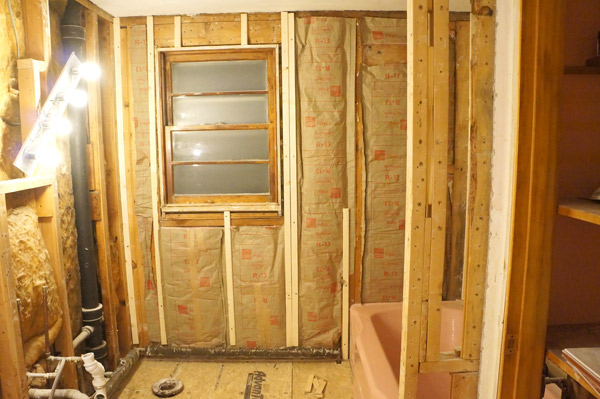
In the bathroom, the contractors shimmed out the back wall, added new insulation and put down a new sub floor.  Walls in a house of this age were a strange material.  Not plaster and lathe, but 2 layers of plaster board making it an odd thickness.  Since they need the wall to be even with the window trim, they needed to furr it out a bit.

week 6 bathroom1

Again, already looking so much cleaner and nicer and we haven't even reached the finish work!

week 6 bathroom2

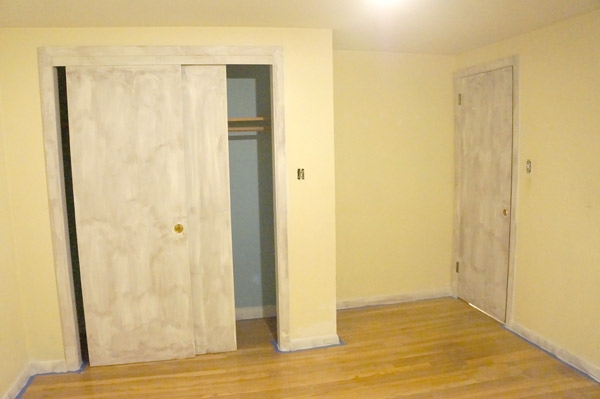
While they were cutting and screwing, I was trying to stay out of their way but still be productive.  I was able to get the trim and doors in 2 of the bedrooms all primed, although the third bedroom is the bathroom staging area with ALL the materials and supplies, so that one will have to wait.  And since it's one of my most asked questions, I'll be planning a post about painting wood trim.  It'll be enthralling, I promise.

week 6 primed trim

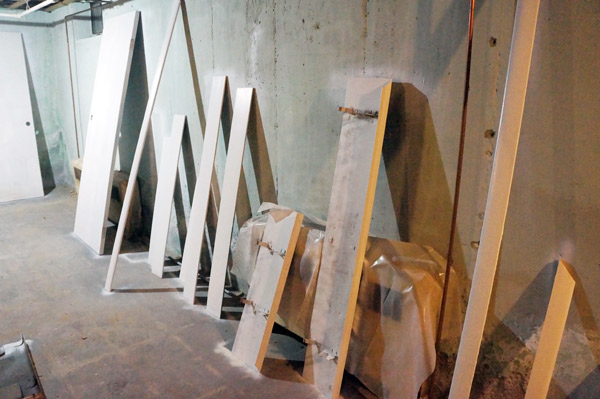
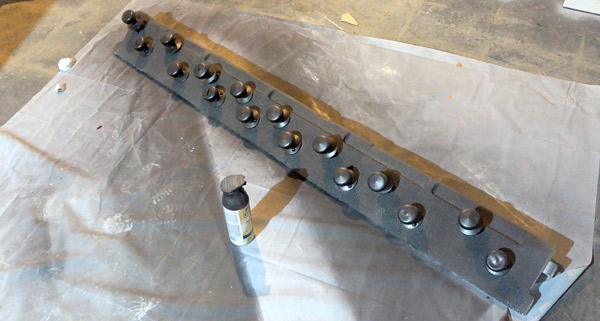
I also spent a good amount of time in the basement prepping the heater covers, trim that has been removed, and the bathroom doors for painting in the basement.  As you may have seen on instagram/facebook yesterday, I went crazy with my Critter sprayer again.  Have I mentioned my love for this tool?  Yes? ok.  Moving on.

week 6 basement paint

All of the interior door knobs now match with a fresh coat of oil rubbed bronze spray paint.

week 6 orb knobs

After being in demo-land for over a month, it is nice to see finish work starting to happen!  By next week's post, there will be a dramatic difference, and I'm getting giddy about it!