Flip Tip: Trimming

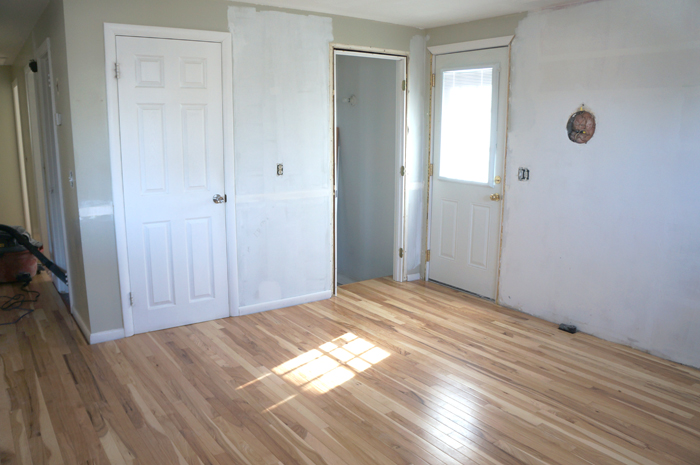
In last weeks Clark update, I showed you the new trim on the basement and side doors.  Today I'll show you HOW to add new trim to a door (or window, or anywhere) and and make it look like it's been there forever. First you need to remove the old or offensive molding.  I chose to replace the trim on these 2 doors, because they had obviously been replaced by the last owner and didn't match all the other moldings in the house  (tip- match other molding when replacing a piece of trim- it'll look seamless and original).  I was a little overeager and neglected to take a picture of this step, so just imagine an image here of me using a prybar to get the old moldings free.  Can you see it?  Great!

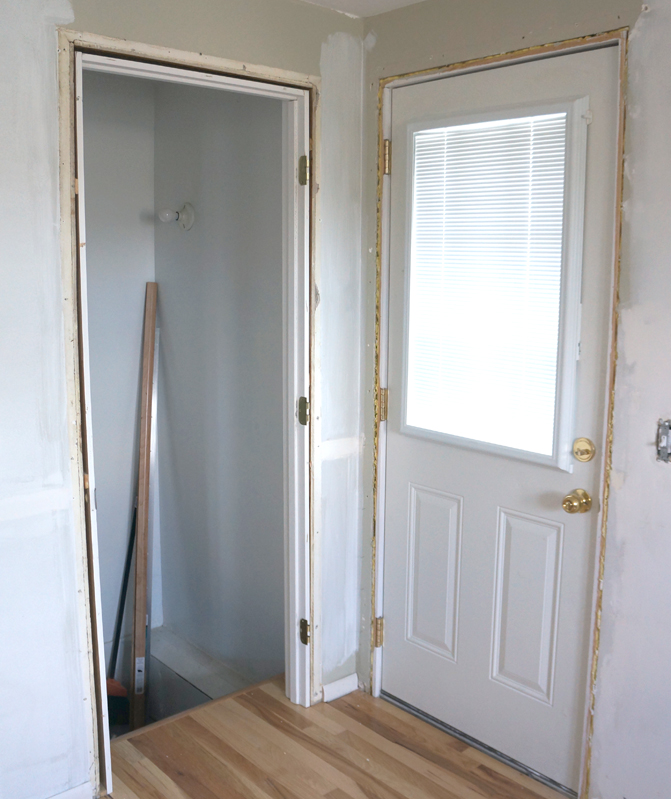
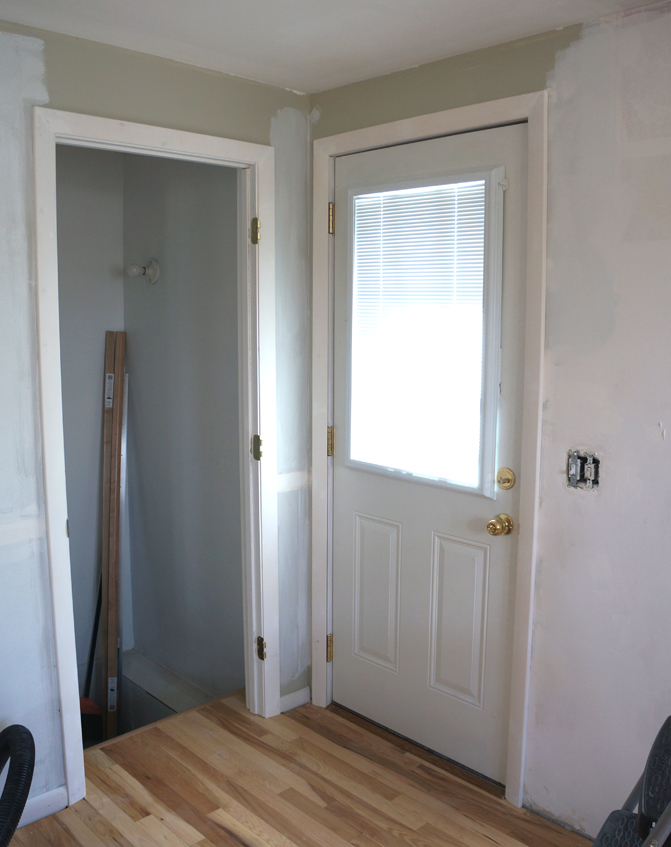
Now you have a blank slate.

trimless doors

The tools I used were:

  • a compressor
  • a brad nailer
  • a door trim kit
  • a miter saw (not pictured because he's hanging out in the basement)
  • white wood filler
  • white paintable caulk

trim tools

If you don't have a compressor and nail gun, you can certainly use finish nails and a hammer, but this girl likes power tools.  They're fun.  and much quicker.  The trim kit was my other way of saving a little bit of time, but you can also buy trim by the foot at any home improvement store.

As you can see below, the trim kit was a bit larger than the door, so I still had to make a few cuts.  I trimmed a few inches off the bottom of the sides, and used my trusty miter saw to shorten the top piece to the desired length and keep the 45 degree angle.  I've been using my brother-in-law's chop saw that can also be used for miters, but a hand saw and miter box work just as well.  (if you've been around this blog for a bit, you may remember my miter saw and a similar how-to when I did my dining room's picture rail)

trim kit size

Use your nail gun to securely fasten your new trim into place.  Now, unless you're a perfect measurer and builder, you'll probably have a few small gaps.  No worries- that's what wood filler and caulk are for!  Use wood filler (you can get this in white or whatever wood tone you're using if you plan on staining) to fill the nail holes and the corner joints.

trim corner

Sand it smooth once it's dry and no one'll know.

filled door trim

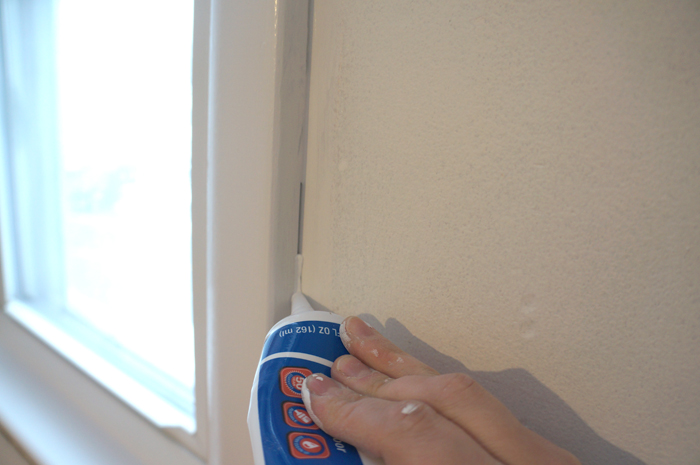
The step a lot of people forget is the caulk.  Make sure you get PAINTABLE caulk, because otherwise you're work will look terrible when you try to paint the trim or walls.  I again got a little overeager and forgot to take pics as I caulked the doorframe, but luckily I had some window molding to caulk where it had come loose (because the genius who build the old cabinets nailed them to the side of the window trims.... that's not usually how it's done...).

See, gap. (slightly blurry gap apparently, but you get the picture)

trim gap

With your paintable caulk, add a small bead right in the corner.  Please disregard my paint-covered hand.  I'm a very neat painter, but somehow my hands get covered.

trim caulk 1

Luckily, your caulk bead doesn't have to be perfect because you'll smooth it all out in the next step.

trim caulk2

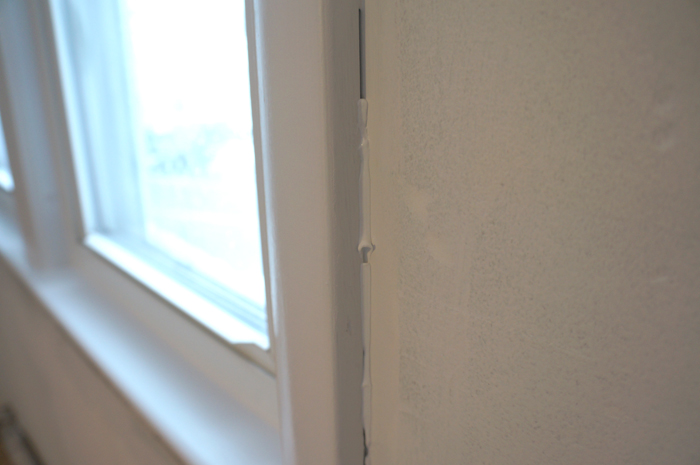
I've found that my finger is the best tool for the job, but make sure you have a wet paper towel handy to wipe the excess of your finger.

trim caulk finger

Voila!

trim caulk done

When you're all done, no one will be able to tell the molding hasn't been there since day 1.

door trims

The same steps can be used to replace almost any trim in a house.  I've never attempted crown molding, but I know that's a whole other beast.... but this method can be used for base boards, chair rails, picture rails, etc.

Happy trimming!

Blog Love

I'm a blog addict.  Kind of like I'm a chair-buying addict.  I read DOZENs of blogs daily with google reader.  (Let's have a moment of silence for Google reader's demise...... looking for a replacement, any ideas?) As part of the Blog Boss e-course that I'm taking, this past week's homework was to analyze 8 blogs that rock and why.  Since I'm such a blog whore, that's a pretty easy task, so here goes!

lovely indeed

www.lovelyindeed.com

First of all, the design of this site grabs me and pulls me in.  It grabs me so much, in fact, that I hired the designer for this site (who happens to be the blogger Chelsea's hubby) to do the redesign of this lil' ol' blog here.  I love the creative simplicity- it let's the content take charge.  The pictures are always phenomenal, but so are the DIYs.  Chelsea doesn't ramble on and on like some other bloggers (present company included, and don't get me wrong, I loves me some blogs that DO ramble...), so the writing is always well-thought out and from the heart.  Did I mention the pictures?  I did?  Well, they deserve to be mentioned again.  The photos are always amazing and somehow elevate even the simplest subject.

house tweaking

www.housetweaking.com

Look, another simple, yet well-designed blog!  Guess what I'm drawn to!  Pretty pictures, a nice layout, honest content.  I'm easy to please.  It definitely helps also, when the blogger has an awesome sense of style like Dana does.  The blog's tagline says it all "because home doesn't happen overnight."  Amen!  I love Dana's honest style of blogging and the way she welcomes her readers into her life.

yhl

www.younghouselove.com

We all know I have a huge blog crush on John and Sherry (like when I went to their book signing here).  Talk about honest blogging (I'm seeing a trend!  I like well-designed honest blogs!).  John and Sherry blog from the heart and it shows in all their projects and posts.  They can make any DIY project entertaining and seem achievable even for the DIY novice- they literally wrote the book on it.  I'm just waiting for them to realize that we should totally be BFFs in real life.

a beautiful mess

www.abeautifulmess.com

Another blog with stylish simplicity!  Well, I know what I like!  I'll admit, I'm not as much into the food posts, though.  I like eating amazing food, I even appreciate amazing food styling, but I prefer to look at pretty pictures of rooms that inspire me instead of food that I don't get to eat.  Luckily A Beautiful Mess doesn't disappoint with that either.  What I appreciate most about this blog is the style.  Every pic has style, every DIY has style, every giveaway... well you get the point.  The style of the blog is consistent and, well, beautiful!

emily-header

www.stylebyemilyhenderson.com

I've also admitted to my girl crush on Emily Henderson who's on the HGTV show Secrets from a Stylist, but did you know she has an awesome blog too?  She gives some great behind the scenes peaks of her show and glimpses into how she sources all of the amazing pieces that she uses in her designs.  That girl can style her way out of a paper bag, she's that good.  As with pretty much all of these blogs on this list, the blog is simple, stylish, honest and just beautiful to read.

decor and dog

http://decorandthedog.blogspot.com/

You can't help but love Michelle's personality.  Well, maybe you can, but I certainly can't.  This is another one of those honest blogs that I just keep coming back to.  Plus it has a cute dog.  Aren't cute pets always a perk for blogs? I hope so!

SerenditousThings

www.serendipitousthings.com

Another BYW Blog Boss student, I was obviously drawn to the name.  I have a thing for the word 'serendipity' I guess.  I also have a thing for simple and consistent blog designs, so we can put a check in that column too.  I love the iPhoneography posts- what a great way to visually chronicle the year!

the making home

www.themakinghome.com

A creative blog with vintage flare, and also another BYW Blog Bloss student.  She has such a great bio- visual, but still simple and personal.  The fonts- oh the fonts.... Fonts rank almost as high as blogs and chair-buying on my list of addictions vices.  The well-styled DIYs don't hurt either.

I guess the bottom line is this:

    • I love blogs that are visually interesting, but simply styled (usually ones that are DIY or decor-centric)
    • Honest blogging will keep me coming back for more


Clark: Week 4

I can't believe it's week 4 already!  (check out previous progress here) I've been doing a lot of flooring.

A LOT.

But I'm VERY pleased to say the kitchen and hall floors are DONE!!! (with the exception of closets and transitions which are ongoing)

kitchen floors 1

They make me so happy I could tap dance, but that would hurt the floors and be very counterproductive, so I won't.

I do need to shave down the bottom of the basement door, so that it can open with the new floor thickness, though.  This is what it looks like heading down to the basement- pretty wood tread.

hickory stair tread

This is where our IKEA cabinets will be installed.

kitchen floors 2

I may be the crazy person who taped out where the cabinets are going to go to help me determine what fridge size/style to buy.  May be.

kitchen layout1

I think I have it figured out, but I'm going to measure the heater when I get to the house today, just to make sure before I buy appliances.

The basement door and side door also got new door trims to match the rest of the house.  They had been replaced by the previous owner and were the only trims of a different style in the house.  No more!

door trims

This week's other accomplishments include

  • buying LOTS of supplies for the next projects at Home Depot
  • harassing the IKEA kitchen install guy to give me a date (looking like end of next week, but not set in stone yet)
  • getting more quotes from painters, electricians, gutter guys, etc
  • purchasing the granite countertop
  • more appliance research
  • and did I mention laying lots of hard wood floors?

I'm hoping next week's progress will be in leaps and bounds!