Desk Chairs and the Gender Divide

Pretty vs. functional, can't we have both?! I have been itching for new desk chairs since we moved in almost a year and a half ago.  I mean it, literally itching.  The current ones absorb cat hair like it's their job.  Our Dyson is powerless against their hair-grabbing abilities.  They were a great deal when Hubby and I first moved in together (prior to kittens): 1/2 price at IKEA, for $15 a chair, we couldn't beat the price.  Now, the desk chairs are the first thing you see as you walk up the stairs & cheap IKEA 'good enough' chairs are no longer 'good enough' for me.

I've been telling Hubby this for a while, but I just haven't bit the bullet and bought anything.  A while back, I had shown him some un-upholstered chairs that I thought were cool, but he requested something comfy.  I can handle comfy- my mind went straight to upholstered 'dining' chairs or side chairs.  So, a few months ago, I saw these chairs on Joss and Main and thought they'd be absolutely perfect.

When I showed them to the Hubs, he suddenly proclaimed his desire for a swiveling task chair on casters.  I had to swallow my initial disgust, though... for some strange reason, he doesn't like it when I balk at his design ideas (no, I will NOT allow a bird bath in my yard).  Anywho, the office is carpeted, casters don't work well, but the bigger issue here is: task chairs are f'ugly!!!  Pardon my french.  I understand the functionality and ergonomics if you're going to be sitting in a chair 40+ hours a week, but task chairs still aren't pretty.  Not even close.  Ok, I'll admit there are some well-designed task chairs that I can appreciate, but generally the ones that don't make my retinas burn, make my wallet cry instead.  Prior to living with me, Hubby used a Jimmy Buffet-inspired directors chair as his desk chair, so I know his sensitive rear end doesn't require a scientifically engineered task chair.

Side chairs can be comfy and pretty.  Allow me to demonstrate.

In the end, I win... (Not that Hubby conceded, it was more like me trying to discuss the enthralling topic of desk chairs while he was trying to concentrate on Draw Something, and gave me the standard "Whatever you want, Babe, I trust you")

*Maniacal Laugh*  Now I just have to decide- do I stick with my initial gut and go with this one?  (which is back on sale again on Joss and Main)

or do I go a little more traditional and cushy with this one? (which is also on sale in the same place)

Fashionably Late

3 days after his due date, my nephew decided that he really wanted to celebrate Cinco de Mayo. I present you....

Elijah Johnathan - born May 5th, 2012, 8lbs 6 oz

Watch out little ladies, this one's a charmer!  I'm BEYOND excited for my sister and brother-in-law!!

I'm such a proud aunt!

Now that the little man has seen his room (or will today), I'll be photographing it next weekend to share with you!

I hope your weekend was just as good!

Making Time

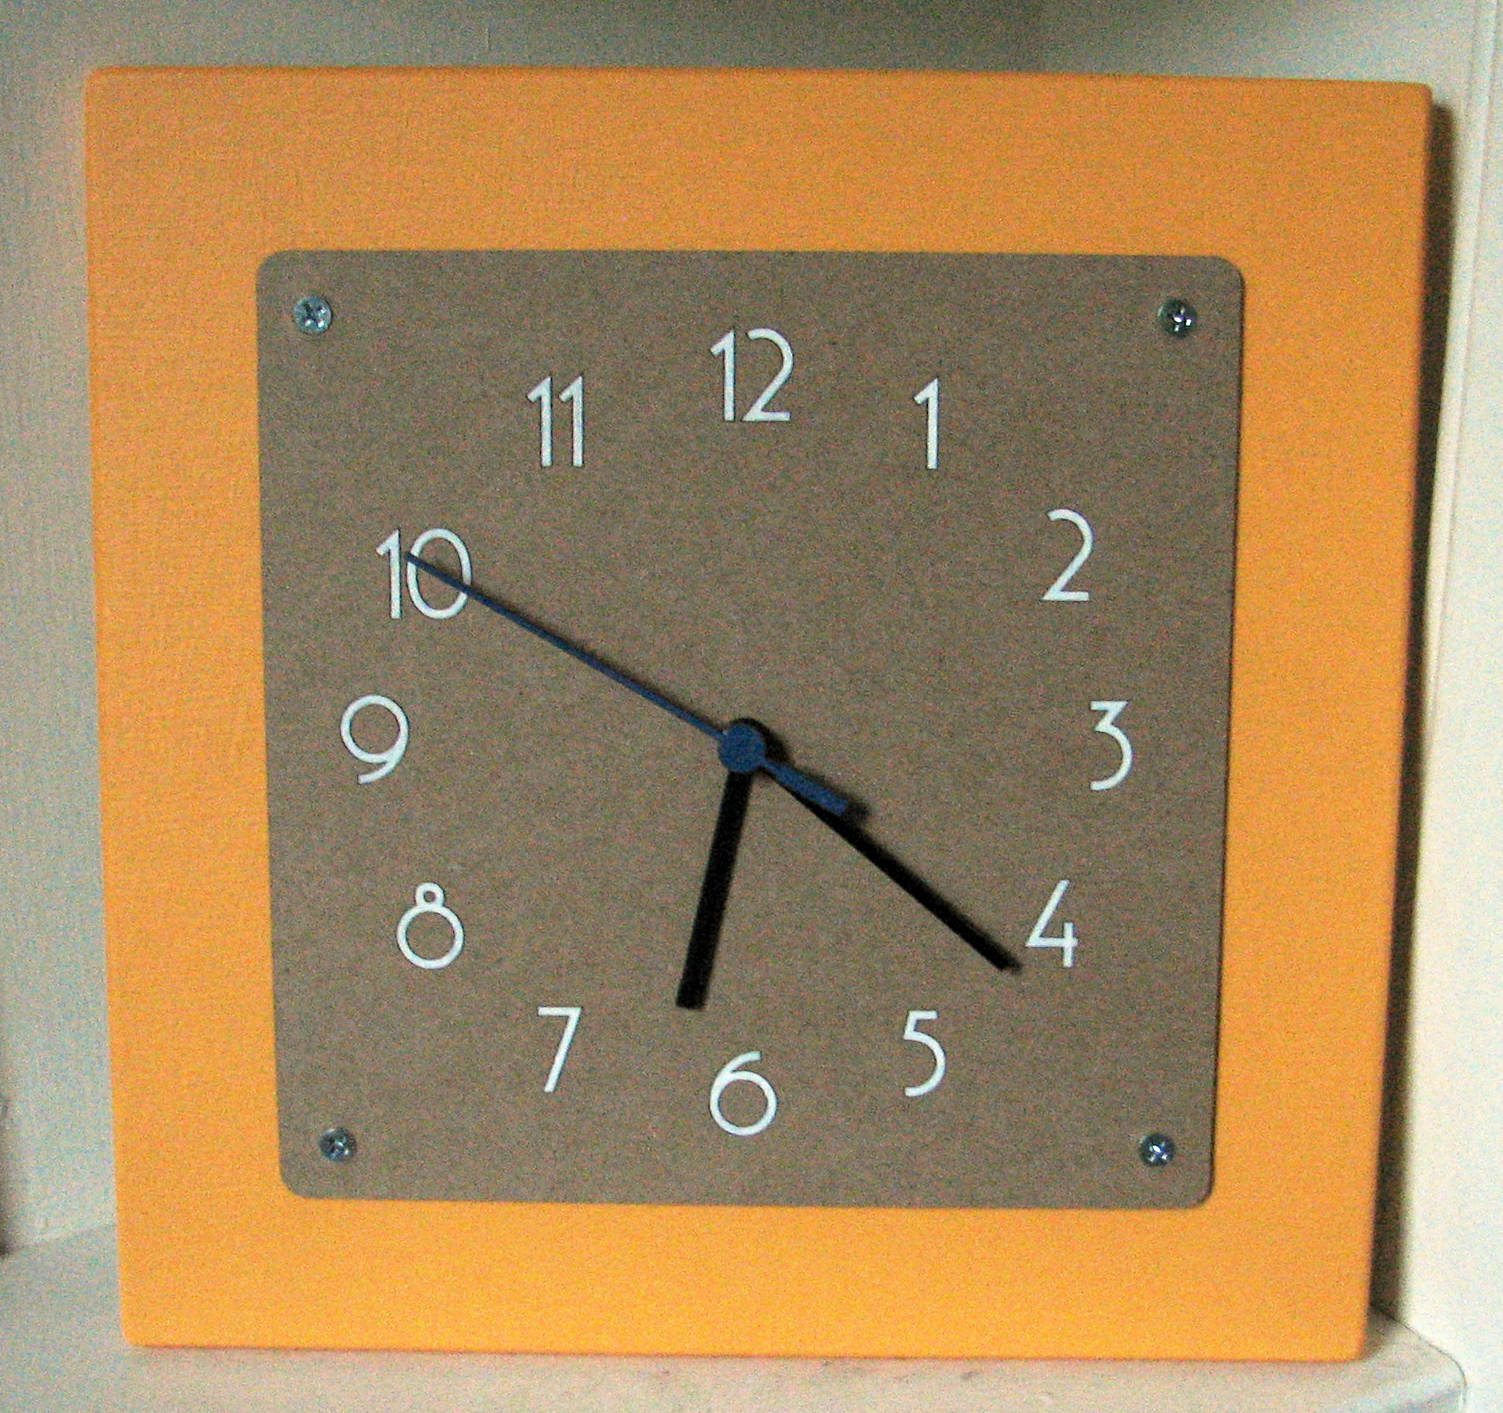
Wouldn't it be great if you could conjure up more time whenever you need it?  Instead I'll have to settle for making a clock. Problem: My future nephew's room needs a clock.  One that is clearly readable so he can learn how to tell time, but also one stylish enough to get Auntie's seal of approval (that's the tough part).  I found an awesome clock on etsy, but it was way beyond the budget.  After looking for months for the right item, nothing was jumping at me.

Solution: Create my own version of the overprice etsy clock for under $10.

____________________________________

Materials:

  • MDF shelf (cut down to about 12"x 12" by the helpful folks at Home Depot) = $5.50
  • laser-cut chip board (I was lucky enough to be able to use the laser cutter and scrap chip-board at a friend's office, but this could easily be created without these resources) = $0
  • IKEA clock (for mechanism) = $1.99
  • Paint (already had) = $0
  • Screws = $0.99 (I think...)

TOTAL= $8.48

How'd I do it?

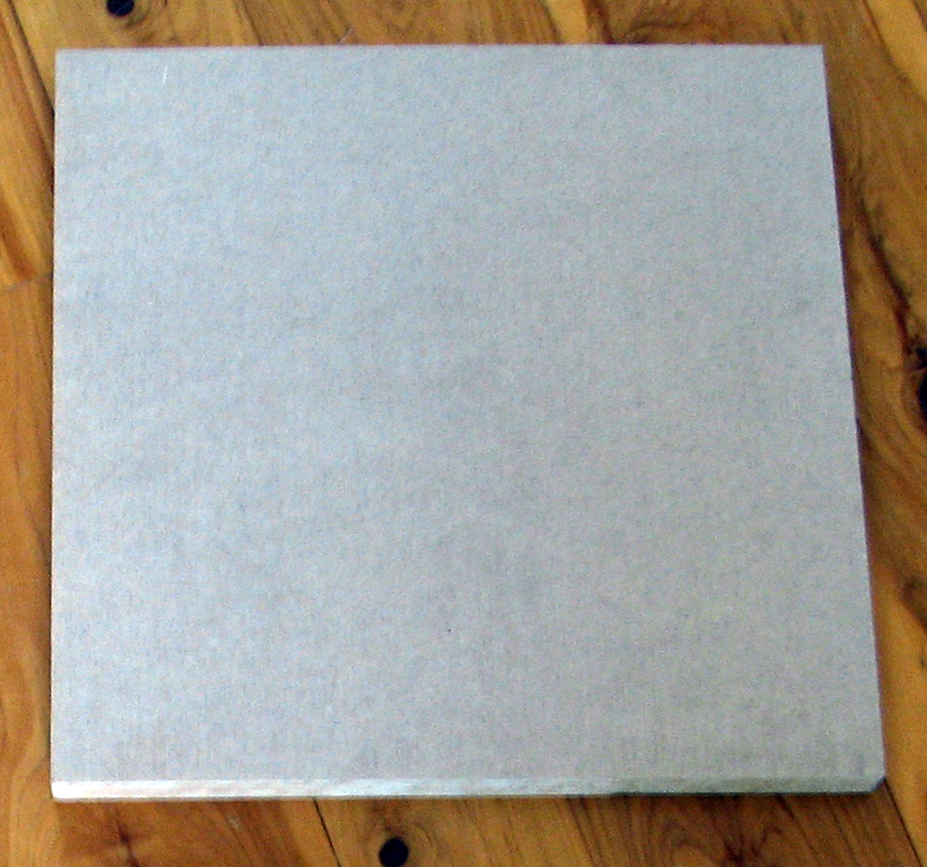
Starting with the MDF shelf, I sanded and rounded out all the edges.

I located the center and used a jig-saw to cut a hole for the clock mechanism in order to allow the clock to ultimately sit flush against the wall.  The hole doesn't have to be pretty, it will be totally hidden in the end.  Once the mdf was sanded and turned into the square, wooden equivalent of a doughnut, I primed it and painted it.

I was so excited when I found an IKEA clock for a fraction of the cost of buying a clock mechanism separately.

I took out my hammer and was ready to go to town on it to free the clock mechanism.  Much to my dismay, the clock easily snapped apart and I didn't need my hammer.  Once I had it apart, I gave the red seconds hand a quick shot of blue spraypaint to make it look more custom.

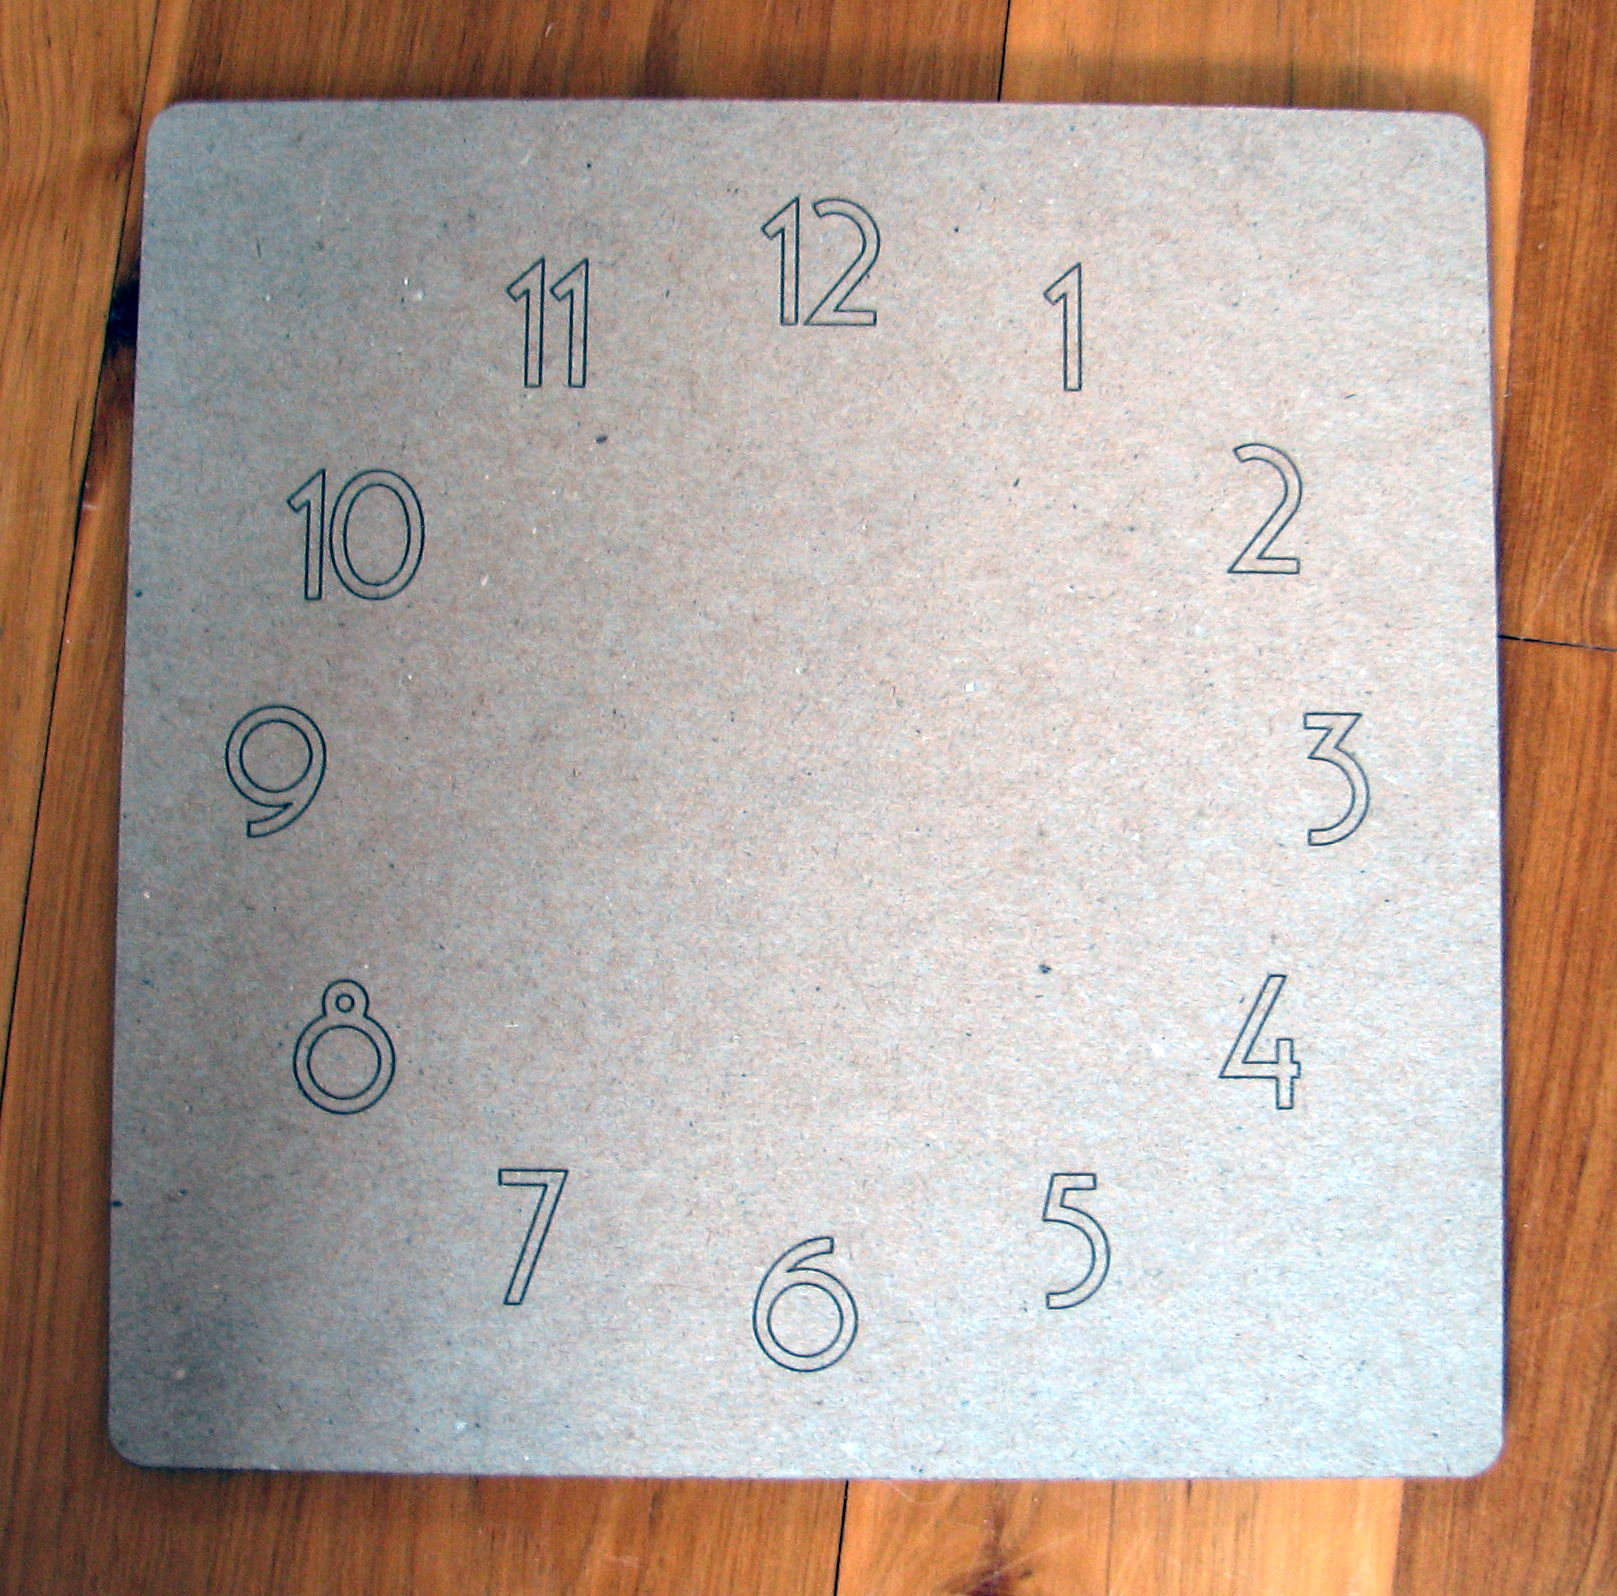
As I mentioned above, I was able to 'borrow' a laser cutter/engraver to create the clock face for free.  All that was left for me to do on it was to drill a hole for the mechanism and use a very small paint brush and a very steady hand to paint the numbers white.  If your laser cutting resources are more limited, you can cut a piece of chip board to size and hand sketch the numbers before painting.


Next comes the most exciting part: the assembly!!

I centered the face on the mdf backer and used double-stick tape to hold it in place as I screwed it in at each corner.

Using hot glue, I attached the mechanism to the back of the chipboard within the hole in the mdf and reattached the clock hands.

Now it's just waiting to be installed into it's final home- my future nephew's room!

We're all on the edge of our seats- my nephew's due date was yesterday and he has yet to grace us with his presence!  I guess he's trying to be fashionably late.  At the very least, he'll be fashionable with his cool nursery.  I'm not revealing it to you until the guest of honor see's it for himself.