Grab a Glass

It's time for some wine! DIY wine rack close-up

We've had a severe lack of wine in this house lately, because we haven't had space for a wine rack.  Hubby's been challenging me to make a custom wall-mounted one for months, so with the kitchen reno (hopefully) nearing an end, I realized this was the perfect time.  (and who am I to say no when Hubby request a DIY)

It all started with a quick sketch when I was watching tv one night last week.

DIY wine rack sketch

The dimensions got modified a bit as the project progressed, but this was a great place to start.  I enlisted Handy Dad's help for another set of hands (and maybe for his tools as well... maybe).

The materials:

  • 8' length of 1x6 poplar
  • Kreg jig screws
  • Wood glue
  • Toggle screws (for mounting to the wall)

The tools we used:

  • Chop saw
  • Drill press (a regular drill could work too, but it would be a bit more work)
  • 3 1/4" hole saw drill bit
  • Clamps
  • Kreg jig

The first step was to cut the boards to the desired length and mark out where my holes will go (this is where the dimensions got modified a bit).

DIY wine rack marks

Actually cutting the holes was the most difficult part.  We clamped the 2 side boards together so that the holes would line up perfectly.  To prevent as much splintering as possible, we drilled most of the way through one side, then completed the hole by drilling from the other side.  Slow and steady...

DIY wine rack drill press

This was my attempt to take a photo of all the pieces on a white background.  #whitebalancefail

DIY wine rack pieces

As you can see on the back pieces, I used my Kreg jig to drill pocket holes.  My friend Kreg is awesome- it's a very simple drill guide and special bit that makes it super easy to strongly join 2 pieces of wood.  I first read about it on Young House Love, and I quickly jumped on the Kreg bandwagon.

Next came assembly.  Every joint got wood glued and clamped, and the back supports were screwed together with Kreg screws for extra support.

DIY wine rack assembly

After assembly, I sanded the bejesus out of it, painted it with 2 coats of paint, and mounted it to my kitchen wall with toggle bolts (when all filled, the rack can weigh almost 30 pounds!)

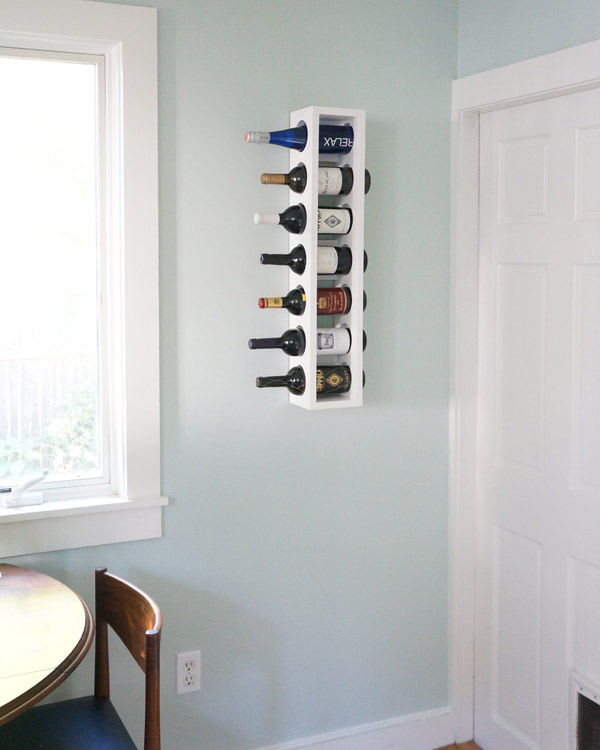
DIY kitchen wine rack

So, what do you think?  I think it fits perfectly in it's new home!

I originally had staggered the direction of the bottles, but Hubby and I both liked it a bit better this way.

DIY wine rack

I can't wait to reveal the whole kitchen to you- it's really becoming my favorite designed room in the house!

DIY wine rack closeup


Planting in Air

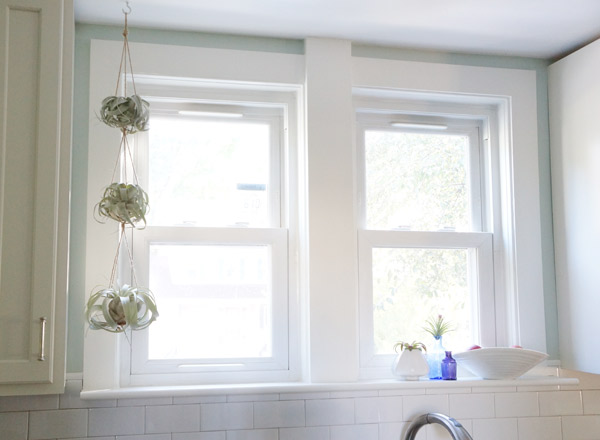
As I'm awaiting the final leg of kitchen install (supposedly Saturday- YAY!!), I've been trying to work out the details in the space.  The kitchen now has a few new living additions that I'm hoping (keep your fingers crossed for me) that I can keep alive.  Air plants! hanging-air-plants

Indoor plants and I don't generally have the best relationship.  The only plants I've manage to keep alive for any amount of time are 2 spider plants that you'd really have to make an effort to kill.  Even my well planned out pretty succulent terrarium met a grim ending.

small-air-plants

I've never had air plants before, but with directions to put them in water once a week and spritz them once a week, they sound very manageable (and tough to kill).

curly-plant-closeup

Once I adopted my new little friends, I knew I wanted the 3 larger ones suspended.  This may have been the easiest and quickest kitchen project yet: twine and knots.

twine-plant-holder

Using 3 lengths of twine, I made sure to knot a loop at the top for hanging, and tied an additional knot for each plant to sit.  Then all you have to do is place your plants and move the leaves until they sit the way you want.  If only all kitchen decor projects were this easy!

window-plants

Once the final installation is complete, I still need to grout the naked tile and style my little heart out.  If all goes well Saturday (it better), you can expect to see long anticipated kitchen "After" pics hopefully next week!

I'd love to hear your experiences with air plants- good, bad?  Can I manage to keep them alive?


Paper Perfection

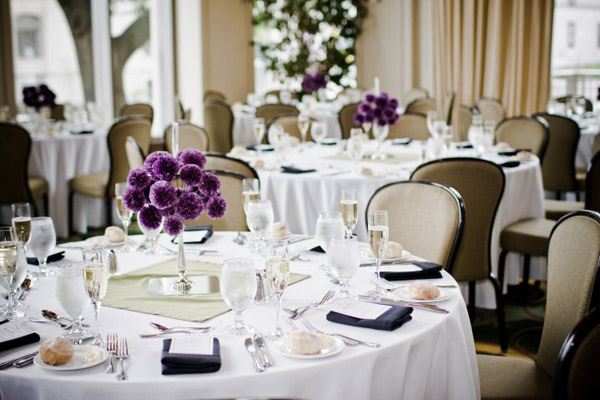
Once upon a time, over 4 years ago, I made 200+ paper flowers to use as my wedding centerpieces.  Back then I was unaware of the blogging world- all I knew of was Style Me Pretty.  After scouring the internet, amazon, and the library for non-cheesy paper flower tutorials, books and how-tos, I found lots of kids projects and cheap-looking crafty flowers (and there is a VERY fine line between design and crafty).  I ended up starting with Martha's pom DIY then scaling them down significantly to match my vision (and to keep them from visually competing with the massive Chihuly sculpture on the ceiling) wedding-table-09

Flashing forward to today, amazing non-cheesy paper flower tutorials are everywhere and my wedding is uber jealous.  It was ahead of it's time.

paper to petal

How unbelievable is it that those amazing flowers are all constructed out of paper?  The tutorials and DIYs are everywhere in blogland now and I'm in love.

paper-flower-faves

Methinks I need to host a paper-flower party and adorn my house with them.  Who's in?

Wedding photo credit to our photog Erica Lyn/go buy this book on amazon and check out their blog

Amazing paper flower images sources 1/2/3/4/5/6