
 If you're unfamiliar with the seasonal Pinterest Challenges (first of all, where have you been?!), it's a challenge to get pinterest users to stop pinning 'someday' projects and start DOING. All you have to do is take inspiration from pinterest and put your own spin on a project. This season's gracious hosts are Sherry @ Young House Love , Katie @ Bower Power Blog, Emily @ Sparkle Meets Pop, and Renee @ RedBirdBlue. I can't wait to see what projects they tackle!
My previous season's Pinterest Challenge projects include sketch chair art, a DIY juju, and a coffee table bench to name a few (check them all out here).
I know I posted a pseudo-pinterest challenge on Monday,

but I'm an overachiever apparently and couldn't resist doing another project.
I've been loving pretty much any DIY project I see lately with gold polka dots: Chelsea from Lovely indeed has tackled a gold polka dot photo backdrop, a gold polka dot table runner, and a suede and (you guessed it) gold polka dot mouse pad. Cassie from Hi Sugarplum went to town on this gold dot vase. So, I'm jumping on the bandwagon admittedly.
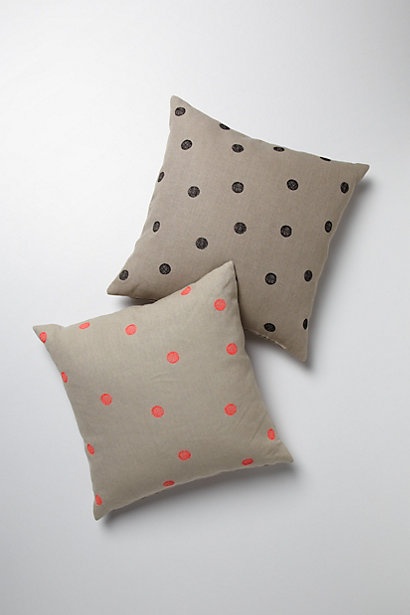
About a month ago, I pinned these pillows from Anthropologie
When this season's challenge came along, it didn't take me long to decide on this. And I did it in under an hour, so SCORE!

(Please excuse the picture quality- I forgot my good camera at Clark again so I had to rely on my iphone camera and I am not perfected in the science of iphoneography... side note to self for future iphone pics: zooming makes it grainy, zoom AFTER you take the shot. Now back to our regularly scheduled programing.)
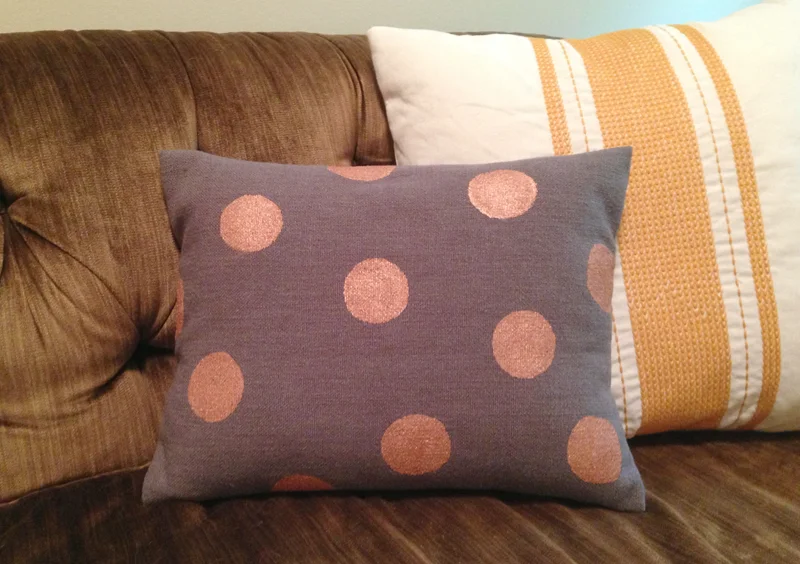
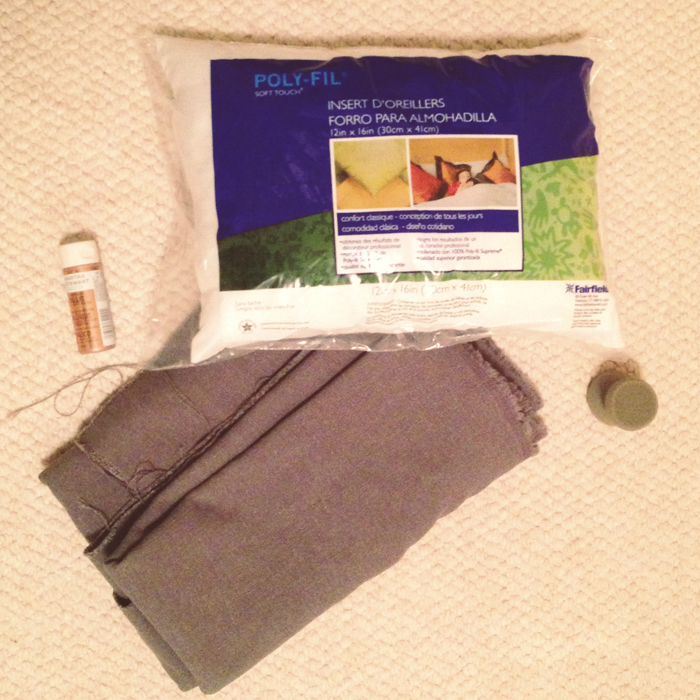
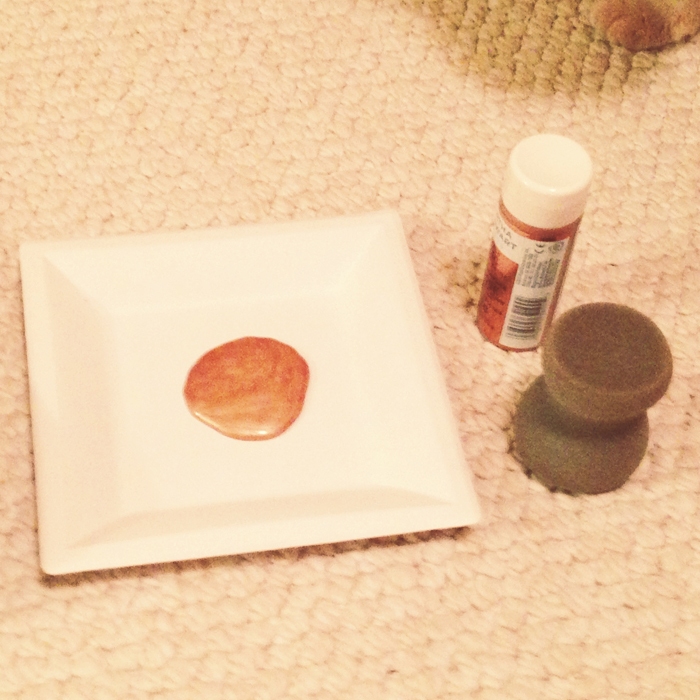
I already had the gray fabric, a pillow form and sponge, so all I needed to buy was a few dollars worth of copper paint. I said it, Copper, not Gold. Gasp! I thought the rosy quality of the copper would compliment the gray best.
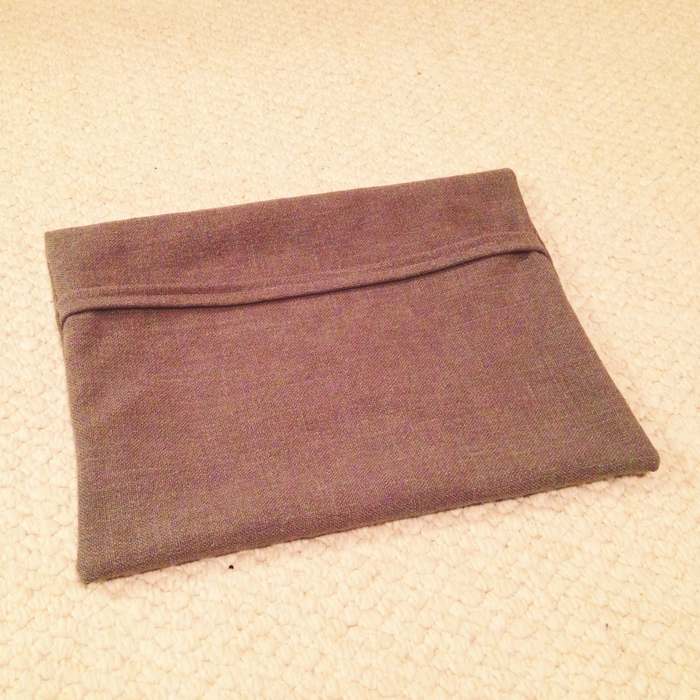
I chose to make an envelope style pillow because they're easy to make and easy to take off the pillow and wash.
First step is to cut your fabric- this will wrap the pillow with seams only on the 2 sides. Make sure you allow for overlap for the 'envelope' part (I allowed 3 inches since I was using a small pillow form)

Next, fold over one of the shorter sides about 1/4 to 1/2 inch, then fold it over again. Pin and sew- this will be exposed at your 'envelope' opening.

Once that is sewn, fold your fabric into your pillow shape. Make sure the 'bad side' of the fabric is out and the finished edge you just created in folded inside so that everything's corrent when you turn it all right side out. I'm not a fan whatsoever of karate chopped pillows- I like them overstuffed, so I made my pillow cover 1 inch smaller than my pillow in each direction.

Once you sew up the 2 sides, you can turn the pillow cover right side out.
Now it's time for the fun part!!
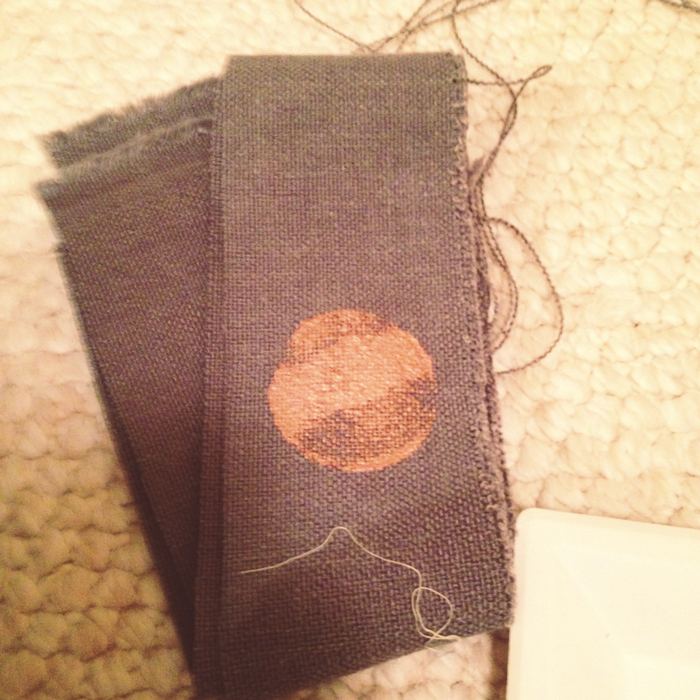
I did a few polka dot trials on a scrap piece to figure out my technique before I started on my pillow.
I put the pillow into the cover still in its plastic so that I could paint my dots without worrying about the paint bleeding through to the pillow or the back of the fabric.

I let it dry overnight before I took the plastic-covered pillow form out of the cover and re-inserted it sans plastic.
I'm swooning over the copper/gray combo and the scale of the dots! Yes, I'm swooning over a pillow and yes, I know I have issues. I embrace them.

Bear approves.
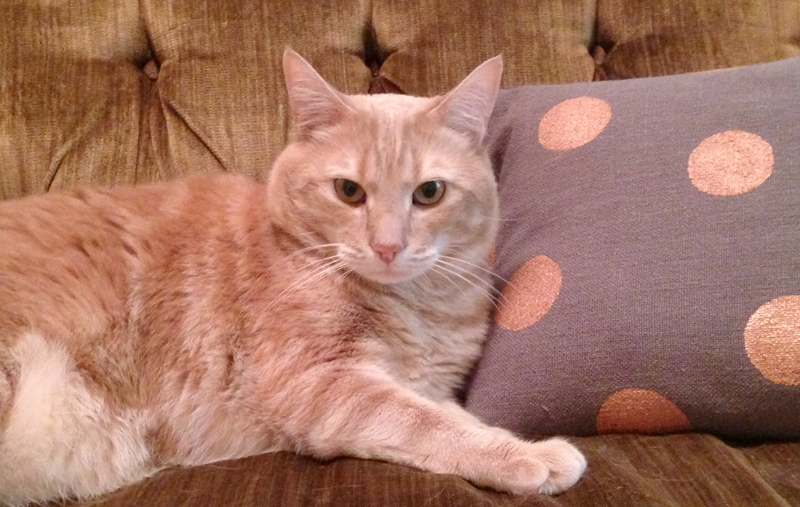
Are you loving it as much as I am??

I'd love to see your projects! Link them up in the comments, or just say HI!