I'll acknowledge the elephant in the room first. I've been kind of MIA here lately and I have no excuse. I've been struggling to find a balance and have vowed to focus on putting out quality content as opposed to posting something just to post something. So hopefully this post was worth the wait!

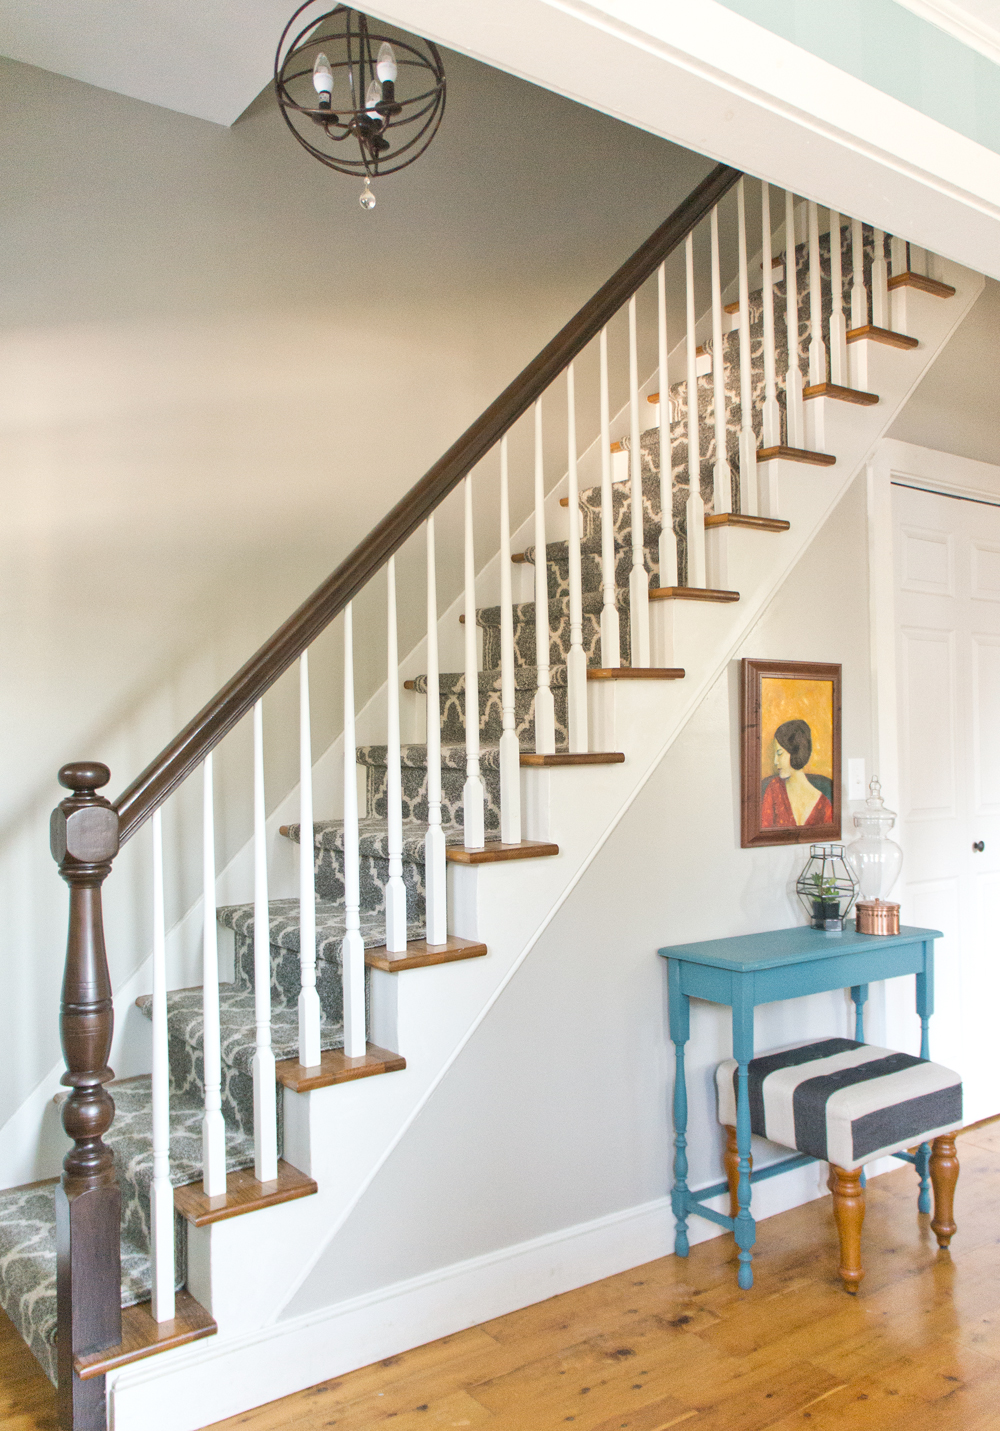
5 Years ago when we moved into our house, the staircase was depressing. Dingy, uncleanable carpet and a dated, bowed railing. No need to adjust the color on your screen- the pic is pretty true to color and the railing was orange.

Finally, this summer, we replaced the railing and refinished the treads and since then, the stairs have sat naked.

I did really like the simple beauty of the naked stairs, especially after we refinished the treads, but the condition of the 100+ year old risers and the fact that they're actually rather steep made having a runner an unfortunate necessity. With one cat who enjoys scratching carpet on stairs, 2 things were imperative: low cost investment/DIY, and a cut pile runner that would not be as easily torn apart. After quite a bit of searching and debating, I landed on this indoor/outdoor cut pile Safavieh rug from Target.

The other supplies that I needed to install the runner were a rug pad (I used this one from IKEA, cut to size), an electric staple gun, a hand staple gun, and a utility knife. This project was such a long time coming!
Prior to installing, the stairs themselves needed a bit of prep. Each riser was chewed up from 100 years of being beat on. Trying to smooth all this out would have taken ages and probably miracles, so I only repaired what would be seen on either side of a runner. I patched, caulked, primed and painted until they looked passable.

After a failed attempt at starting to install the runner from the top down, I decided that it might be best to start at the bottom where gravity would be working less against me. Before installing the first piece, I cut off the stripes on the end so that the stripes would only be on the sides.

Starting the stapling at the bottom, I tried carefully to keep the runner straight. After securing the bottom, I stapled under the lip of the tread to create a "Hollywood" style install. All the while being supervised by one fuzzball or the other. Daisy's in charge of quality control.

After securing it under the lip, I moved onto the top of the tread (checking the spacing from the wall as I went), and stapled along the edges onto the tread.

Then, after the tread was secure on both sides, and pressing the carpet as far into the corner as possible, I stapled onto the next riser.

And then stapled a line as close under the tread as I could get, all the way across, so that the runner sat nice and snug to the stairs.

Since the runners that I purchased were not intended for stairs and were only 7' long, I needed 5 to cover all the stairs. Once I got toward the end of one runner I would cut it to end just under the lip of a tread so that I could hide the seam as best as possible. Then I cut the next runner to begin where the last runner left off in the pattern.

Pro tip: never attempt to cut carpet from the pile (or top) side. It'll be 7 times the work and 11 times the mess. If you use a utility knife and cut from the back into just the backing, you'll avoid yarn pieces everywhere and get a nice clean cut.
When I completed one runner and started on the next, I would use my hand staple gun (since the electric wouldn't fit) to secure it to the bottom lip of the tread. This is where I needed to be extra careful to get the pattern lined up. The runners did vary slightly, so I needed to make sure that the pattern matched in the center first, then worked my way to the ends.

I kept working my way up the stairs until I reached the top. I ended it like I had with the seams in between by cutting the last piece to end just under the lip of the upstairs floors.
After I finished, I went back and hammered down any staples that hadn't gone in completely and fluffed up the carpet pile around them, completely hiding them. After several months of naked stairs, it was a change to see the runner, but I'm so pleased with the way it came out!

Unless you study them carefully, you can't see where one runner ends and another begins.
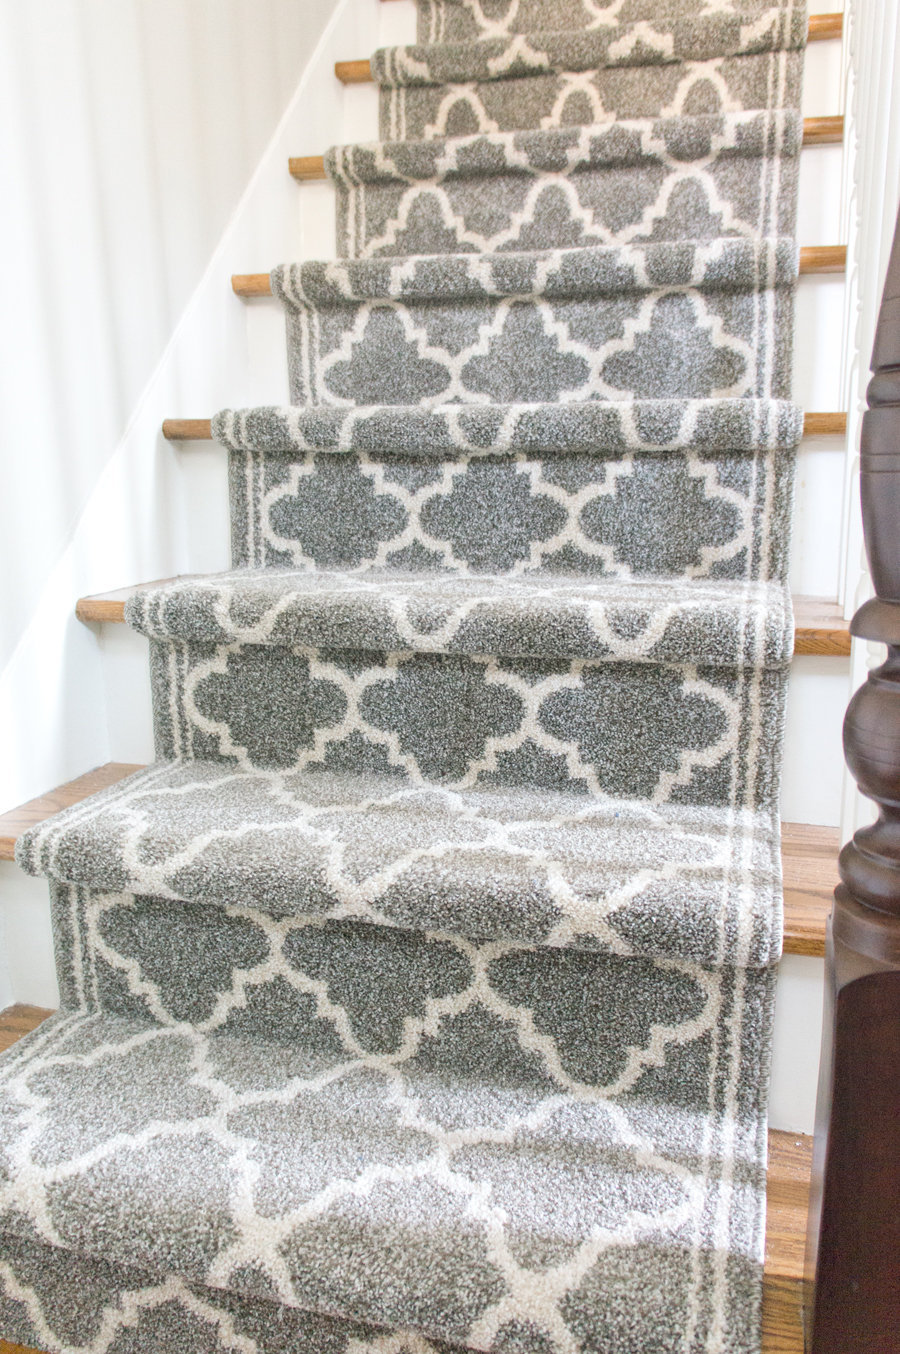
Even walking down the stairs, I don't think I could have gotten the patterns to align any better.
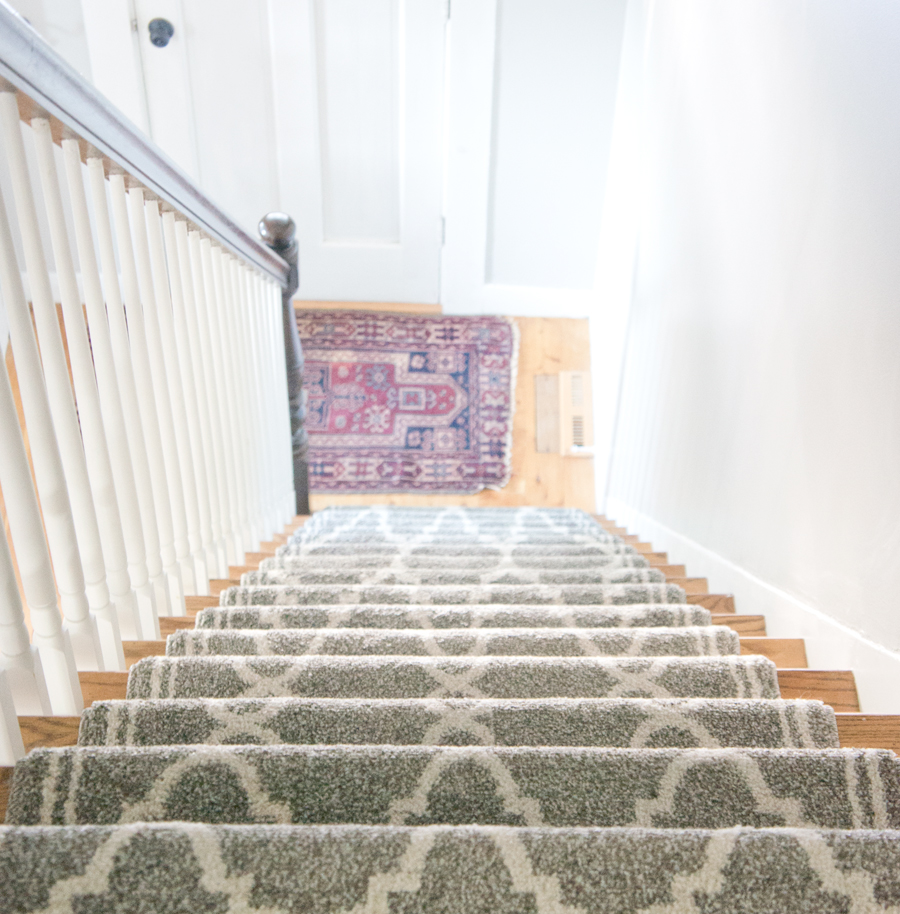
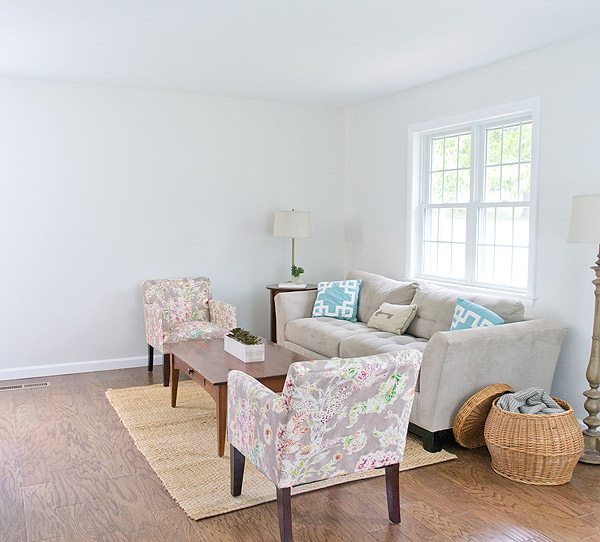
The view from my sofa is looking pretty sharp and for the first time in probably years, doesn't look unfinished!
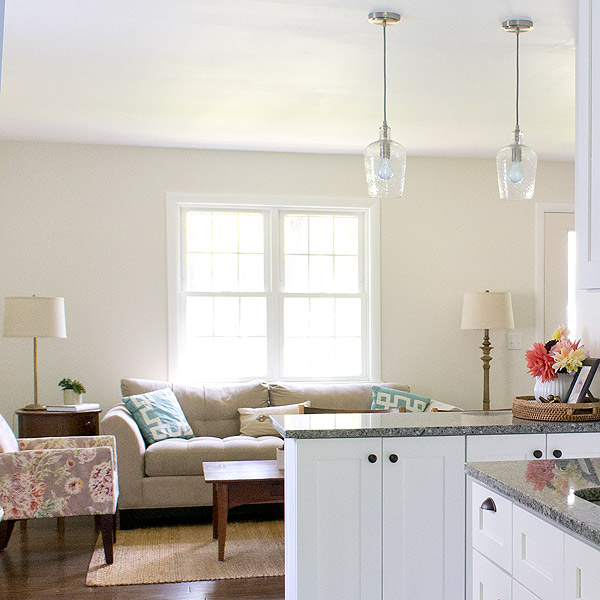
Adding a pattern onto the stairs, which is open to the living room has set the ball rolling on a few changes in there. The additional geometric was a tipping point into a bit of decor overload in the space, so I'm gearing up to simplify the living room a bit. She's gonna be a beaut!