curb appeal

A Numbered Statement

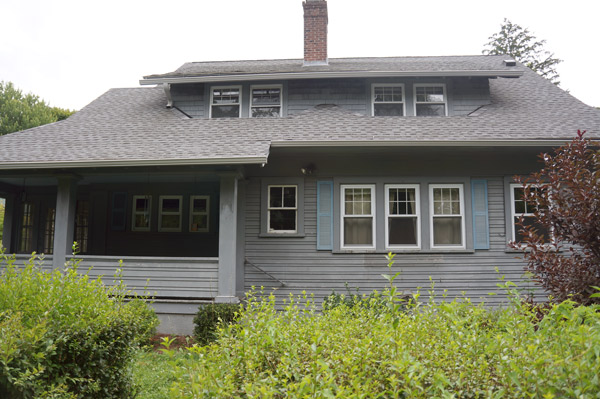
After several weeks of being numberless and confusing a delivery guy or 2, Millie once again is identifiable. Craftsman bungalow wood backed house number DIY via Year of Serendipity

After the painting finished up, I knew I needed to add a bit of a warmer touch to the house.  I debated putting shutters back, but ultimately decided that beefing up new house numbers would totally do the trick.  I love high impact projects for low wallet impact.

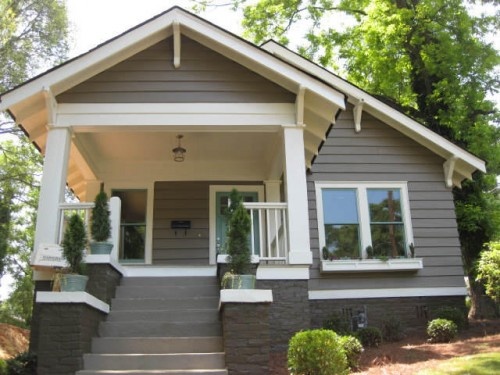
The font and the newly curb appealed terrace side both got numbers for less than $20 a piece.

Craftsman bungalow wood backed house number DIY via Year of Serendipity

It all started with $6 Home Depot numbers, a piece of 1/2" poplar, and some stain.

DIY wood backed house number supplies via Year of Serendipity

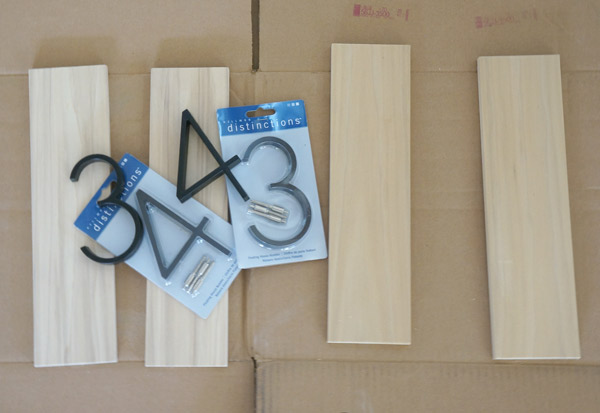
I laid out the numbers to determine the size of the wood and cut 4 equal pieces- each house number backer would be 2 boards side by side.

DIY-house-number-stain

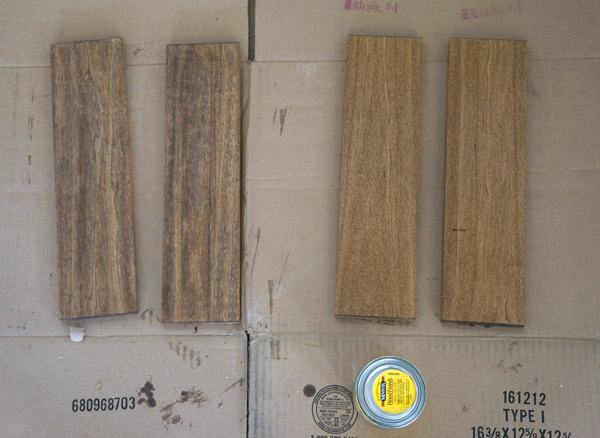
The 2 boards on the left were bought new, the right were left over from a previous project.  Although they're the same wood, I was surprised how differently they took the stain.  Luckily it didn't matter since 2 boards were going on one side of the house and 2 on the other.

At first my brain tried to over-complicate this installation.  I thought about using my kreg jig to attach the boards to one another and then attach the numbers before putting the assembly on the house, then about how to hang it on the house.....  Luckily I came to my senses and simplified.

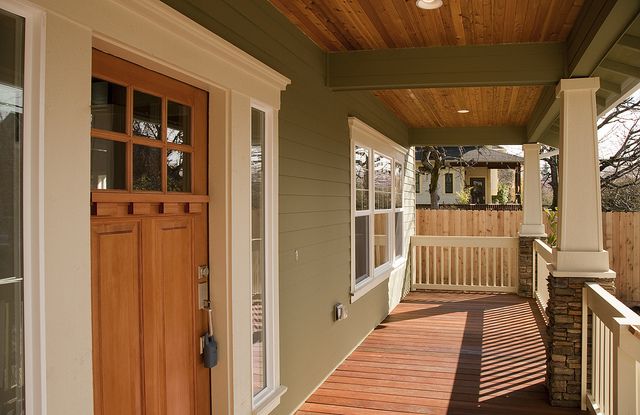
First step was figuring out the placement on the porch posts.

House-number-placement

I decided that I wanted them just over a foot above the railings.  Using my level (which also has a handy ruler on it as well) I also figured out where to place the first board for the finished product to be centered.

DIY wood backed house number placement via Year of Serendipity

Holding that one board in place, I picked up my finish nail gun and placed a nail in the center of the board.

House-number-nail-gun

This holds it in place while I adjust it.  Even though I used my level, it's more important to have it parallel to the porch post.... which in a 100 year old house probably isn't 100% level anymore.  Once piece one looked level, I nailed piece number 2 next to it also with just one center nail.

DIY wood backed house number placement via Year of Serendipity

After stepping back and being pleased with their placement, I put a couple more nails into each board for stability.  I have to say, if you've never used a nail gun, you have no idea what you're missing.  I swear this is one of the most useful tools that I have!  Plus it's fun and helps me build pretty things.

With the backer board in place, it was time to install the house numbers themselves.

house-number-template

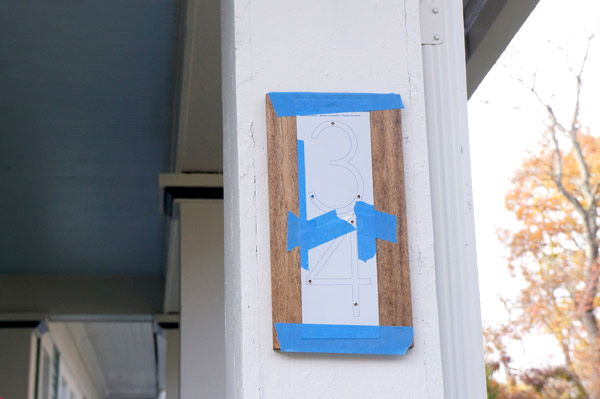
All I did here was follow the directions that came with the house numbers.  Place template, drill holes, put spacers onto numbers, glue/caulk spacers into drilled holes.

Craftsman bungalow wood backed house number DIY via Year of Serendipity

I'm kind of in love with them.  It's just what the outside of this house needed!

A big house needs house numbers that stand out.

Craftsman bungalow wood backed house number DIY via Year of Serendipity

Bonus if they make me smile.

Craftsman bungalow wood backed house number DIY via Year of Serendipity

Craftsman bungalow wood backed house number DIY via Year of Serendipity

The house is starting to coordinate with the fall decor delightfully.  I totally planned it that way...

Craftsman bungalow wood backed house number DIY via Year of Serendipity

Craftsman Curb Appeal Plans

After flipping 3 1000sf mid-century cookie cutter ranches, today, we close on "Millie" Millie-exterior

As you can see, Millie is NOT a tiny mid-century ranch.  Instead, Millie is a Craftsman bungalow built in 1902 and is 2.5 times the size of the ranches I've grown so accustomed to flipping.  I just want to spill every last detail about this house, but I'll give you the full tour next week once she's 100% officially ours.  Planning, however, has already begun!

Painting the exterior will be not only necessary, but it will also be the most important factor in adding curb appeal (ok, that and taming the jungle).  This baby needs some contrast!  The house is a sea of gray- even when the sun's out it looks like a cloudy day.  I may keep the base color as a gray (or maybe a gray-green or gray-blue), but alllll that trim is going white along with the porch columns. Here are some of my inspirations:

**as always, please pin responsibly and from the original sources**

bungalow with brick

bungalow front porch door

bungalow contrast trim

The blue plastic shutters also aren't cutting it.  I'm thinking painted or stained wood stutters- wouldn't they look lovely??

black-shutters

cedar shutters

I can't wait to dig in and make this house pretty again!!

Craftsman houses 1/2/3

Wood shutters 1/Julie Blanner

Going Green

My house is very happy.  Or at least it should be- I know I am.  I'm absolutely in love with the new door color. sea-glass-door

Apparently it was exactly 2 years ago (2 years ago tomorrow to be exact) that I last blogged about painting the door.  I enjoyed the cranberry color, but it was starting to feel stuffy and oppressive.  There's nothing stuffy and oppressive about the new color- Sea Glass Green!  Swoon!  (yes, I have a thing for this color)

curb-appeal-door

Hm, I apparently need to straighten the porch light.  And for those paying super-close attention, yes we did kill some of the sod we so lovingly planted last fall.  We're good like that.  But the door!  I heart the door.  Have I mentioned that?  See how nicely it goes with the newly re-done front porch now?

porch door

Are you in love with Sea Glass Green as much as I am?