Before and After

Cliff House Before and After

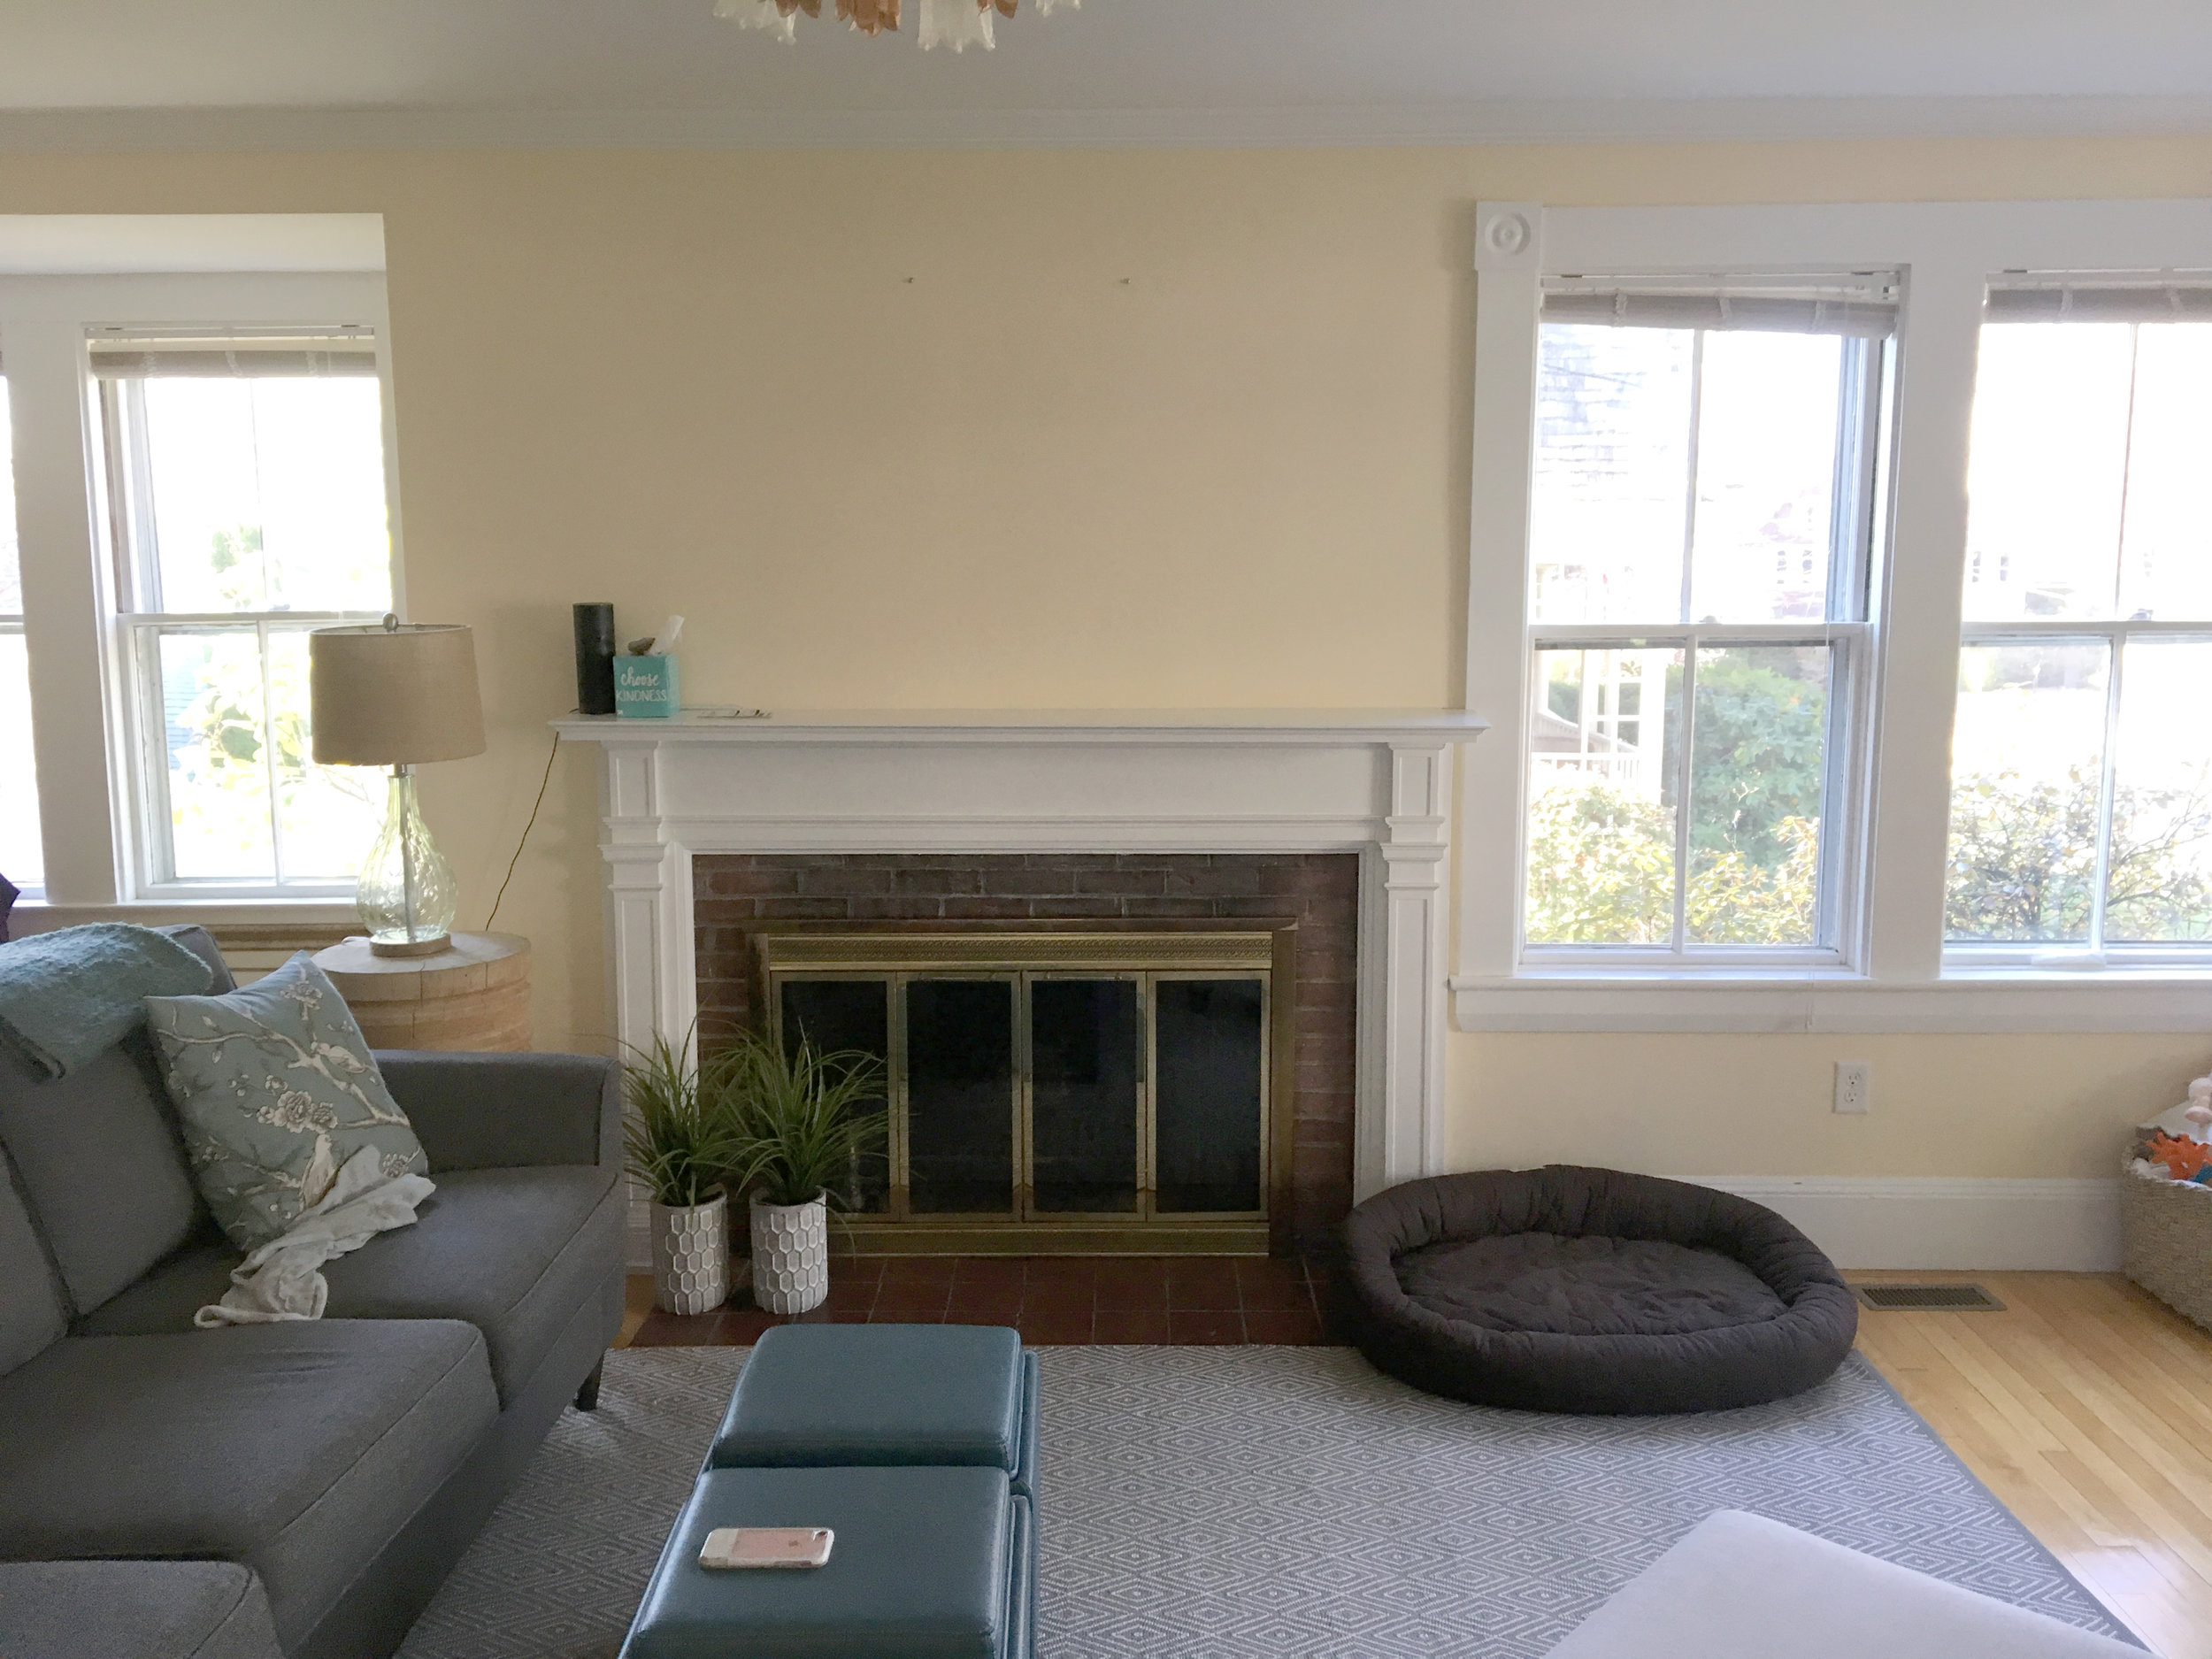
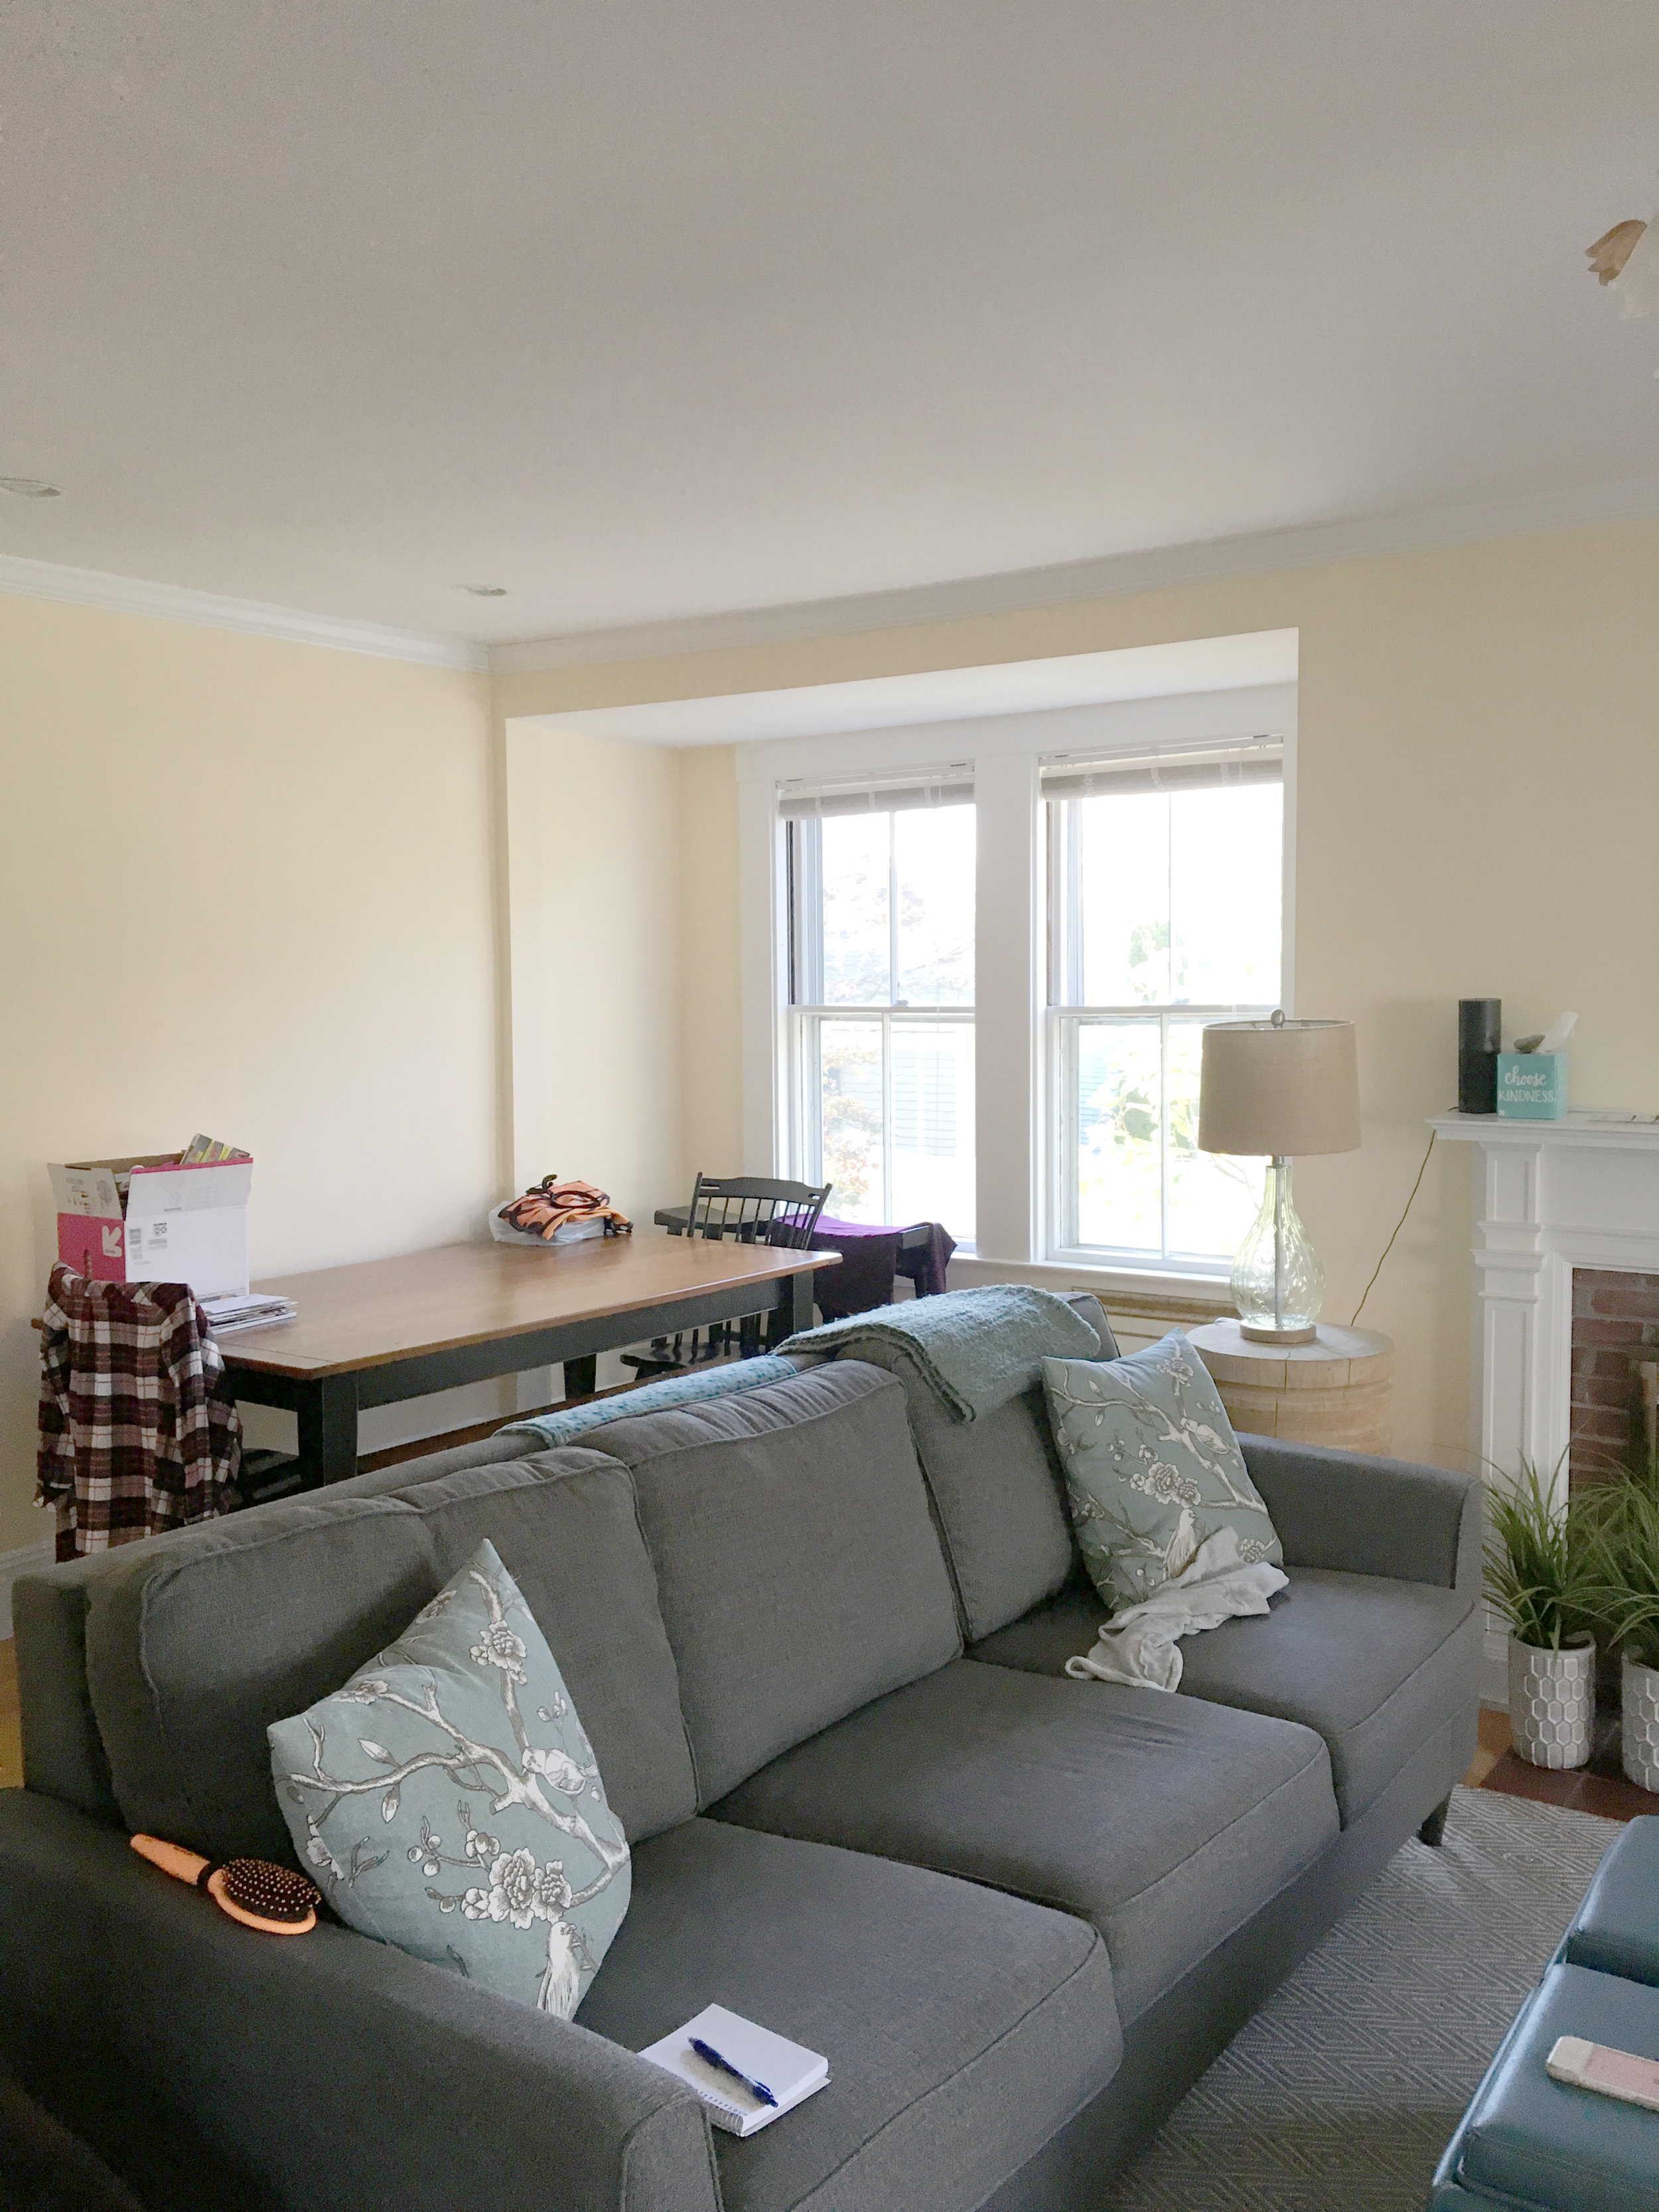
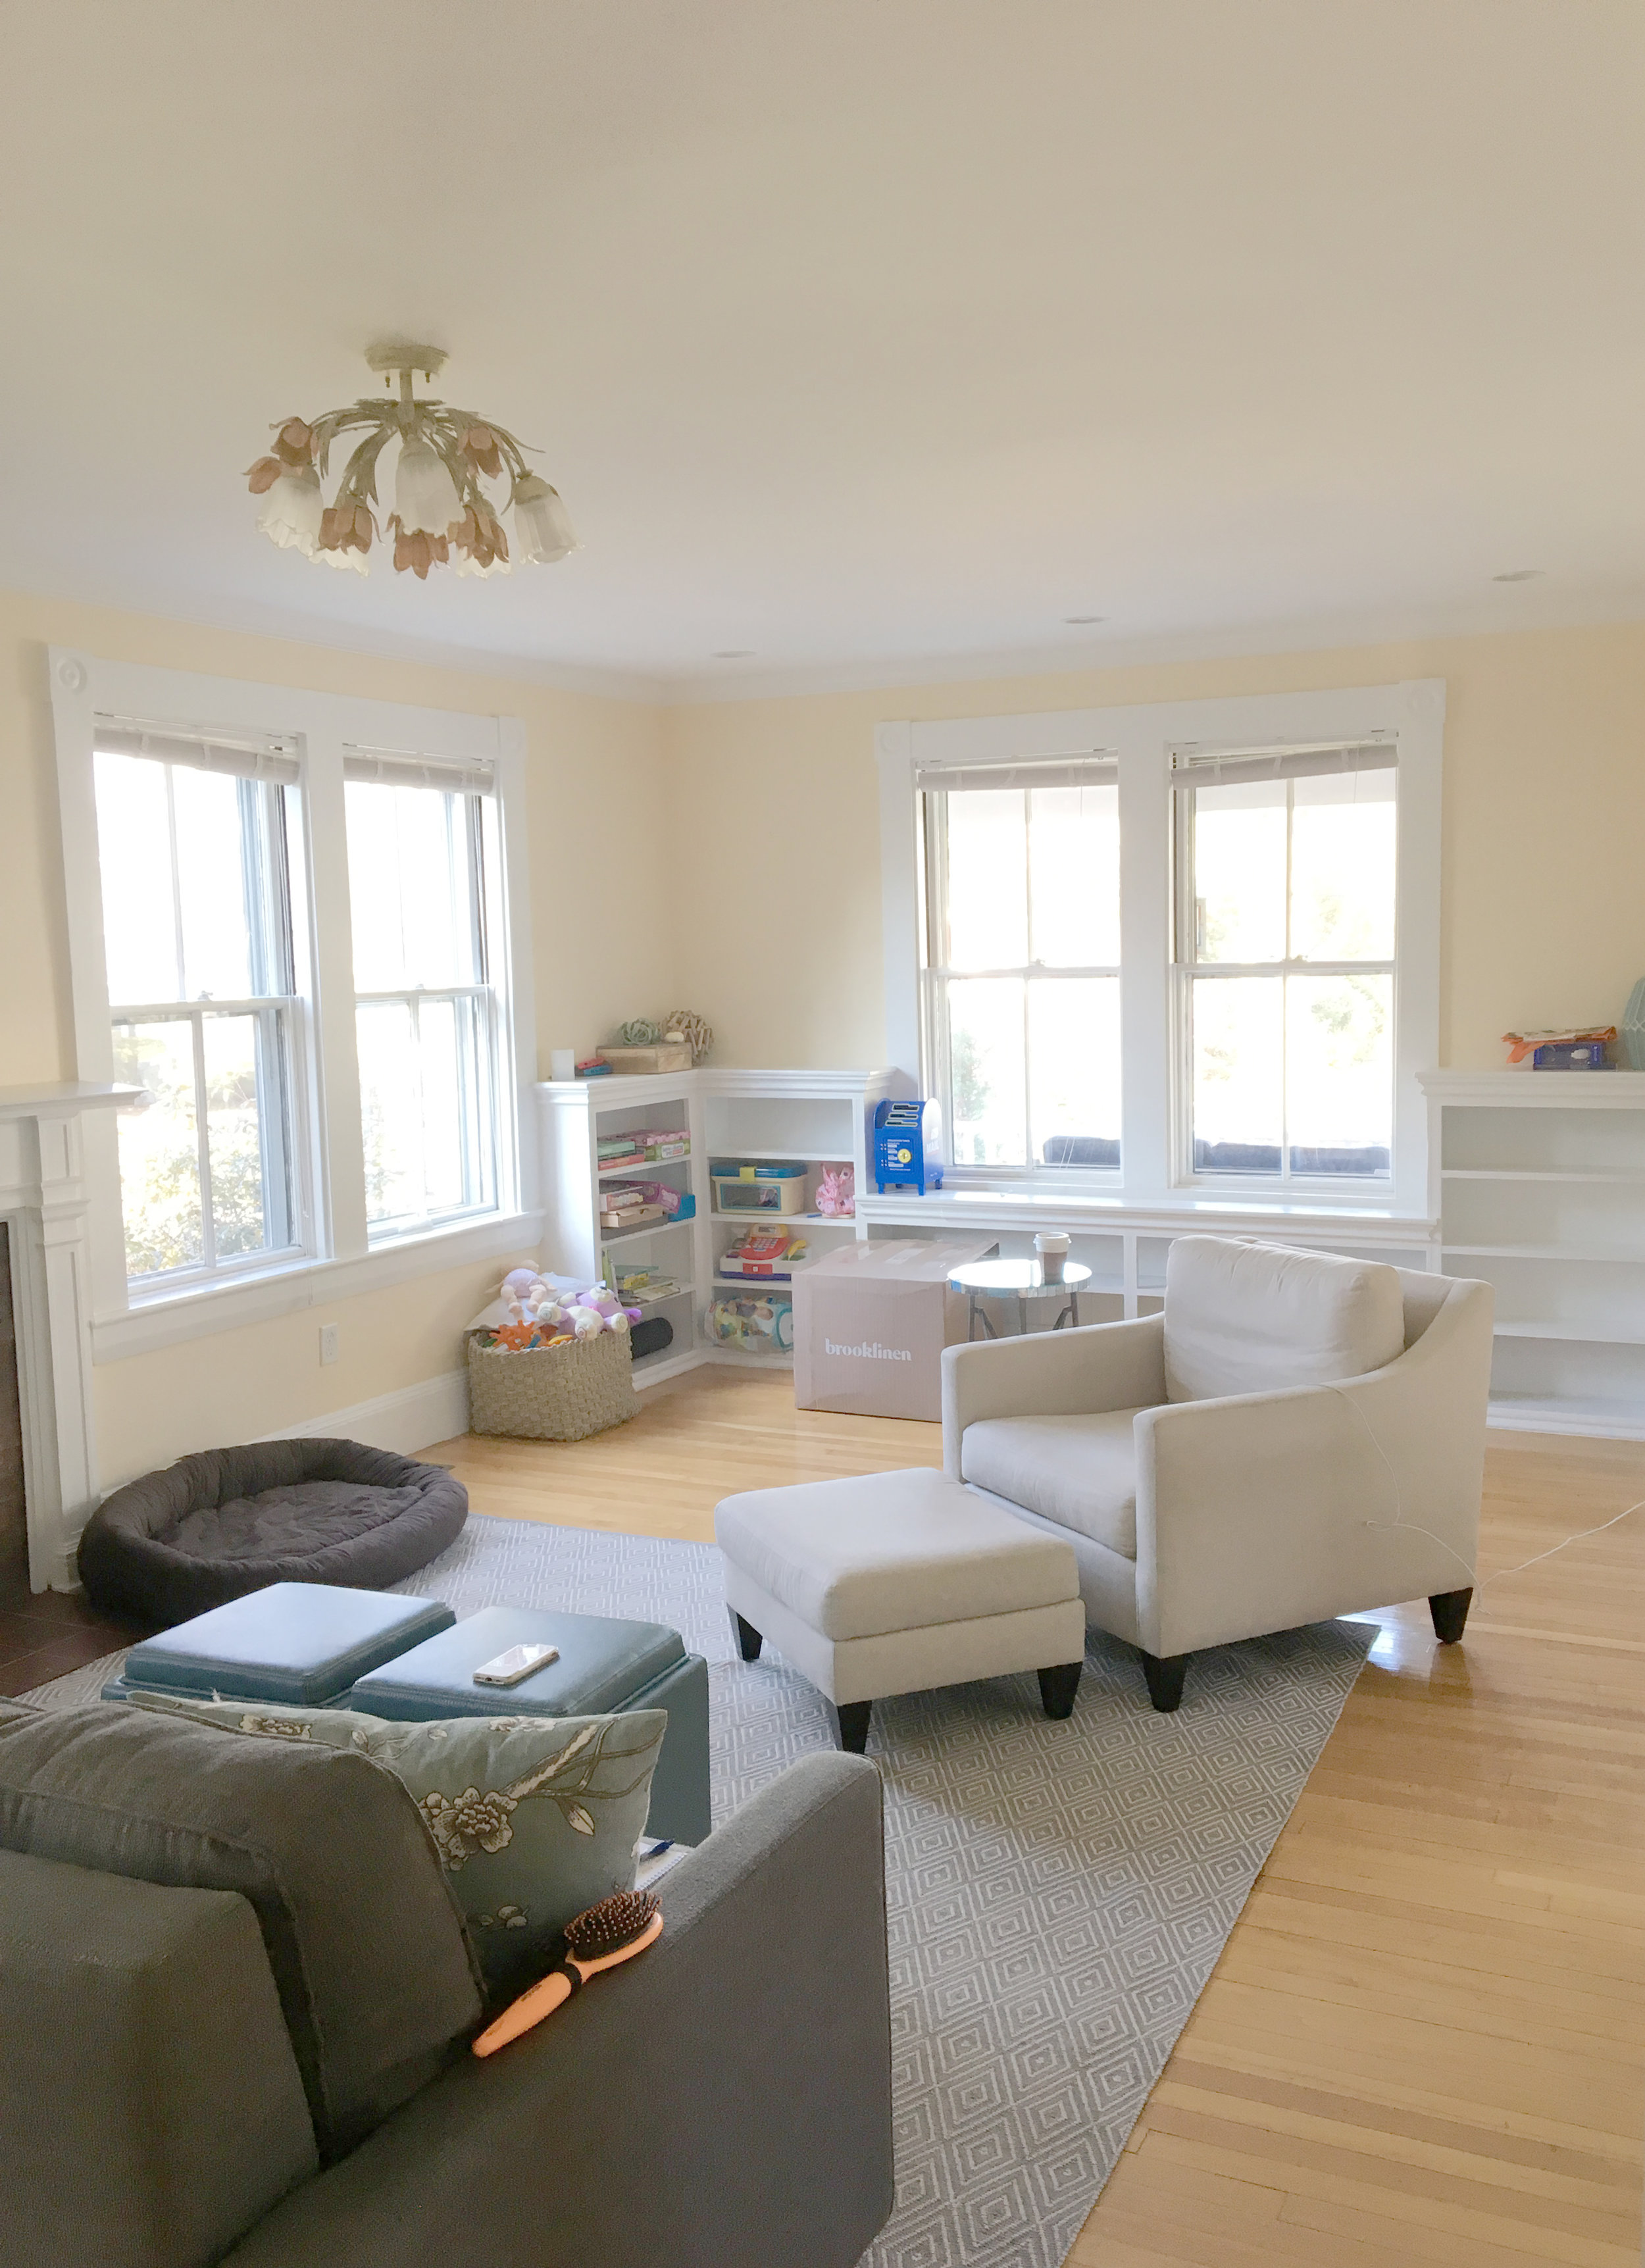
Who doesn’t love a good before and after?? This living room in a charming antique home needed a bit of help living up to it’s potential. The client reached out to me shortly after her family moved in. With the “kid zone” in another space, she really wanted the living room to be one where adults could relax and chat while still family and pet friendly. Click through the images to see both the space before and the final result!

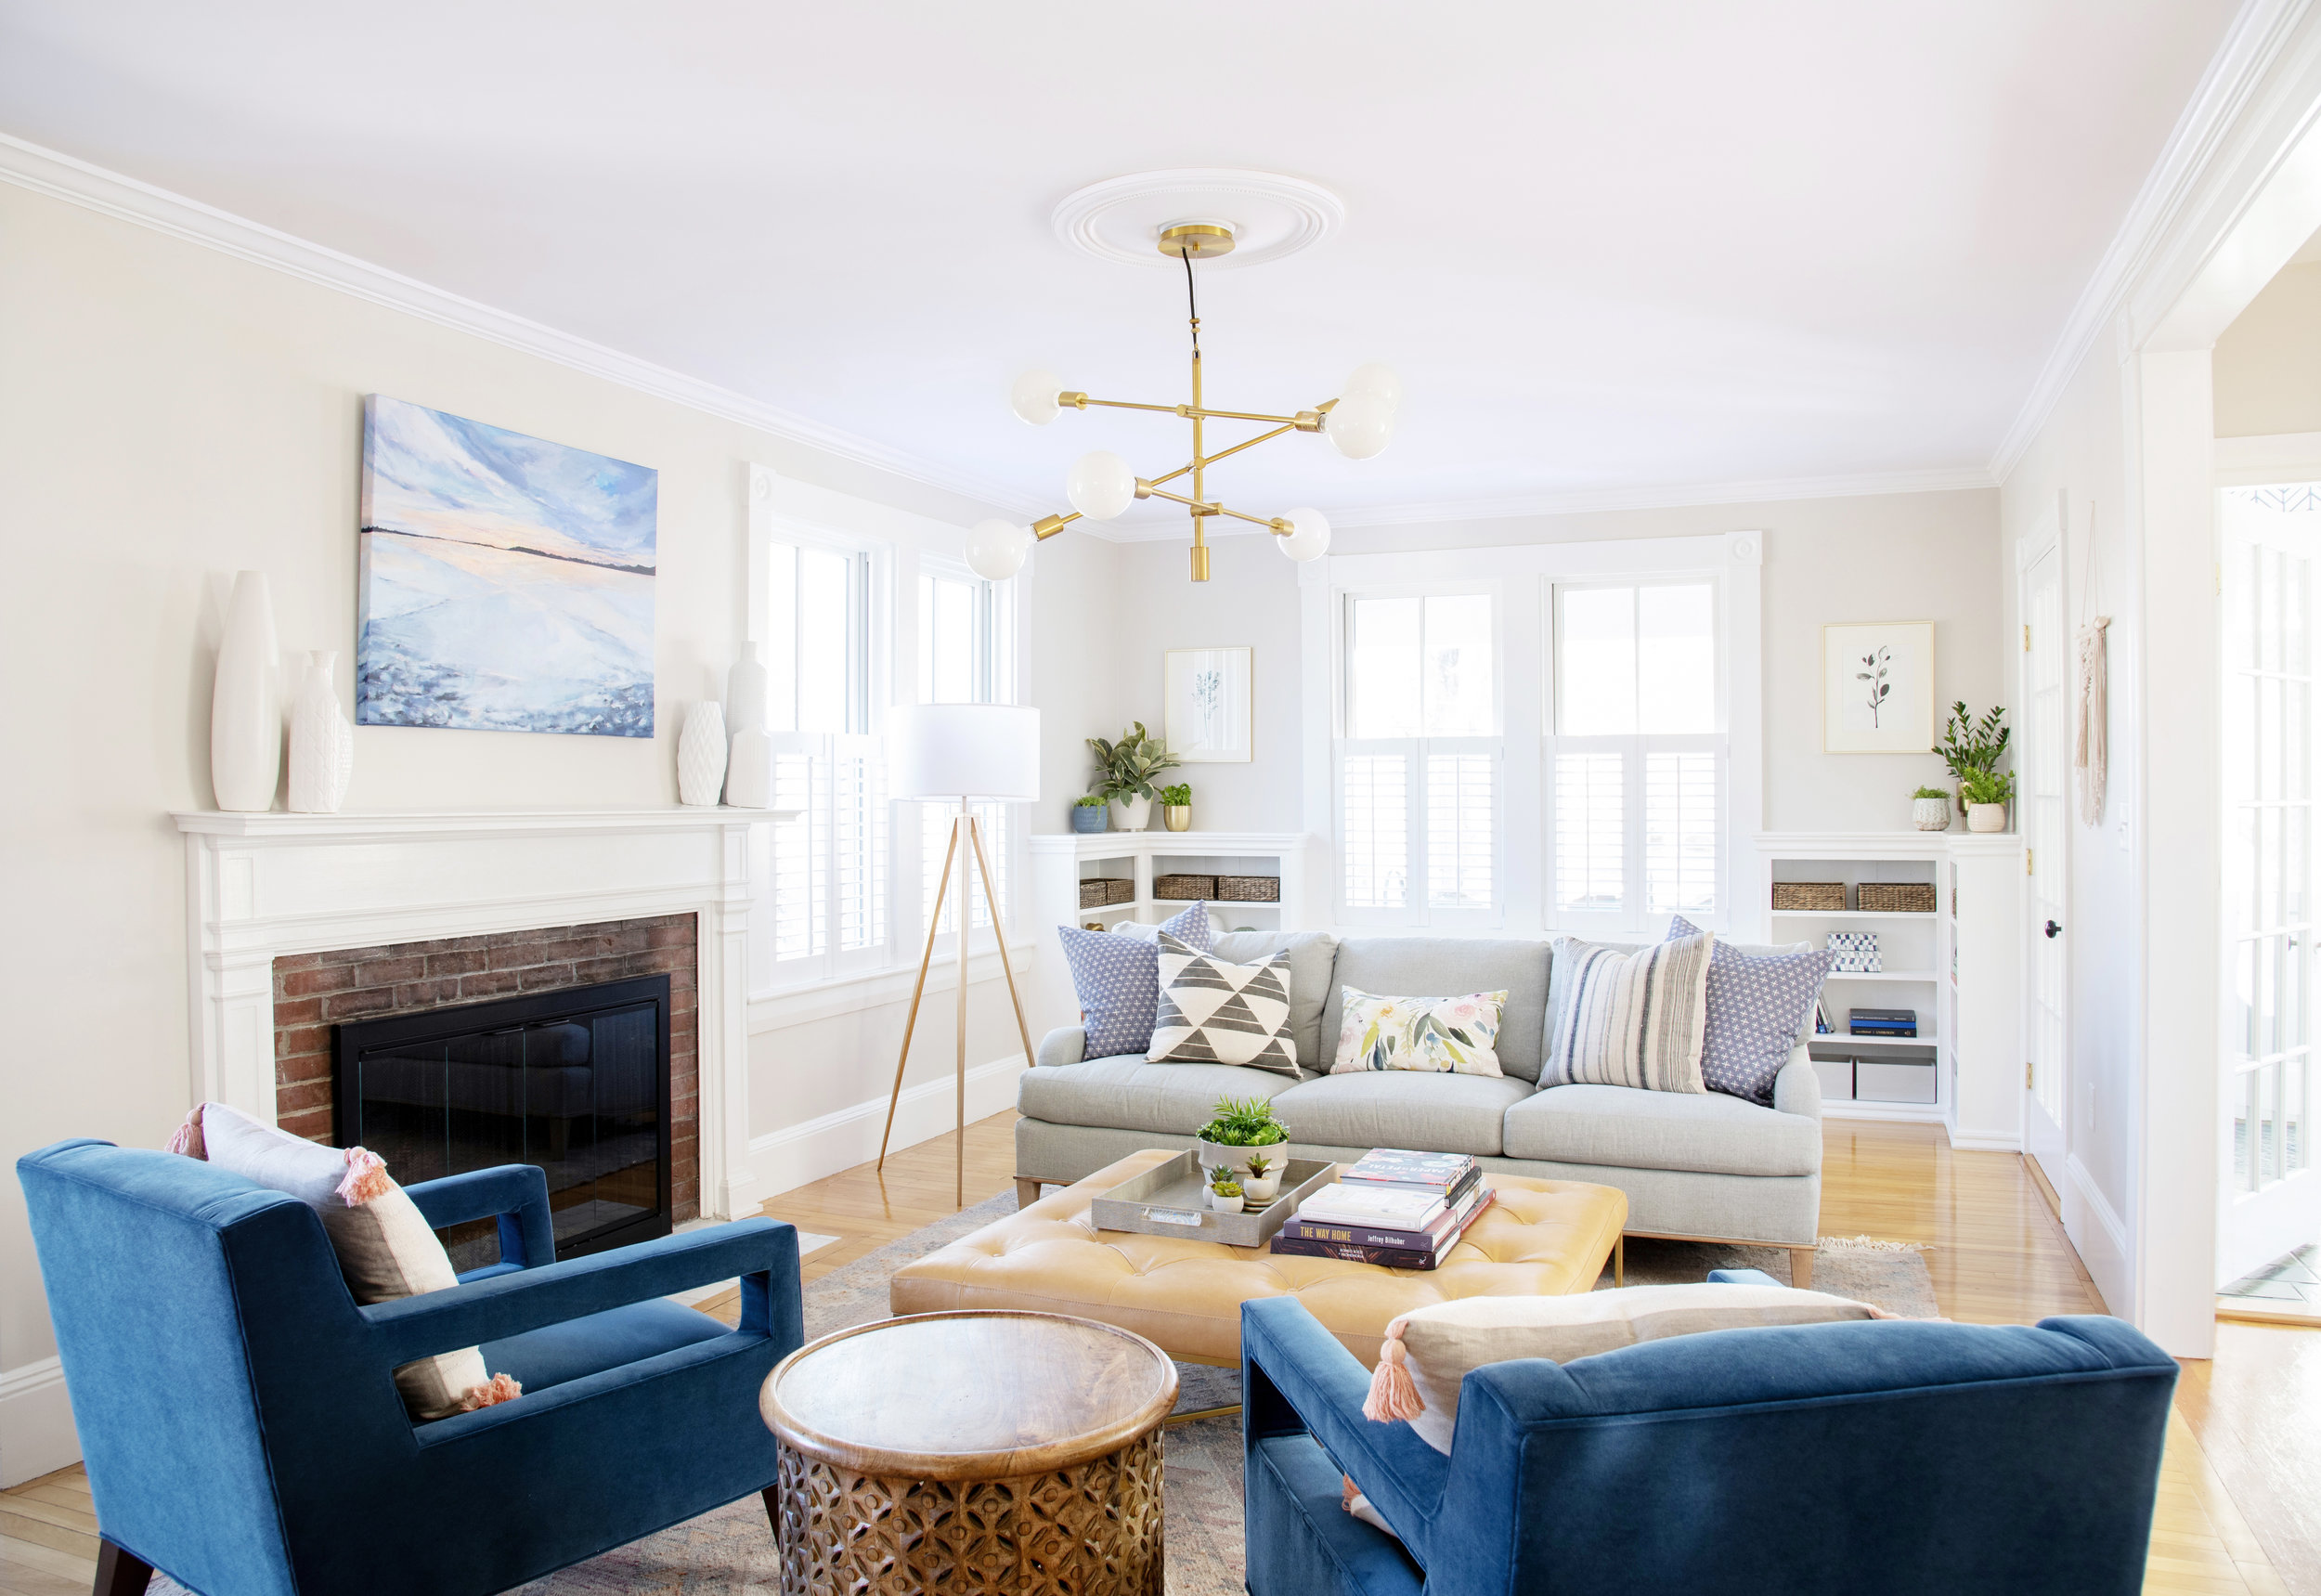
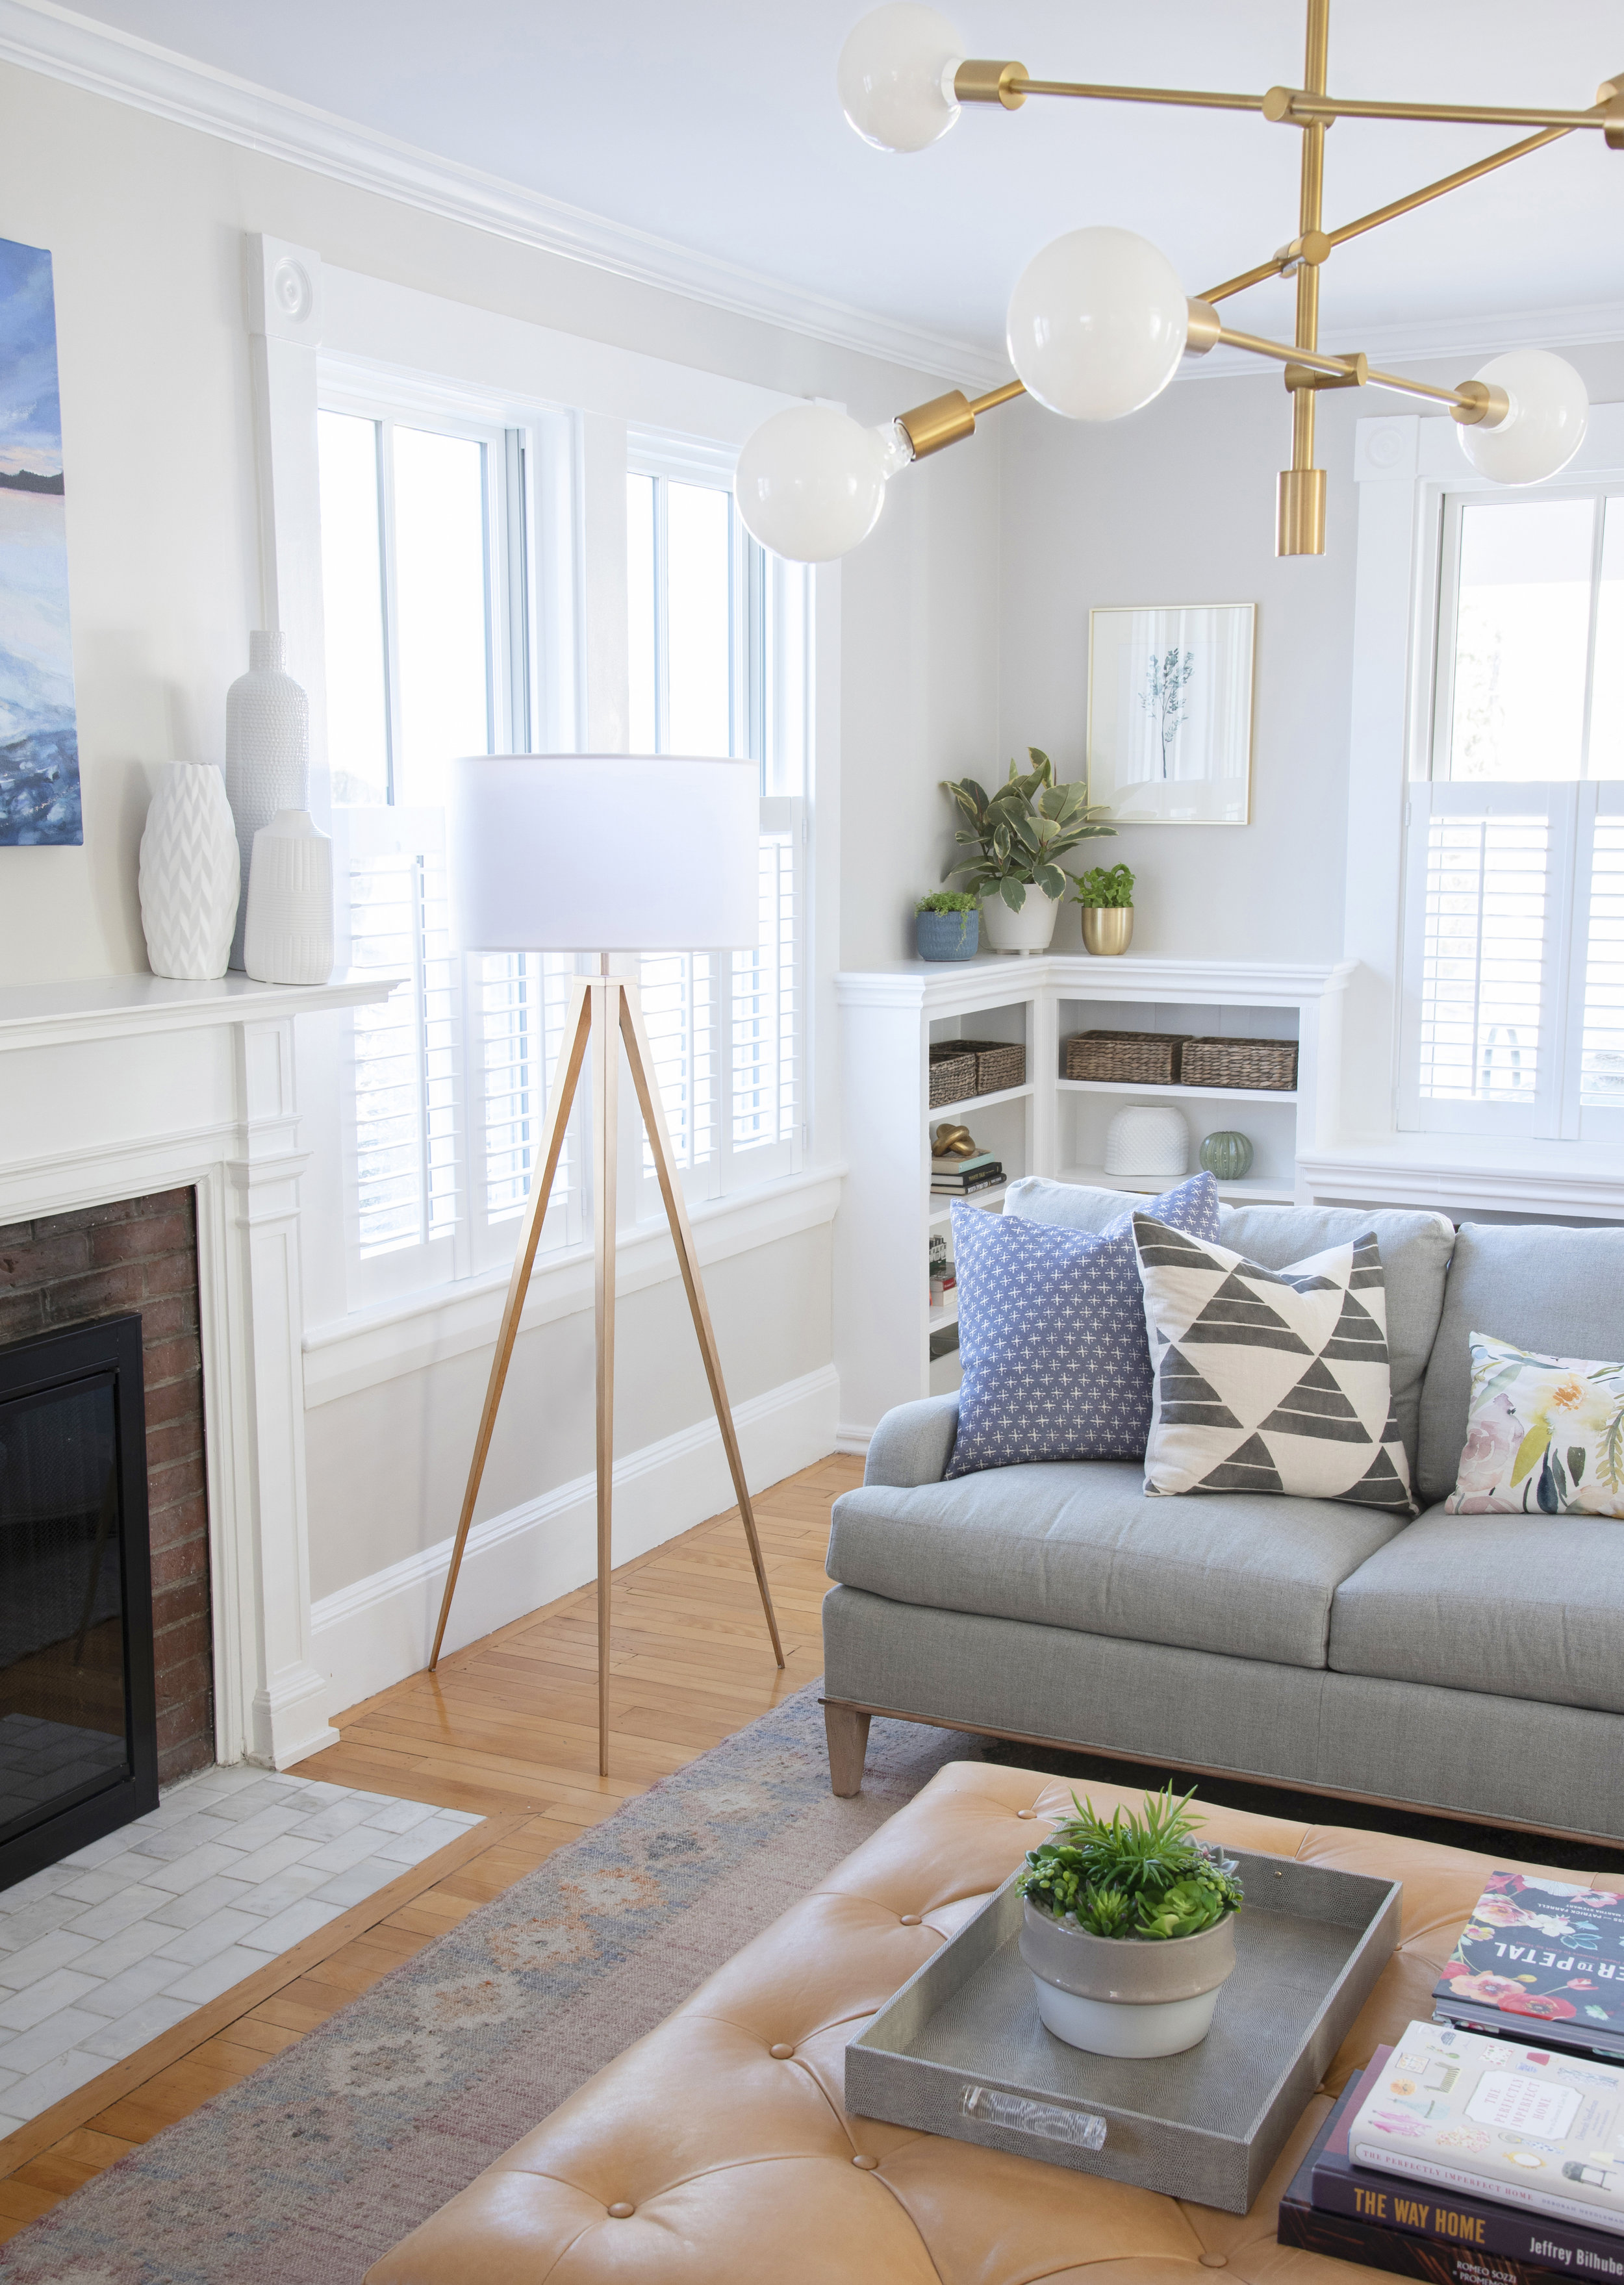
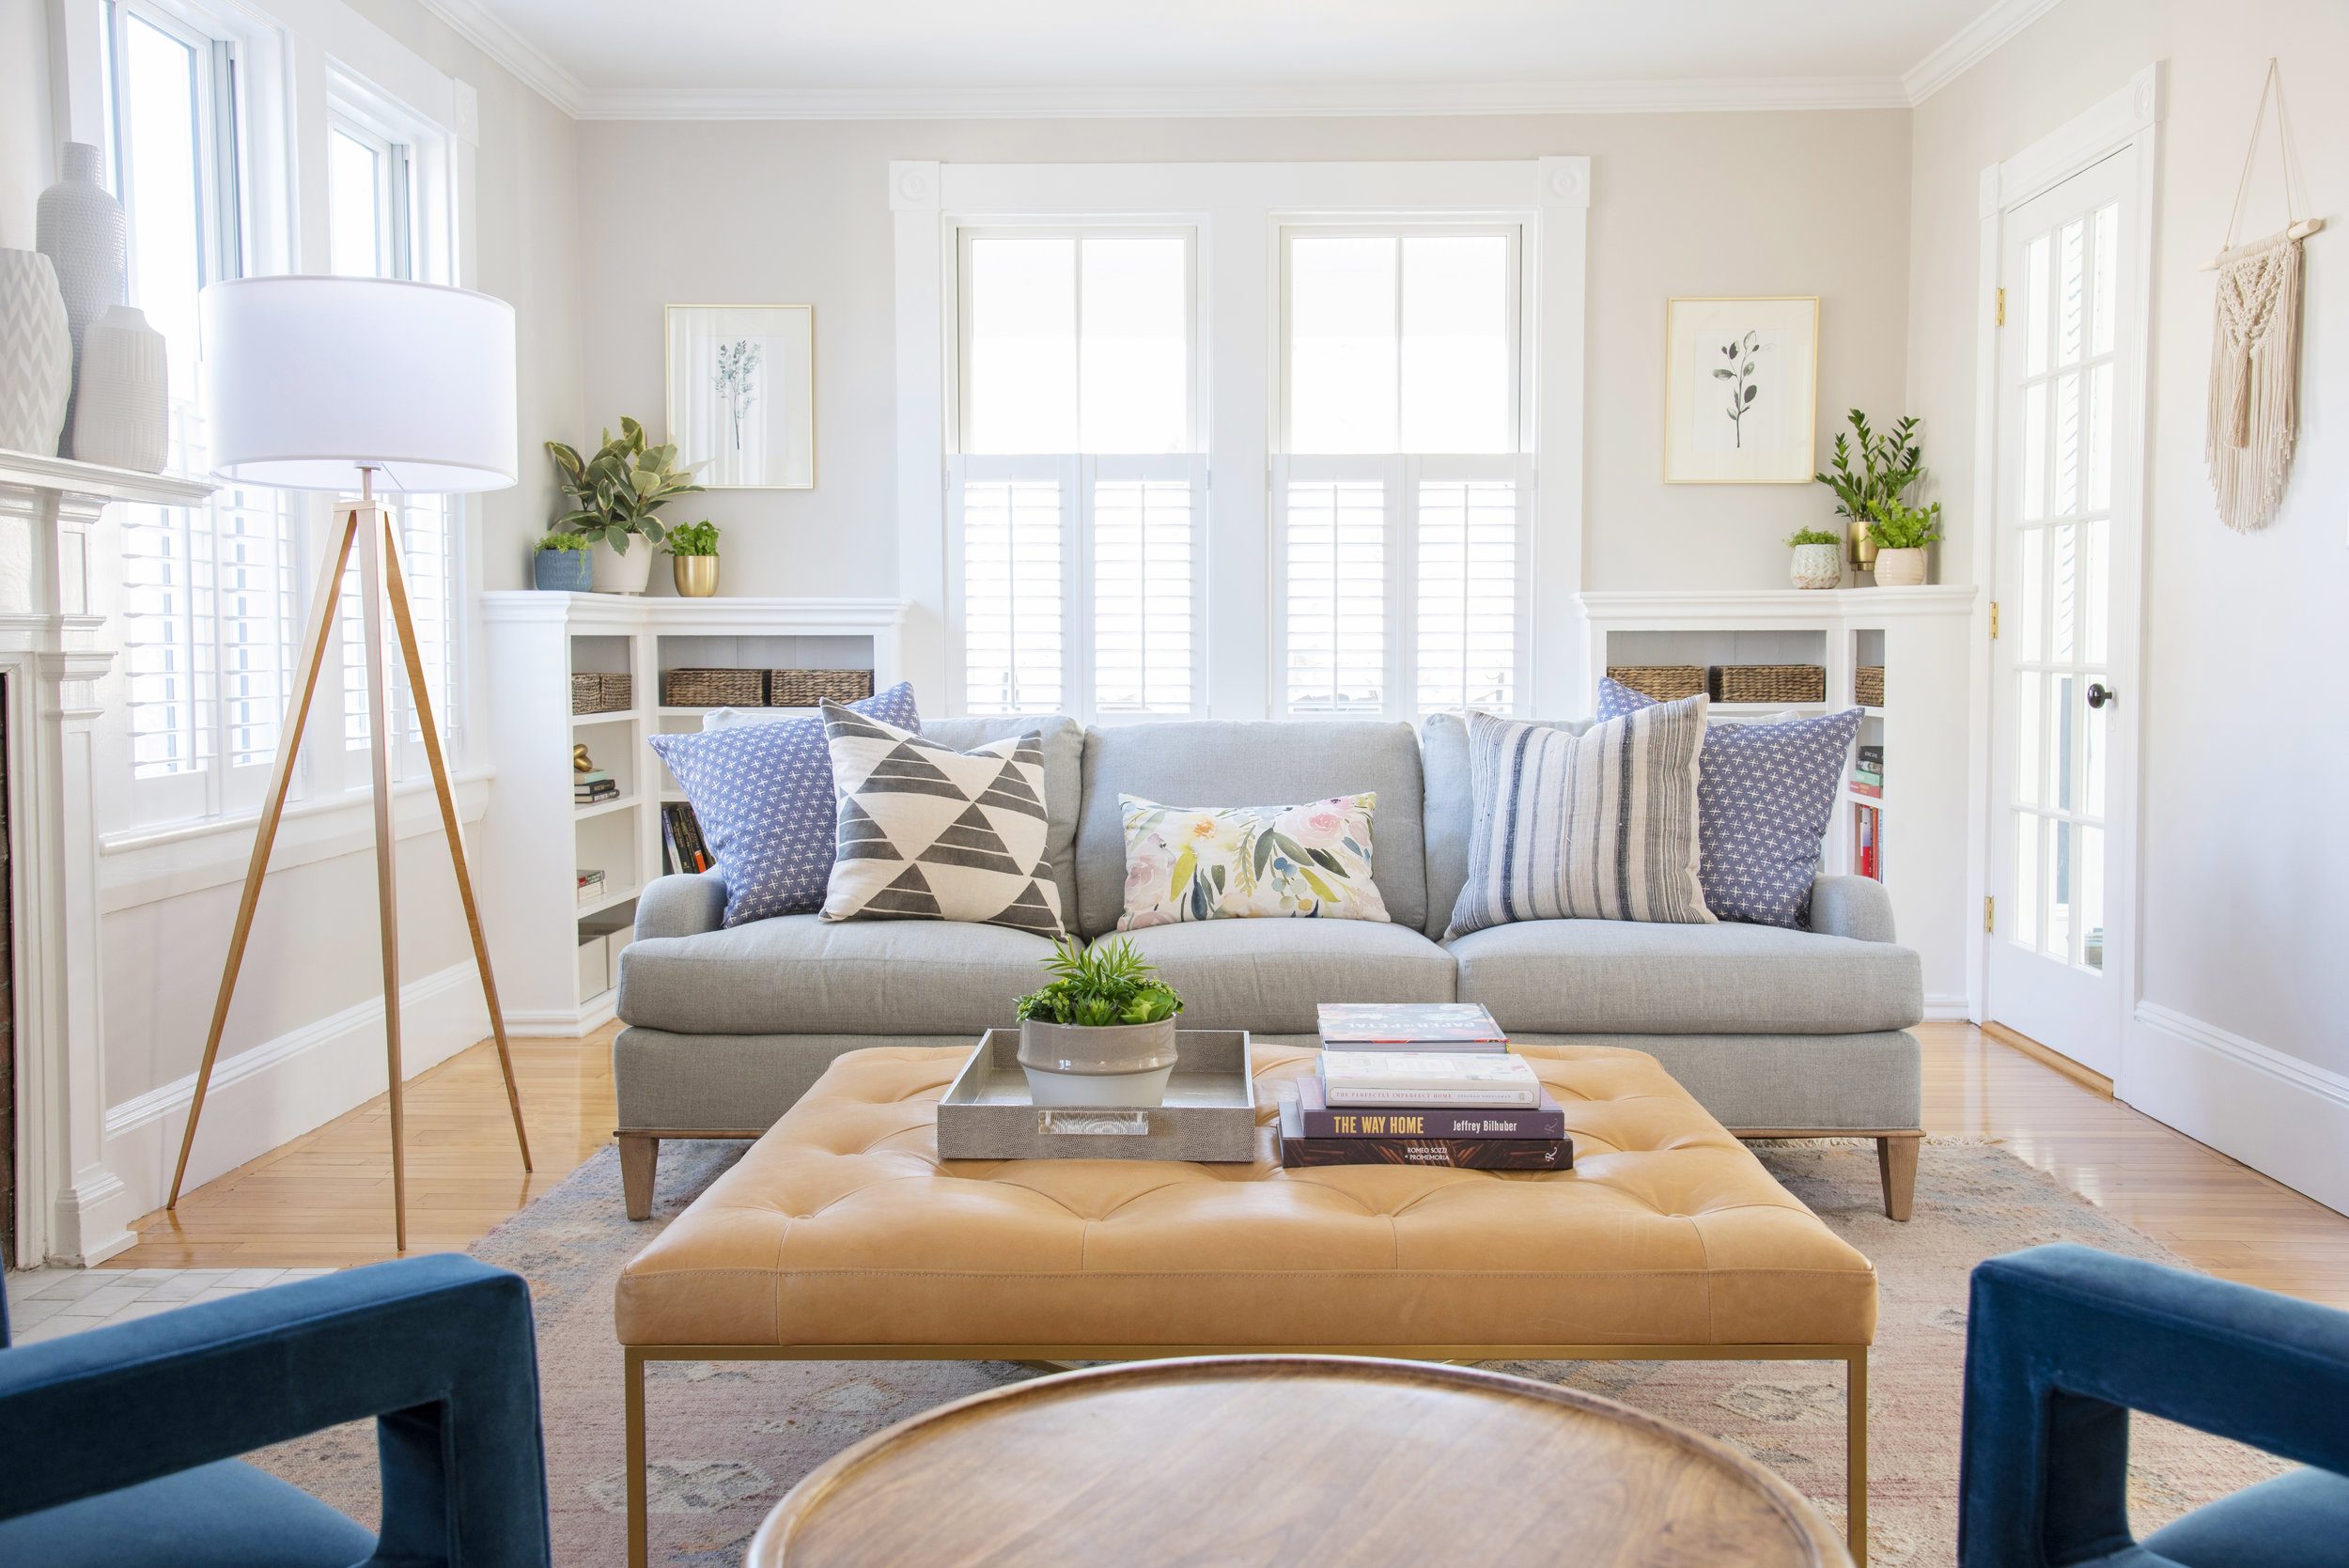
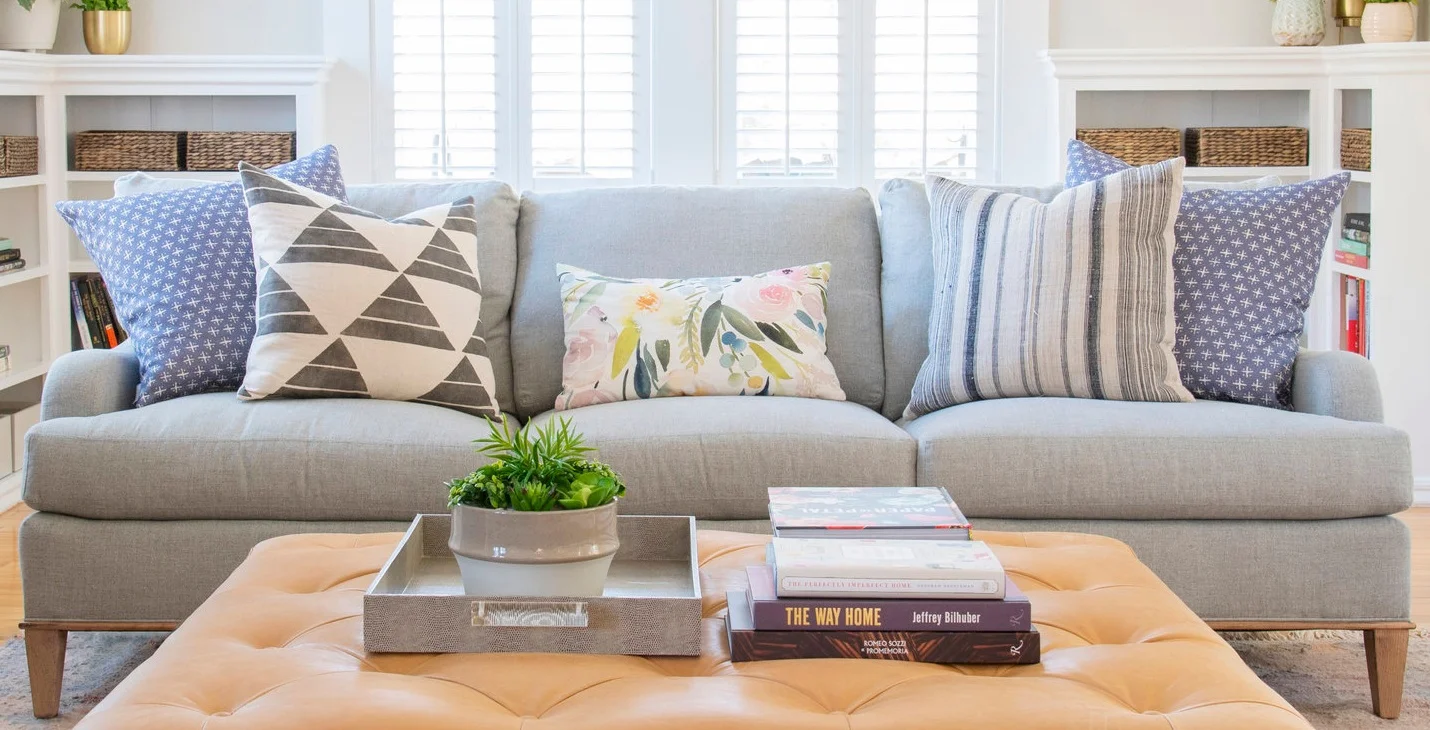
One thing that I really feel like makes such an impact in a living room is the pillows! I’ll let you in on one of my secrets: there’s a ‘formula’ that I often use for pattern mixing with pillows:

Small pattern + Large pattern + organic or loose pattern = Pattern MAGIC!

Here I anchored the sofa with a set of small scale patterns, contrasted them with 2 non-matching larger geometrics in the same color palette, then softened it all with an organic pop of color that ties it all together. The real secret is sometimes it’s just about playing with different pillows and seeing what feels right!

DSC_7770_F+copy.jpg

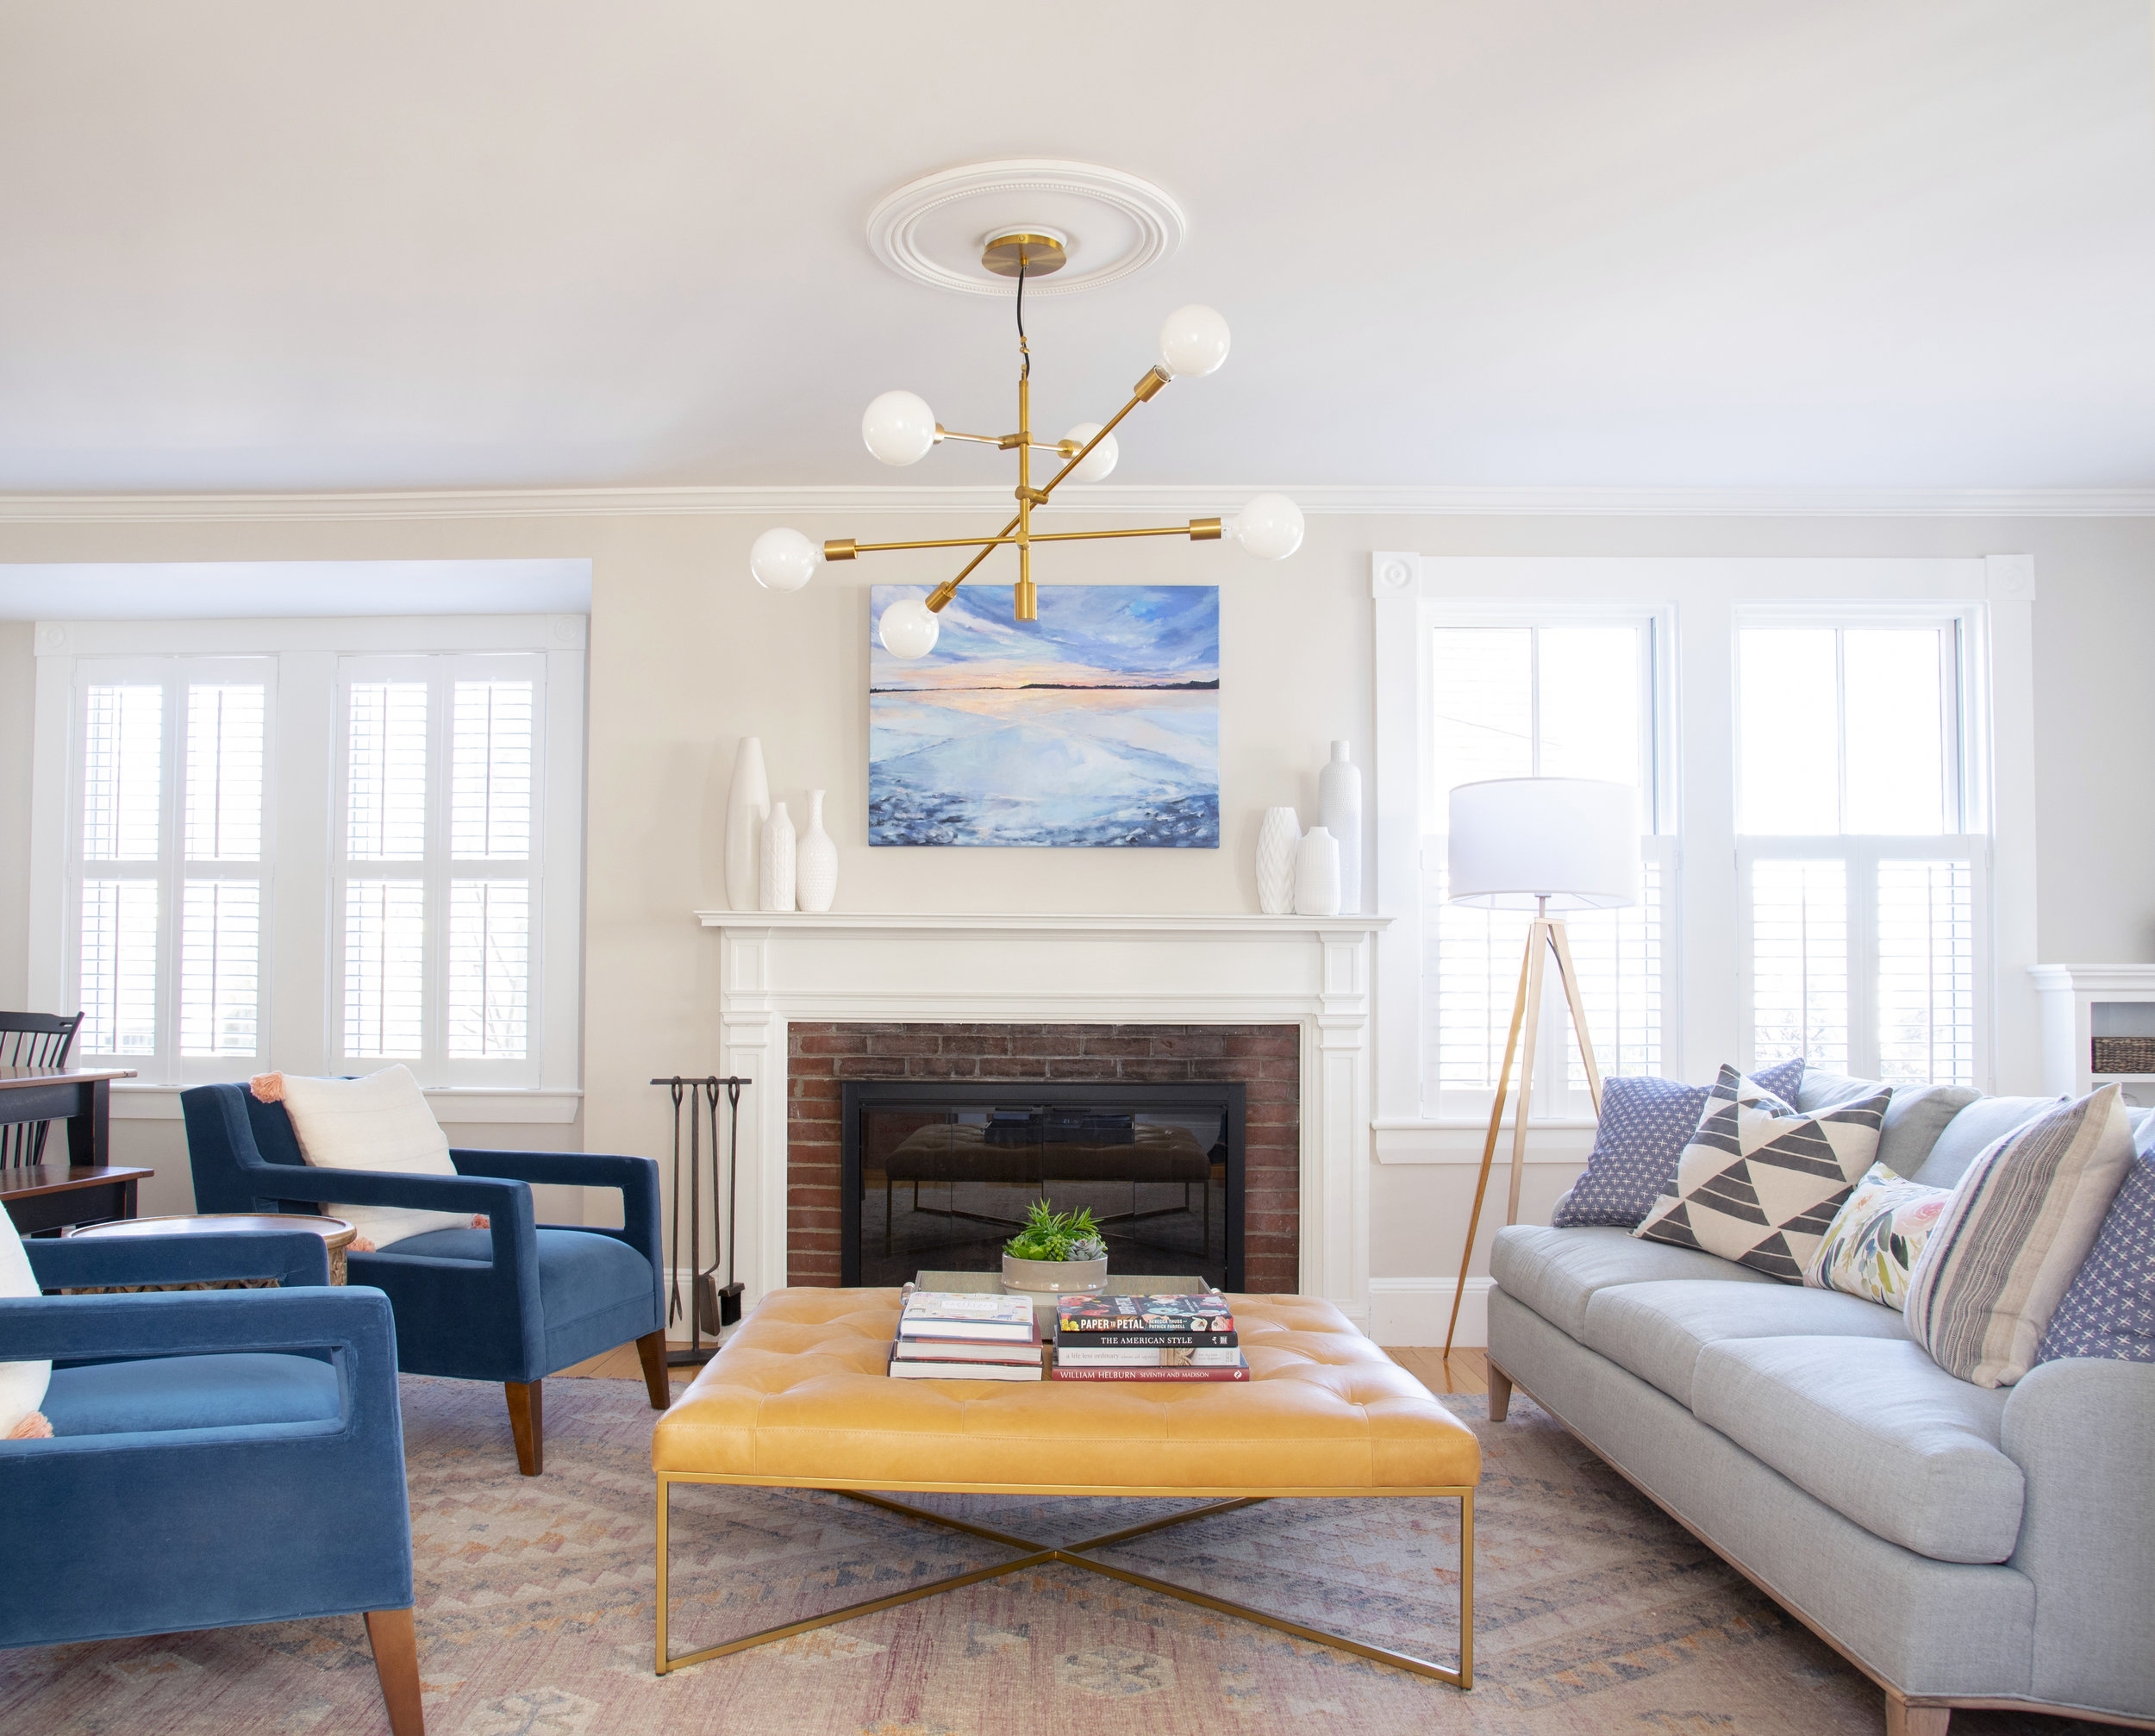
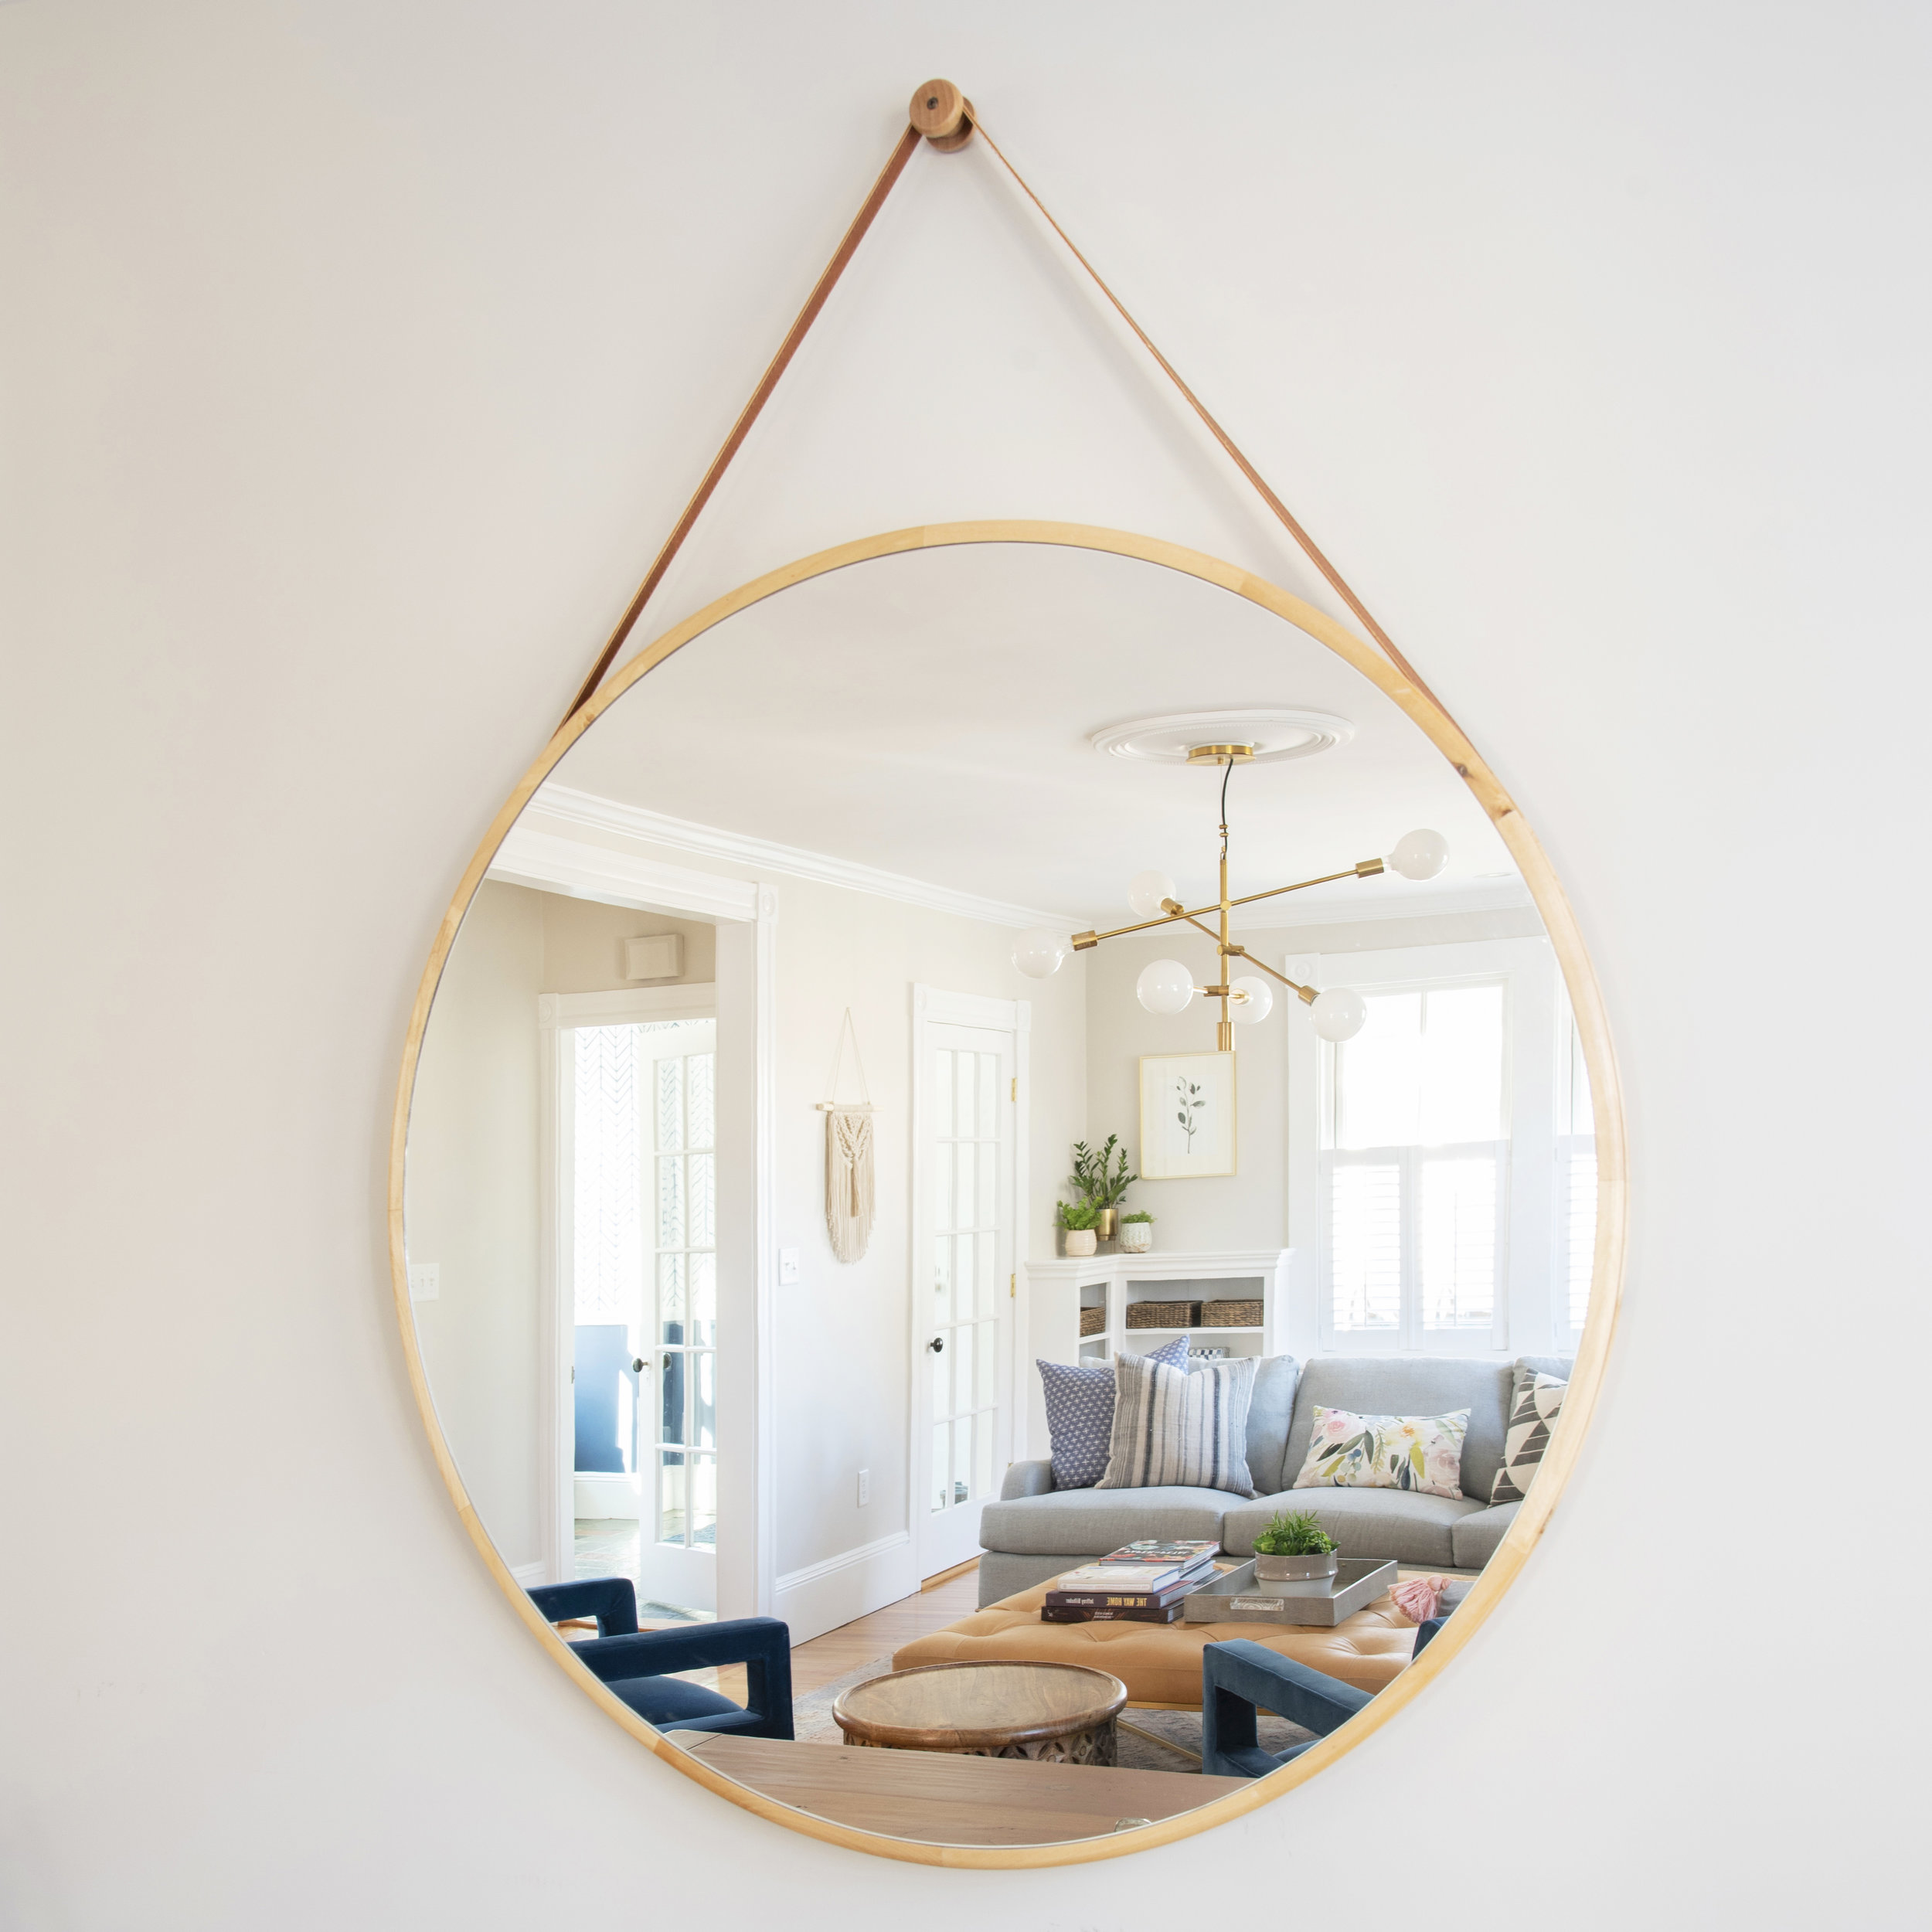
I can never resist a good side-by-side view comparison and I hope you can’t either! The view from the stairs to the fireplace has improved pretty dramatically and includes a custom painting from local artist Julianne of Moss and Blue. Aside from furniture and decor, we added plantation shutters, swapped out the old brass fireplace doors, retiled the hearth, and swapped out the dated lighting. No major construction, but major impact!

It was such a pleasure helping bring this living room to life!!

If you have a space that you aren’t sure what to do with or that you know isn’t living up to it’s potential, please fill out my New Client Questionnaire!

logo signature2 2019.png

Swap: Dipped Art & Plants!

The latest round of Swap it Like it's Hot snuck up on me! swap it like it's hot

New to Swap it Like it's Hot??  Here’s a quick recap: 40 bloggers went thrift shopping with $10 in their pockets.  We all sent our treasures to another blogger for them to re-envision, revamp, and DIY.  This is my 3rd swap- check out my previous projects here and here

If you're here from Always Never Done, welcome!!

Amy at Always Never Done sent me several items for me to reimagine: a fabric remnant, wood rectangle, framed daisy painting, and a mason jar holder.

Swap-it-Spring

As soon as I checked out these items, I knew that the painting and the jar holder would be my focus.  I've been itching to "dip" a painting, but I never seem to find the right thing.  When I say "dip" I mean painting part of the piece and frame a solid color like the whole shebang got dipped in a can of paint.  The art that I come across usually is either total junk and would still look like junk after painting, or is too nice and I'd feel like a heathen defacing it.  This little flower pot was absolutely perfect for the task: cute enough to look cool with some color blocking, but not so precious that I'd be ruining something.

flower-painting-before

I started with a little tweak to the frame- I wasn’t keen on the green part of the frame, but if you know anything about me, you know I am particularly keen on gold.  So I out came my gold lief paint to cover up the green.

flower-painting-gold

I only painted the part that would show after “dipping.”

flower-painting-gold2

Once that was dry out came my favorite Frog Tape.  Dude I love that stuff.  Blue tape holds no candle to this sexy green stuff.  I wish I was being sponsored to say this, but trust me, I’m not.  Just a starry-eyed girl and her Frog Tape.  Make sure to use a finger nail to push the tape down at the paint edge and into every little crevice.  To help seal it even more, I like to run a wet paper towel down the edge before painting.  The sticky stuff on the tape expands when wet…… just let an entire roll of it get wet and you’ll see what I mean- the sticky stuff will expand out of the roll becoming a slimy, unusable mess.  BUT it’s proof that it works!  But I digress.

flower-painting-tape

After taping the painting, I painted the “dipped” side with a brush, being careful to brush away from the tape as another protection against bleeding under the tape.  I generally like to pull my tape off when the paint is still wet, but you have to be suuuper careful!

flower-painting-painted

Once the paint is dry, all you have to do is hang and enjoy!!  You end up with a piece of art that’s part modern, part traditional, and (in my humble opinion) rather interesting.

dipped-flower-painting-after

For the mason jar holder, I was stumped for a bit.  Do I use it to hold something?  Flower pots for an herb garden perhaps?  Cute idea, but doesn’t involve any kind of transformation.  What about a stand of sorts?  Again at a loss for an idea that would be anything different from it’s original use.

jar-caddy-before

As I thought about these possibilities a bit more, I came back to the idea of plant holder.  If it was on the wall, it’s purpose would naturally change.  But then how to hold plants into a jar holder on a wall?  Light bulb moment!

jar-caddy-air-plants

I ran to the kitchen, collected all my air plants then ran to the basement to grab my twine.

jar-caddy-pieces I haphazardly started wrapping the twine around the metal frame with no real plan.  I tied some spots and looped others until I had the entire frame entangled.  Up on the wall it went and in went the air plants.  I try not to kill air plants…. I succeed most of the time…. but they’re addicting!!  Such cute little plants they almost look fake.

jar-caddy-air-plant-holder

If I was confident in my ability not to kill all the air plants, I’d double my collection and load this puppy up completely!  It also makes me happy that I didn't permanently alter the item, so if I want it to go back to a mason jar holder, all I have to do is untie a few knots.  So easy!

jar-caddy-air-plant-holder-close

How fun do these 2 beauties look together?

Swap-it-after

Swap-it-after-wall

Now it's time for you to share the Swap it Like it's Hot LOVE.  Pop on over to Casa Watkins and see what she did with the goodies I sent her!

Be sure to check out all the other awesome projects this week!

Franken-Chair Reveal

Once upon a time, long, long ago, I decided to reupholster and combine 2 antique chairs. franken-chair-pieces

Ok so probably more like almost 6 months ago, but it feels like forever.  Well, aside from a few minor tweaks left Franken-Chair is finally done and functioning!

Franken-Chair-after

And Charlie Bear couldn't be happier.  Seriously.  I have to fight with this little fuzzball practically every time I need to sit down and work.

bear-chair

Franken-Chair took far longer than it should have to reupholster and isn't the picture of perfection that I was hoping for, BUT it's comfortable, functions the way I had hoped, and isn't an eyesore anymore.  I guess I can consider that a win!

Franken-Chair-after2

After my upholstering success with my other antique chair, I got a little cockier than I should have with Franken-Chair.  I thought I could rely on my sewing skills, but I forgot to take into consideration how the foam and curves would affect how the fabric stretched and attached to the frame.  I now understand why the original chair was upholstered in vinyl.  With a chair like this, a fabric that you can stretch to your needs is ideal.  Otherwise you end up with lots of wrinkles that cannot be avoided no matter how hard you try (and trust me, I tried!).

bear-chair-peek

I was tempted to try to photoshop all of the fabric wrinkles out of my images so I could have pinterest perfection, however that wouldn't be real.  I want you to learn with me for better or worse.  Eventually I'll hand this chair over to the pros and get it all done perfectly, properly, and in a way that will last for years.  Until then, however Franken-Chair is a pretty decent temporary solution if I do say so myself.

Franken-Chair-after

Not perfect, but who says it has to be.  Keepin' it real guys.  Have you had any projects go a bit differently than planned but still work out in the end?