Sorry for starting off the post with a really bad pun (I'm really not sorry) but it's been stuck in my head the entire time I was putting this project together.
Faux roman shades! and the last kitchen teaser post before the big reveal Friday!

Why are they faux? Well, they don't actually work like shades- they just sit there and look pretty. Tough job.
So, how did we get here?
When last we visited the kitchen windows, they were naked.

I knew I wanted to soften the windows a bit with fabric, but functional shades just aren't necessary here. I googled a bunch of faux shade tutorials and then did what I do best- made it up as I went along.
I started by cutting my fabric and a piece of liner to the proper size.

To line, I faced the good sides in and sewed 3 sides leaving the top open like a pillowcase. Turn right side out and iron.

Then comes the fun part- figuring out where the folds go. I ended up folding the bottom up for a softer edge and adding only one additional fold.

I started by pinning the folds, and tacked them into place with a needle and thread once I settled on them. I sewed from the back and didn't go through the front layer of fabric, so you'll never see the stitches.

I folded the top, unfinished end over until the shade was the height that worked best for the windows. I didn't even bother to cut off the excess or finish it, since this will be hidden once installed. And since I have windowS above the sink and not just one, rinse, repeat.

This fabric isn't as regular as a pattern as it seems at first glance, so getting it straight and even from shade to shade was a challenge.
Install was probably the quickest part of this process. I used a pvc trim piece that I already had, cut it to the desired width and nailed the new shades into place.


As you can see, the trim piece is hidden under the fabric and will never be seen.
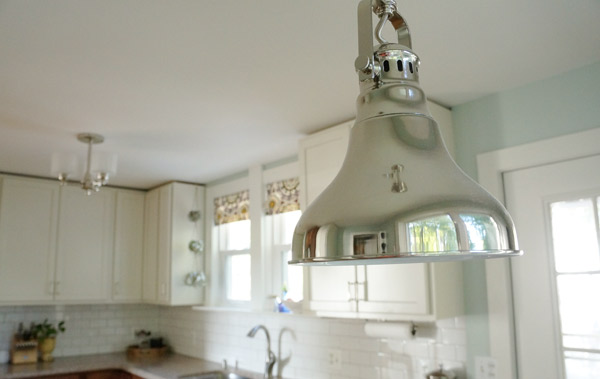
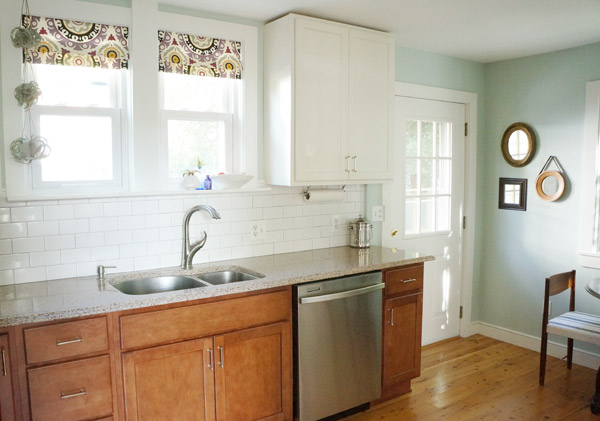
Viola! Such a simple project, but it totally helps the room feel more complete.

Do you recognize this fabric from our dining room? Once I brought the extra fabric into the new kitchen, I knew it needed to be in here instead- the colors work perfectly! The purple ties in the dining room, and the grays pick up the green kitchen walls. You can probably guess what that means for the dining room- chair recovering in the near future!
Have I inspired you to try faux roman shades? Or have I just tortured you with another kitchen teaser and you're ready to jump through the computer and make me post the finished kitchen?
**update** check out the finished kitchen HERE


